Sephia GS Sedan L4-1.8L (1997)

Overdrive Switch: Service and Repair
REPLACEMENT
Description
1. Disconnect the negative battery cable.
2. Remove the rear console and front console.
3. Remove the four shift selector panel installation screws.
4. Raise the selector panel and disconnect the connector and remove the O/D switch terminals.
5. Raise the selector panel and remove the shift indicator light bulb.
6. Remove connector from the selector indicator light bulb unit.
7. Remove the two selector knob screws.
8. Remove the selector knob.
9. Remove the selector lever sleeve while holding the knob in one hand.
10. Remove the entire selector, panel? and connector assembly.
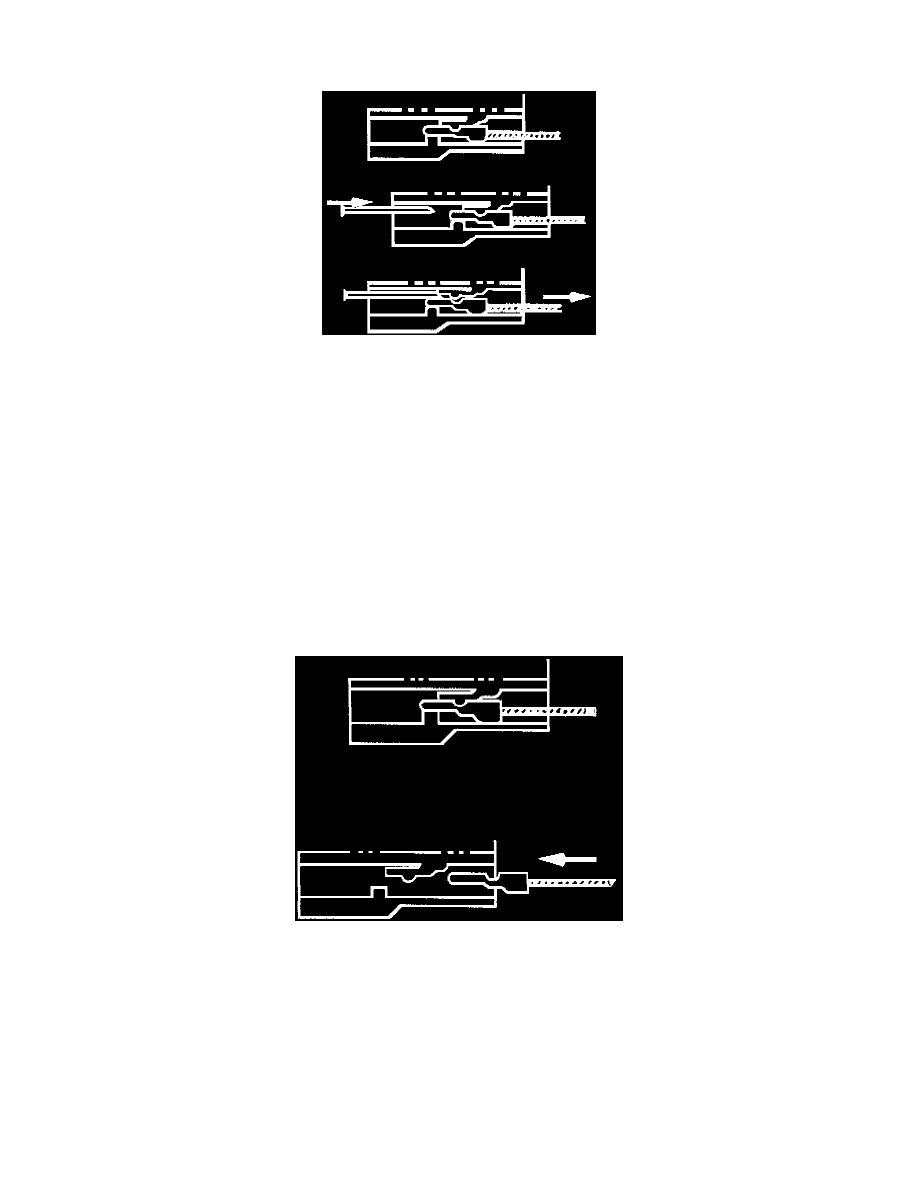
11. Release the terminal tabs using a flat blade screwdriver.
12. Remove the O/D switch terminals from the connector (red and green wires).
13. Feed the O/D switch wires through the panel and sleeve.
INSTALLATION
Description
1. Feed the wires through the sleeve/panel.
2. Insert the wires into the connector.
3. Install the panel.
4. Install the sleeve over the shift selector lever.
5. Adjust the wires (from bottom of sleeve) until the shift selector knob can be set in place.
NOTICE: Wires must go through the groove in the shift selector knob.
6. Install the two shift selector knob screws.
7. Install the light bulb.
