
Sportage 2WD V6-2.7L (2009)
INSPECTION
1. Check the insulator for wear or damage.
2. Check rubber parts for damage or deterioration.
3. Compress and extend the piston rod(A) and check that there is no abnormal resistance or unusual sound during operating.
Reassembly
REASSEMBLY
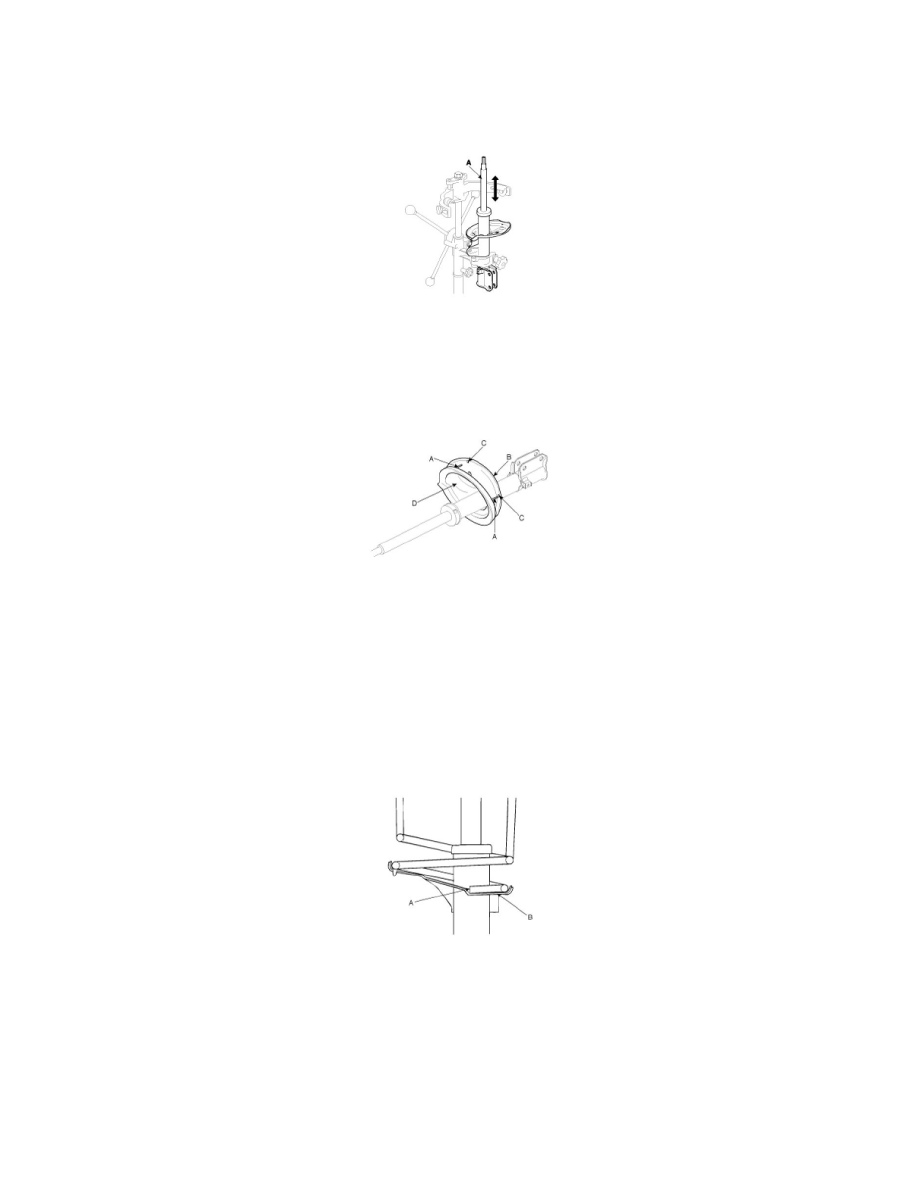
1. Install the spring lower pad(D) so that the protrusions(A) fit in the holes(C) in the spring lower seat(B).
2. Compress coil spring using special tool(09546-26000).
Install compressed coil spring into shock absorber.
NOTE:
1) There are two color marks on the coil spring. One corresponds to model option, and the other corresponds to load classification. Ensure that
the correct parts are being installed.
2) Install the coil spring with the identification mark directed toward the knuckle.
3. After fully extending the piston rod, install the spring upper seat and insulator assembly.
4. After seating the upper and lower ends of the coil spring(A) in the upper and lower spring seat grooves(B) correctly, tighten new self-locking nut
temporarily.
5. Remove the special tool(09546-26000).
6. Tighten the self-locking nut to the specified torque.
Tightening torque :
52 - 70 Nm (5.2 - 7.0 Kgf-m, 37.6 - 50 lb-ft)