
300Tdi Defender
82
AIR CONDITIONING
8
REPAIR
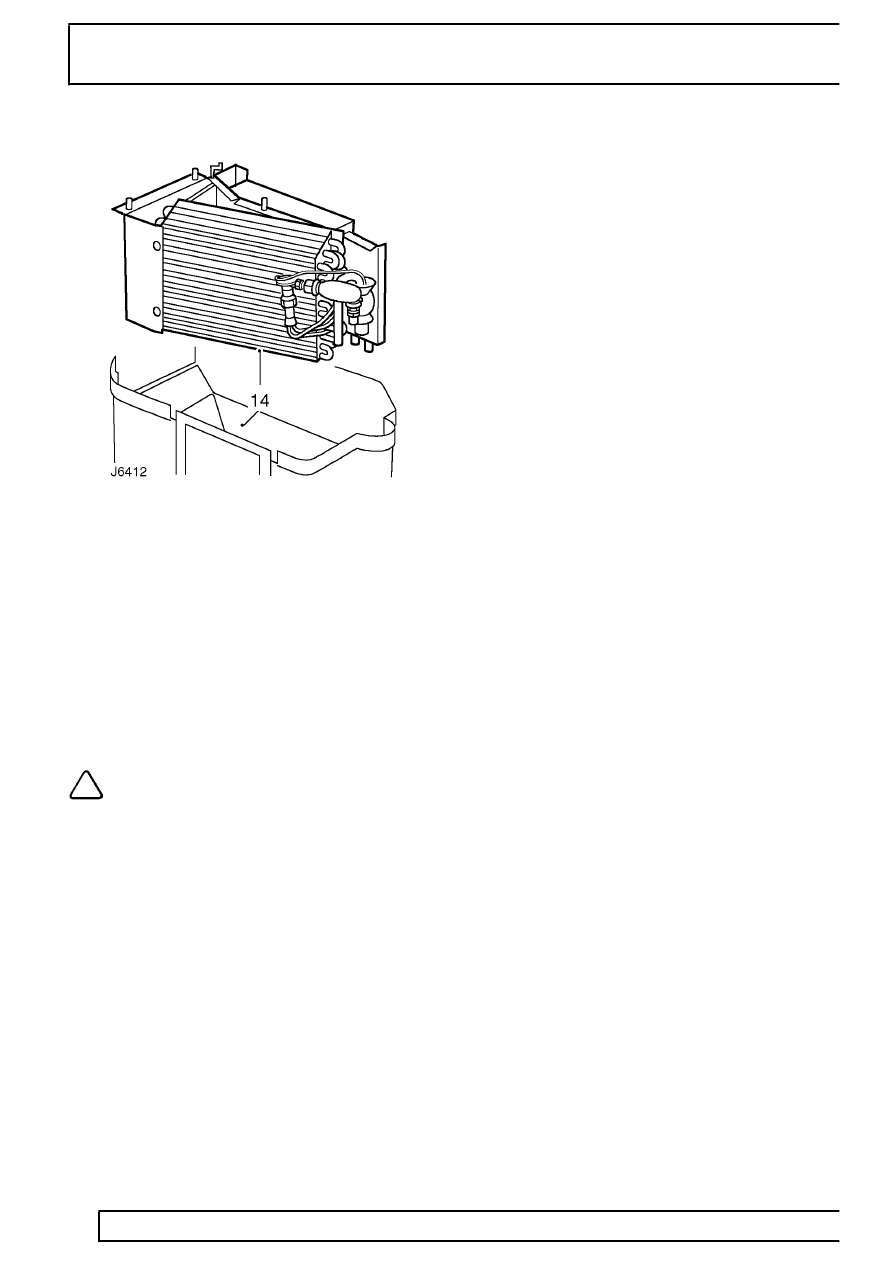
13. Remove all other fixings securing evaporator
and heater matrix support frame to unit casing.
14. Lift evaporator and heater matrices, complete
with support frame assembly, clear of casing.
Retain heater matrix pipe seal pad.
15. Remove 4 screws securing evaporator matrix to
support frame.
16. Withdraw evaporator matrix, complete with
expansion valve, from support frame.
17. Clean sealing compound from all joints of main
casing, top cover and outlet duct.
NOTE: The evaporator matrix is supplied
complete with the expansion valve.
However, a faulty expansion valve can be
serviced separately,
See Expansion valve.
Refit
18. Fit evaporator matrix in support frame.
19. Fit evaporator, heater matrix and support frame
assembly in casing. Ensure studs for lower
mounting bracket are located through bottom of
casing.
20. Apply mastic sealant around heater matrix pipes
to seal pipe apertures in casing. Fit seal pad
over pipes.
21. Fit 3 bottom fixings to secure to secure base of
support frame.
22. Fit all other fixings to secure support frame
assembly.
23. Locate heater matrix insulation pad and cover
plate.
24. Apply sealng compound around top edge of
main casing.
25. Feed blower motor wiring through top cover and
fit grommet.
26. Fit top cover to casing. Ensure thermostat
temperature probe is inserted in top of
evaporator. Apply mastic sealant to air flap
operating rod aperture.
27. Apply sealing compound to joint face of blower
motor outlet duct.
28. Locate duct over blower motor outlet and secure
to casing.
29. Secure lower mounting bracket to retaining studs
on base of main casing.
30. Fit heater/cooler unit assembly in engine
compartment
See Heater/cooler unit.