TD5 Defender Engine Crankshaft Information and Maintenance

12
ENGINE
38
OVERHAUL
Crankshaft spigot bush
1. Check crankshaft spigot bush for wear, replace if
necessary using the following procedures:
2. Secure crankshaft in a suitably padded vice.
3. Tap a thread in spigot bush to accommodate a
suitable impulse extractor.
4. Fit impulse extractor to spigot bush.
5. Remove spigot bush.
6. Clean spigot bush recess in crankshaft.
7. Fit new spigot bush to crankshaft using a
suitable mandrel.
Crankshaft - Refit
1. Fit oil squirt jets, fit Torx screws and tighten to 8
Nm (6 lbf.ft) .
2. Lubricate new, grooved, main bearing shells with
engine oil and fit to cylinder block.
3. Lubricate new thrust washers with engine oil and
fit, grooved side facing outwards, to recess in
each side of cylinder block No. 3 main bearing.
4. Lubricate crankshaft journals with engine oil and
using assistance, position crankshaft in cylinder
block.
5. Lubricate new, plain, main bearing shells with
engine oil and fit to main bearing caps.
6. Fit main bearing caps in their original fitted
positions ensuring that reference marks are
aligned.
7. Fit and lightly tighten new main bearing cap
bolts.
CAUTION: Do not lubricate bolt threads.
8. Starting with No. 3 main bearing cap and
working outwards, tighten main bearing cap bolts
to:
Stage 1 - 33 Nm (24 lbf.ft)
Stage 2 - Further 90
°
CAUTION: Do not carry out stages 1 and 2
in one operation.
9. Check that crankshaft rotates smoothly.
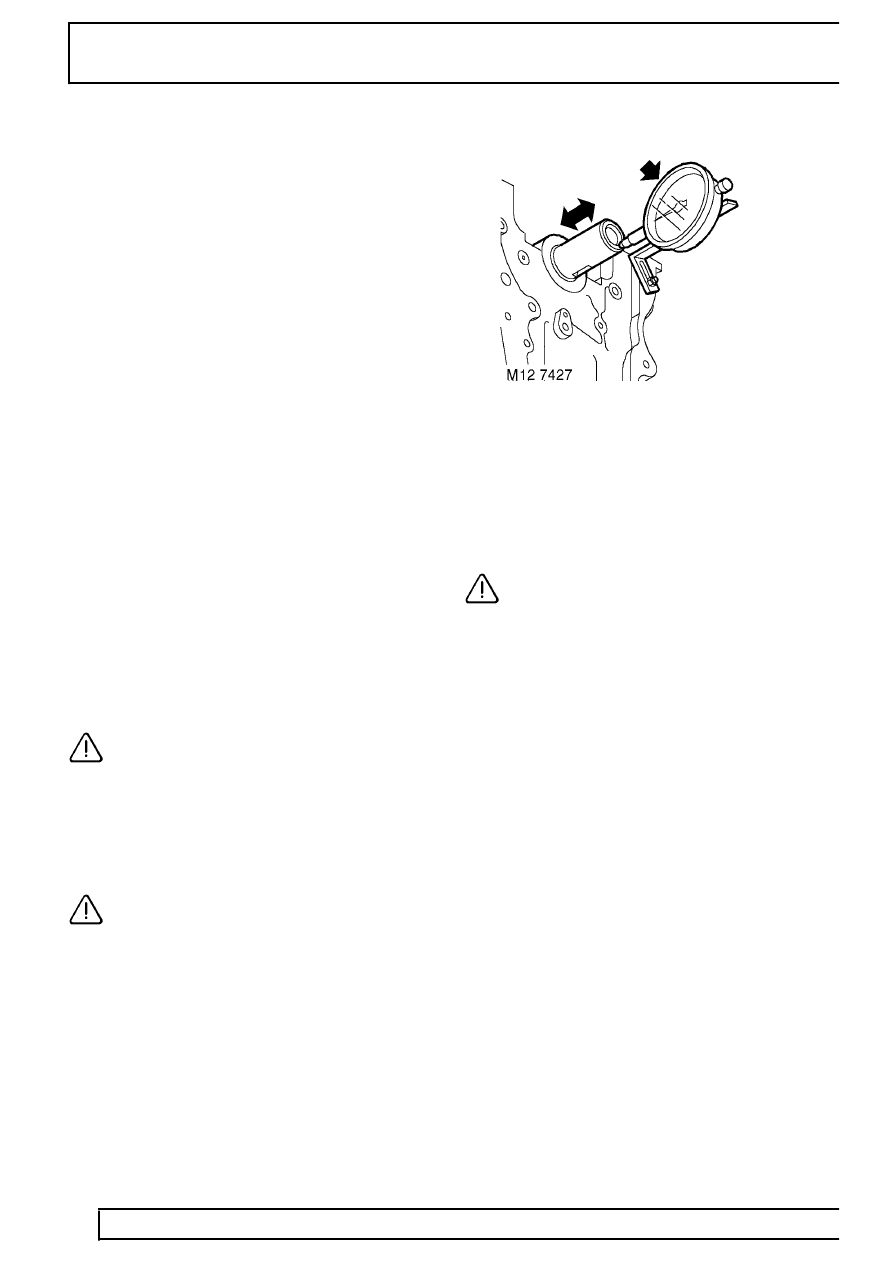
10. Assemble a magnetic base DTI to front of
cylinder block with stylus of gauge on end of
crankshaft.
11. Using suitably padded levers, move crankshaft
rearwards and zero DTI.
12. Move crankshaft forwards and note crankshaft
end-float reading on gauge.
Crankshaft end-float = 0.02 to 0.25 mm (0.001
to 0.011 in)
CAUTION: Oversize thrust washers are not
available, if end-float exceeds figure given,
crankshaft must be replaced.
13. Remove DTI.
14. Fit connecting rod bearings. See this Section.
15. Fit timing chain and sprockets. See this
Section.
16. Fit crankshaft rear oil seal. See this Section.
