TD5 Defender

77
PANEL REPAIRS
6
REPAIR
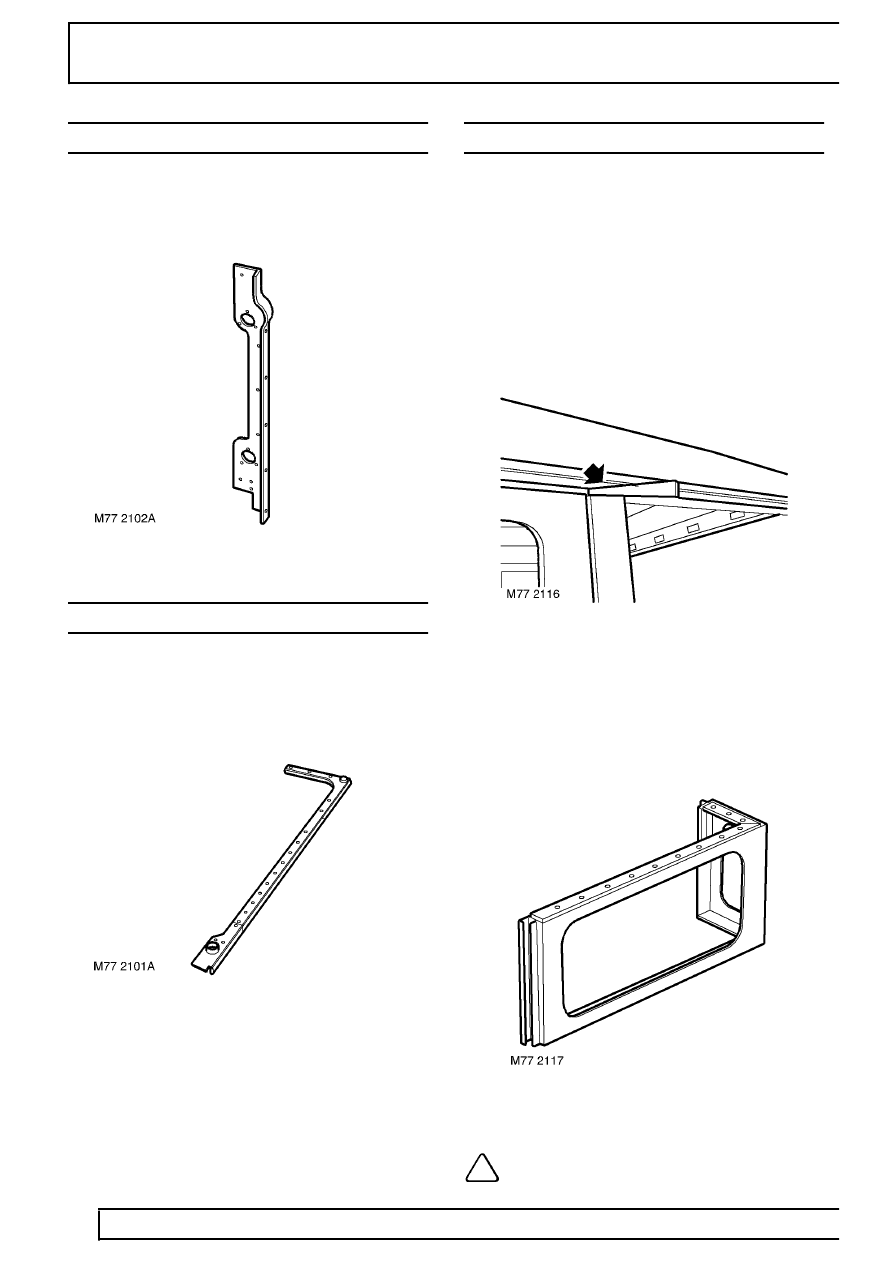
CORNER CAPPING
The Corner Capping is not replaced as a single panel.
It is replaced in conjunction with either the Body Side
Lower Panel or Body Side Assembly. The procedure
to replace the Corner Capping is shown in the Body
Side Lower Panel procedure.
BODY SIDE CAPPING
The Body Side Capping is not replaced as a single
panel. It is replaced in conjunction with either the
Body Side Lower Panel or Body Side Assembly. The
procedure to replace the Body Side Capping is shown
in the Body Side Lower Panel procedure.
BODY SIDE REAR - UPPER
Remove
1. Disconnect both battery leads, negative lead
first.
2. Remove front, centre and rear sections of
headlining.
3. Release upper edge of front door aperture seal.
4. Release upper edge of rear door aperture seal.
5. Remove fixings from front edge of roof, and
along side being replaced.
6. Release sealant securing front edge of roof.
7. Insert wedges into top of both ’B/C’ posts. This
will allow access for removal of body side.
8. RH side: Remove tail door. See CHASSIS
AND BODY, Repair.
9. Remove side window.
10. Remove rear sixth light.
11. Remove all bolts securing upper body side.
Refit
12. Prepare and clean panel joint faces.
13. Reverse removal procedure.
NOTE: When refitting, ensure body side
upper is correctly fitted onto location pins.
