
Discovery II
FRONT SUSPENSION
60-54
REPAIRS
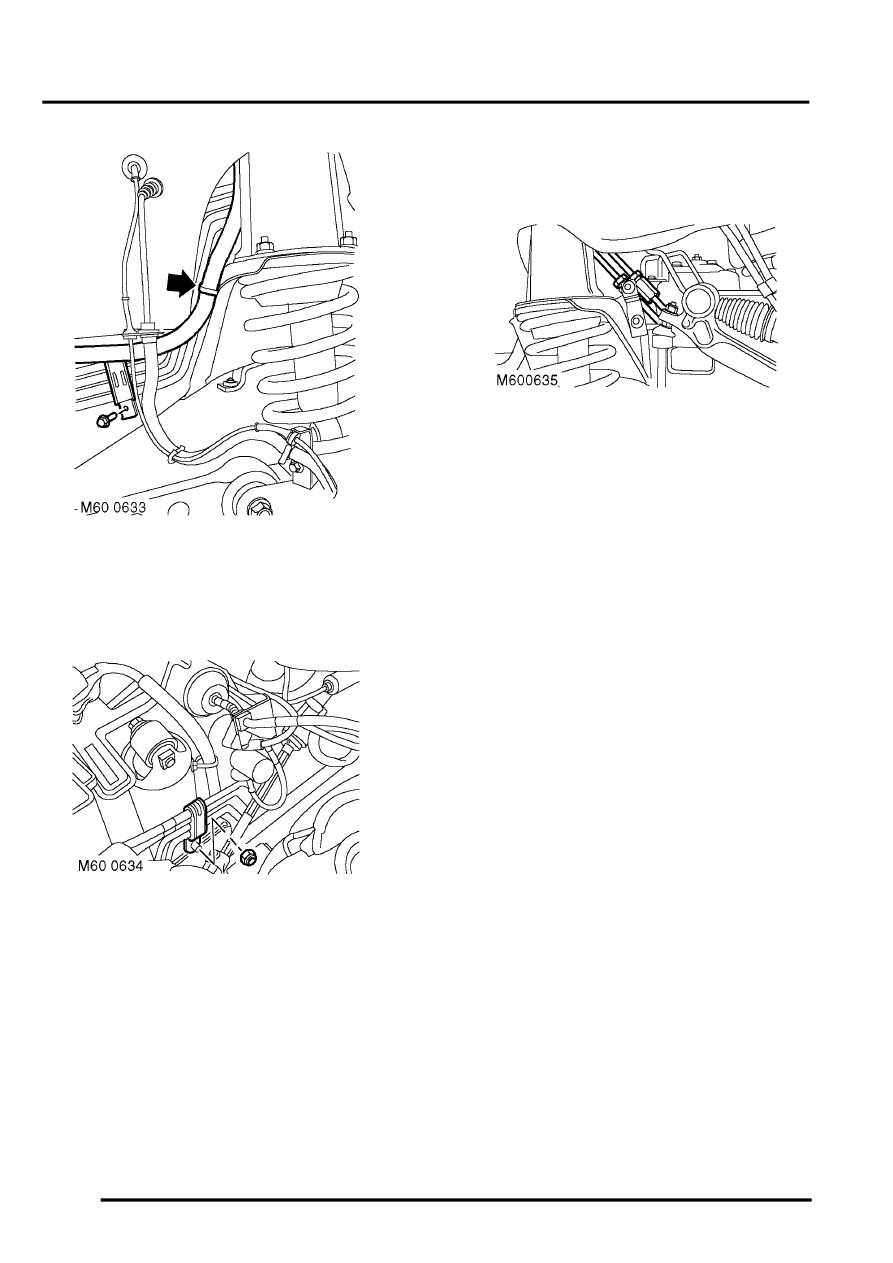
16. Remove bolt securing pipe clamp to RH
chassis member and remove clamp.
17. Release harness clip from RH suspension
turret.
18. Remove nut securing pipe clamp to bracket on
RH suspension turret and remove clamp.
19. Release pipe from isolator above chassis RH
front outrigger.
20. Cut pipe at suitable point near suspension
turret.
21. Remove and discard front and rear sections of
pipe.
Refit
1. Fit both sections of new pipe to vehicle.
2. Ensure 'O' ring is fitted to union on front section
of pipe.
3. Push both sections ofpipe together squarely
and tighten union nut to 16 Nm (12 lbf.ft).
4. Locate pipe in isolator above chassis RH front
outrigger. Fit cable tie around isolator to secure
pipe.
5. Valve block to reservoir pipe:Fit clip to
reservoir hose, connect hose to reservoir and
secure with clip.
6. Pump to valve block pipe: Ensure pipe banjo
and ACE pump connections are clean, fit new
sealing washers, align banjo to pump and
tighten bolt to 29 Nm (21 lbf.ft).
7. Fit pipe clamps to pipe, align clamps to front
cross member and fit bolts.
8. Valve block to reservoir pipe: Fit pipe to clip
on LH chassis member.
9. Fit pipe clamp to pipes, align clamp to
suspension turret and secure with nut.
10. Fit pipe clamp to pipes, align clamp to RH
chassis member and secure with bolt.
11. Align and secure harness to suspension turret.
12. Fit 'O' ring to air cleaner.
13. Fit air hose to throttle body and secure with clip.
14. Fit air flow meter and secure with clips.
15. Connect multiplug to MAF sensor.
16. Fit lower fan cowl and secure with screws.
17. Fit viscous fan.
18. Fit RH splash shield and secure with screws.
19. Fit road wheel(s).
20. Fit valve block.
21. Renew ACE high pressure filter.
22. Lower vehicle.