
Discovery II
INTERIOR TRIM COMPONENTS
REPAIRS 76-3-17
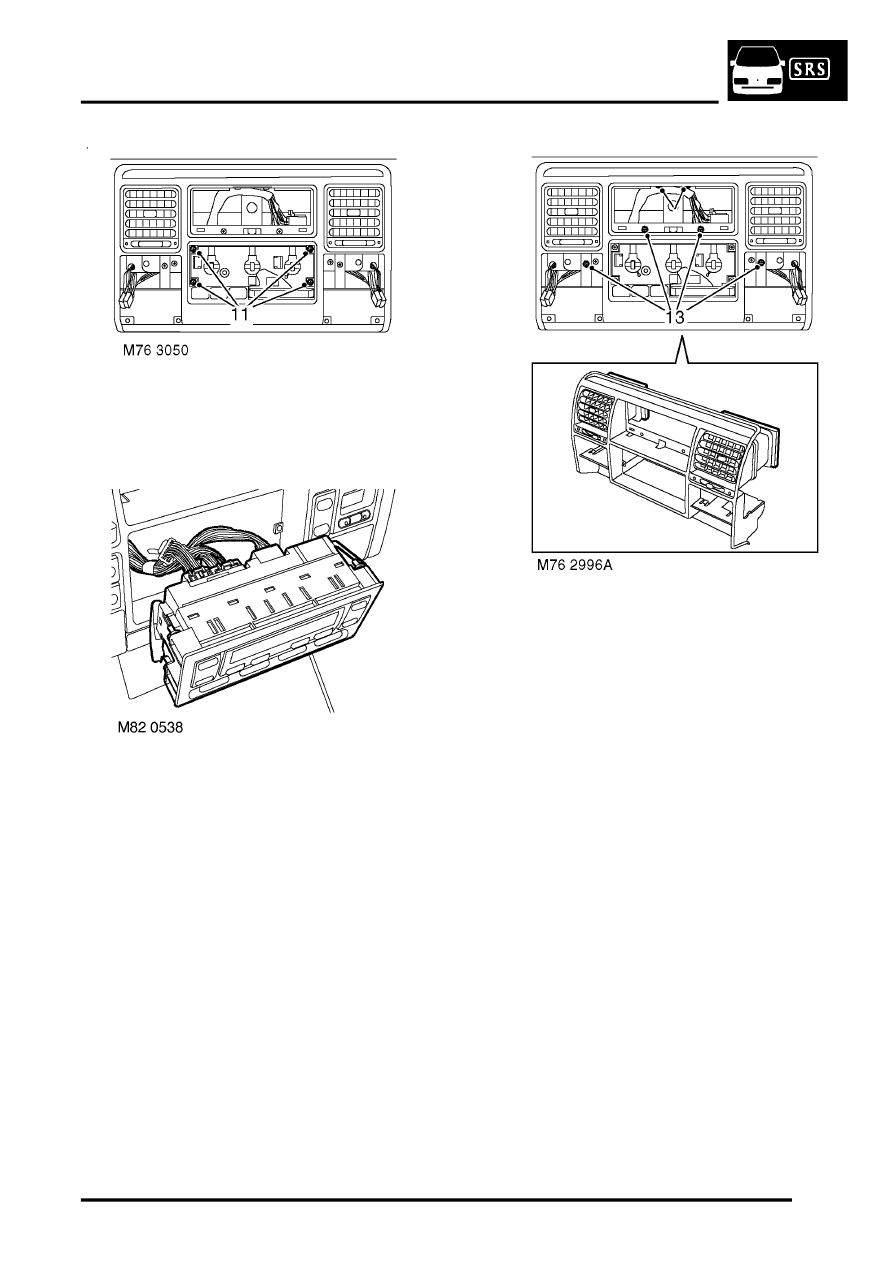
11. Models without A/C: Remove 4 screws
securing heater control panel to louvre panel.
12. Models with A/C: Carefully release ATC ECU
from louvre panel, disconnect multiplugs and
remove ATC ECU.
13. Loosen 2 upper screws and remove 4
remaining screws securing louvre panel to
fascia.
14. Remove louvre panel assembly.
15. Remove seals from face level vents.
Refit
1. Fit seals to face level vents on new louvre
panel.
2. Fit louvre panel to fascia and secure with
screws.
3. Models with A/C: Connect multiplugs to ATC
ECU and fit ATC ECU to fascia.
4. Models without A/C: Fit screws securing
heater control panel to louvre panel.
5. Models without A/C: Fit heater control panel
graphic plate and secure with screws.
6. Models without A/C: Fit blower speed and
heater control knobs.
7. Position switch pack, connect multiplugs to
switches and fit switch pack to louvre panel.
8. Position clock assembly, connect multiplug to
clock and door locking switch and fit clock
assembly to louvre panel.
9. Fit drinks tray.
REPAIRS, Drink tray assembly - centre
fascia.
10. Fit and secure radio DIN socket.
11. Fit screw cover to radio aperture.
12. Fit radio cassette player.