
Discovery II
SCREENS
76-4-6
REPAIRS
Glass - alpine light
$% 76.81.52
Introduction
The following equipment is required:
l
Cutting wire and handles.
l
Kent cutting knife.
l
Glazing knife.
l
Windscreen repair kit.
l
Sealant applicator gun.
l
Suction cups.
l
A felt covered table or stand to support glass.
WARNING: Wear protective gloves when
handling glass, solvents and primers.
WARNING: Wear suitable eye protection when
removing and refitting glass.
Remove
1. Fit protection to exterior body work adjacent to
glass.
2. Fit cover over adjacent body work.
3. Fit protection to internal trim adjacent to glass.
4. Cover interior of vehicle with protective sheet.
5. From outside of vehicle, use a Kent knife and
carefully cut through sealant to release glass
from body. Any remaining sealant not
accessible with Kent knife can be severed
using cutting wire or knife.
CAUTION: Hold the cutting wire as close to
the glass as possible to prevent damage to
the body and surrounding trim.
6. Remove glass.
CAUTION: Lay glass on felt covered
supports and be careful not to damage the
obscuration band. Do not stand on edge as
this can cause chips which subsequently
develop into cracks.
Refit
1. Carefully remove sealant from body to leave a
smooth surface.
2. With assistance, fit glass without sealant to
body and apply masking tape to establish
reference marks as an alignment aid.
3. Remove glass and place aside.
4. Clean body and sealant face on glass with
solvent.
CAUTION: Do not touch cleaned or primed
surfaces with fingers.
5. Apply etch primer to any bare metal on body.
6. Apply glass primer to sealant face on glass and
allow to cure.
7. Apply primer over etch primer on body.
8. Apply activator over old sealant on body.
9. Allow activator to cure.
10. Fit pre-cut nozzle to sealant cartridge, remove
lid, shake out crystals, and fit cartridge to
applicator gun. If necessary modify the nozzle
to achieve required bead section.
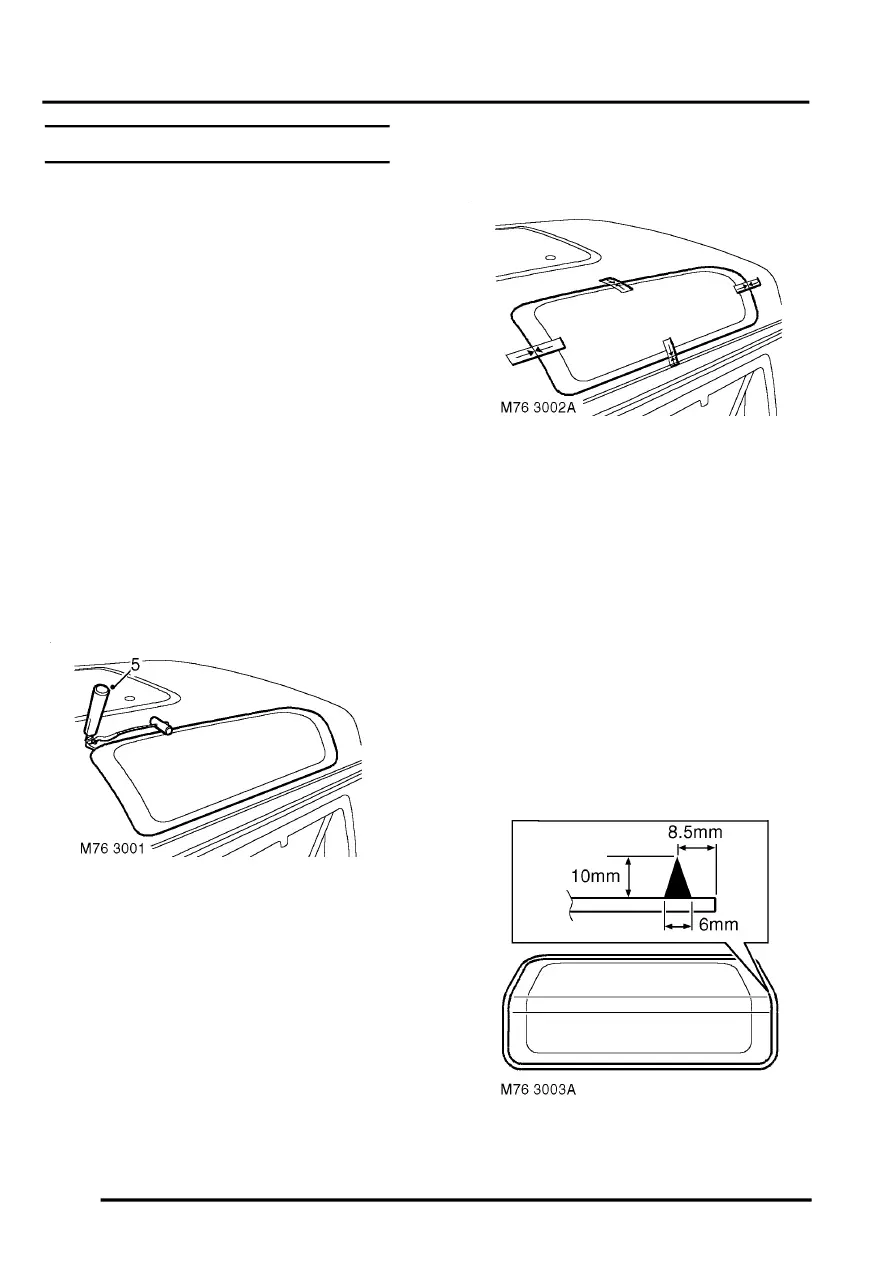
11. Apply a continuous bead of sealant to sealant
face on glass as shown.