
300Tdi Discovery
SFI
17
REPAIR
ADD: 09/95
Refit
6. Fit a NEW filter to bracket.
NOTE: Ensure direction of flow arrow
stamped on canister is correct.
7. Position filter mounting bracket to chassis and
secure with nut and bolt.
8. Remove plugs from fuel hose ends.
9. Lubricate NEW ’O’ rings with clean fuel and fit to
fuel hoses.
10. Connect fuel hoses to filter and tighten unions to
18 Nm .
CAUTION: Use two spanners when
loosening or tightening unions.
11. Remove stand(s) and lower vehicle.
12. Run the engine to check for any fuel leaks.
FUEL PUMP AND GAUGE SENDER UNIT -
ADVANCED EVAPS
Service repair no - 19.45.03
A plastic fuel tank with a combined fuel pump and
gauge sender unit is fitted. The top flange of the pump
also houses a pressure sensor which is not removable
from the pump. The fuel pump is accessed through a
panel in the load space floor.
WARNING: Ensure that fuel handling
precautions given in 01 - Introduction are
strictly adhered to when carrying out
following instructions.
CAUTION: Before disconnecting any part
of fuel system, it is imperative that all dust,
dirt and debris is removed from around
components to prevent ingress of foreign matter
into fuel system.
Remove
1. Depressurise fuel system.
See fuel system -
depressurise - advanced evaps
2. Disconnect battery negative lead.
3. Check the amount of fuel in the tank. If the tank
is full, drain 2.4 US gallons (9 litres) minimum.
See fuel tank - draining - advanced evaps
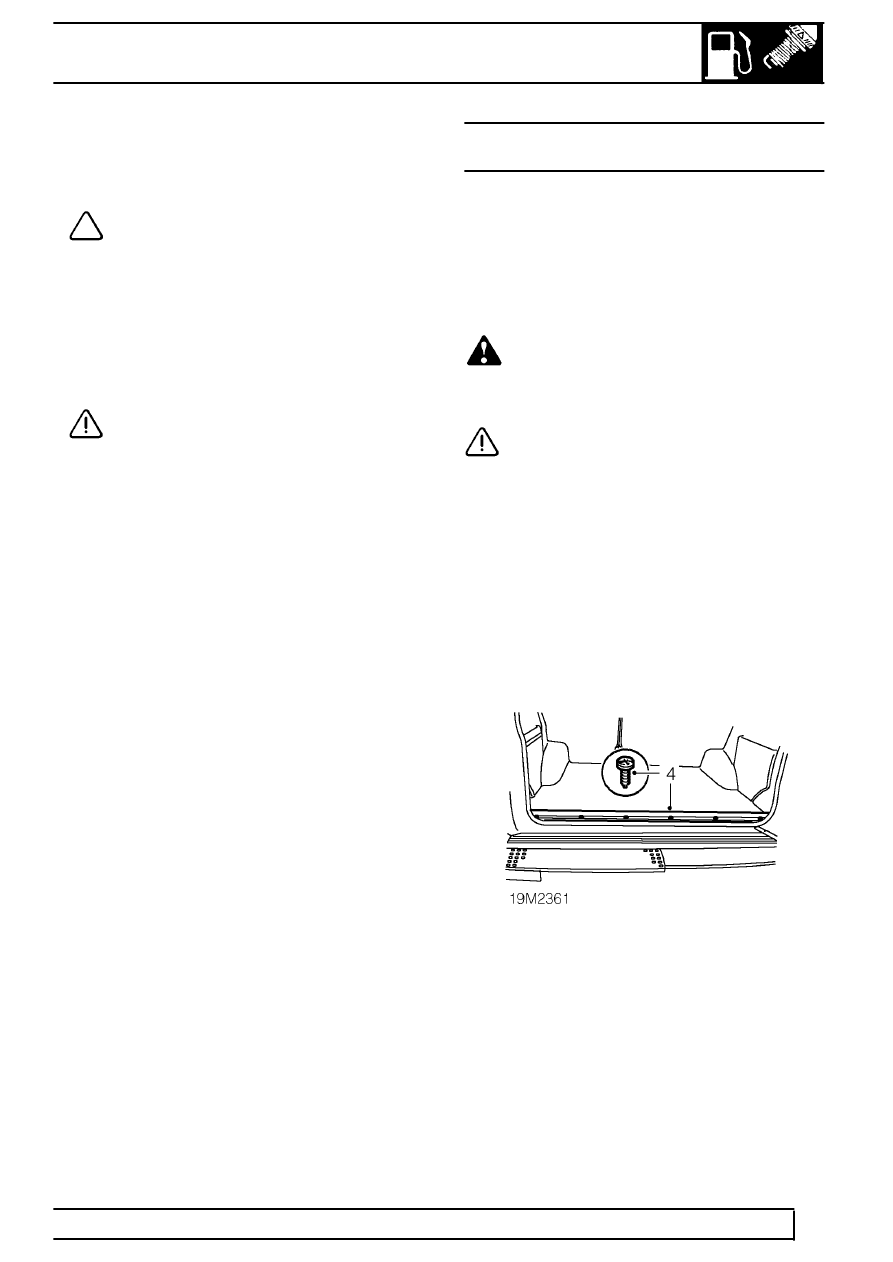
4. Remove 6 screws securing tail door tread strip
and remove tread strip.
5. Remove RH luggage compartment side panel.
See CHASSIS AND BODY, Repair, rear
compartment lower trim panels