
300Tdi Discovery
CHASSIS AND BODY
47
REPAIR
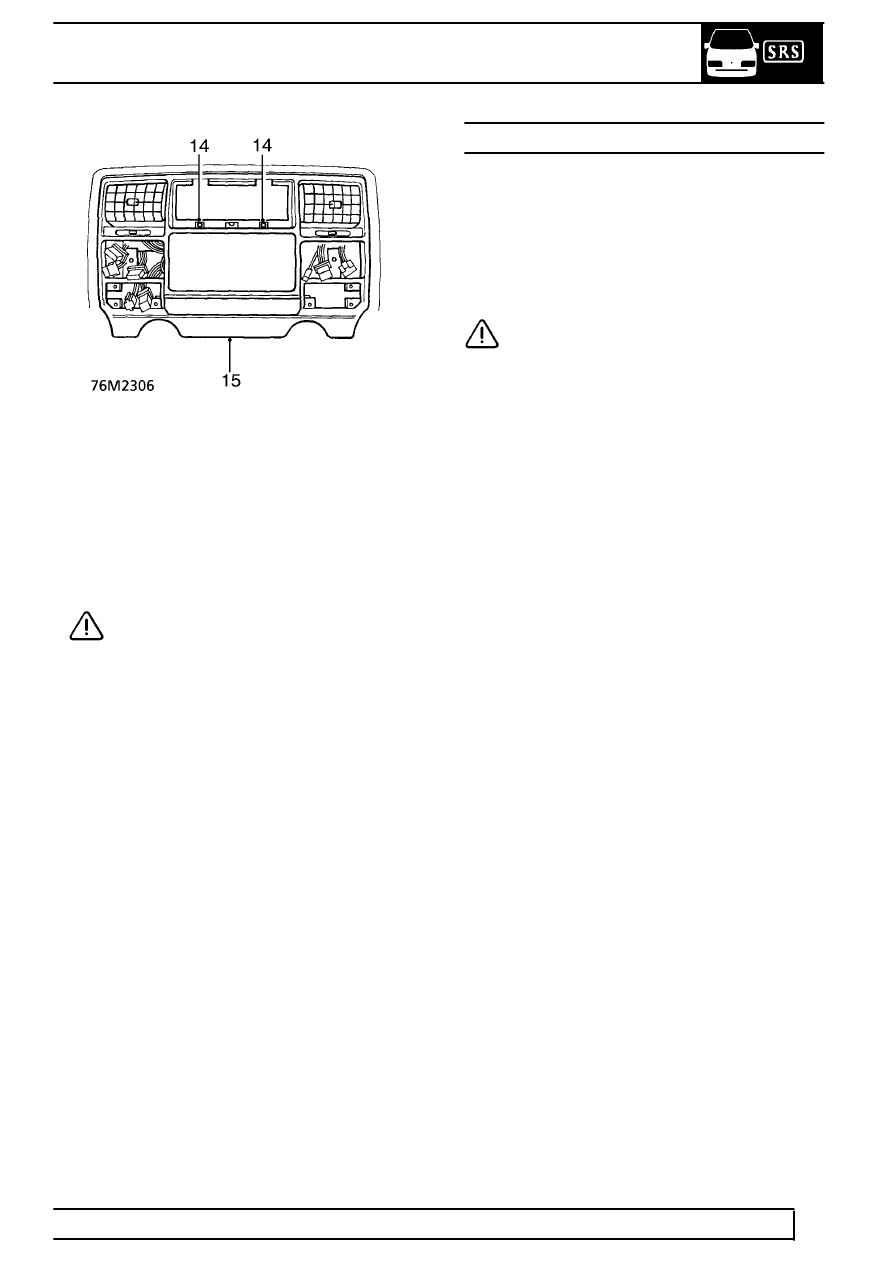
14. Remove 2 screws securing louvre panel.
15. Remove louvre panel from dash panel.
Refit
16. Position louvre panel, feed harness connectors
through their correct apertures,and align to dash
panel.
CAUTION: When refitting avoid trapping of
electrical wiring.
17. Fit and tighten screws securing louvre panel.
18. Fit panel retaining screw cover.
19. Position heater control unit to panel and secure
with screws.
20. Fit heater graphic display panel and secure with
screws.
21. Fit heater control and blower switch knobs.
22. Fit clock.
See ELECTRICAL, Repair, clock.
23. Position coin tray and secure to tags.
24. Position radio cage, feed electrical connectors
and aerial through cage, and position to panel.
25. Bend back radio cage retaining tags.
26. Fit radio.
See ELECTRICAL, Repair, radio.
27. Connect battery negative lead.
DASH PANEL ASSEMBLY
Service repair no - 76.46.23
Remove
1. Move front seats to rearmost position.
2. Disconnect battery negative lead.
3. Disconnect air bag multiplugs under dash panel.
CAUTION: When air bags are fitted,
reference must be made to the Airbag
Supplementary Restraint System section.
4. Remove passenger glove box.
5. Remove driver’s side access panel.
6. Remove centre console assembly.
See centre
console.
7. Remove airbag from steering wheel.
See
SUPPLEMENTARY RESTRAINT SYSTEM,
Repair, driver’s airbag module.
8. Remove passenger’s airbag from dash panel.
See SUPPLEMENTARY RESTRAINT SYSTEM,
Repair, passenger’s airbag module.
9. Release clamp and lower steering column.
10. Remove steering wheel.
See STEERING,
Repair, steering wheel.
11. Remove column switch.
See
SUPPLEMENTARY RESTRAINT SYSTEM,
Repair, column switch assembly.
12. Remove instrument binnacle.
See
ELECTRICAL, Repair, instrument binnacle.
13. Remove radio.
See ELECTRICAL, Repair,
radio.
14. Remove exterior mirrors switch panel.
15. Remove coin tray.
16. Remove switch panel.
17. Remove clock.
18. Undo screw securing mounting bracket and
position passenger’s side relay assembly aside.
19. Set heater controls fully clockwise.