
300Tdi Discovery
82
AIR CONDITIONING
18
REPAIR
EVAPORATOR - REAR
Service repair no - 82.26.08
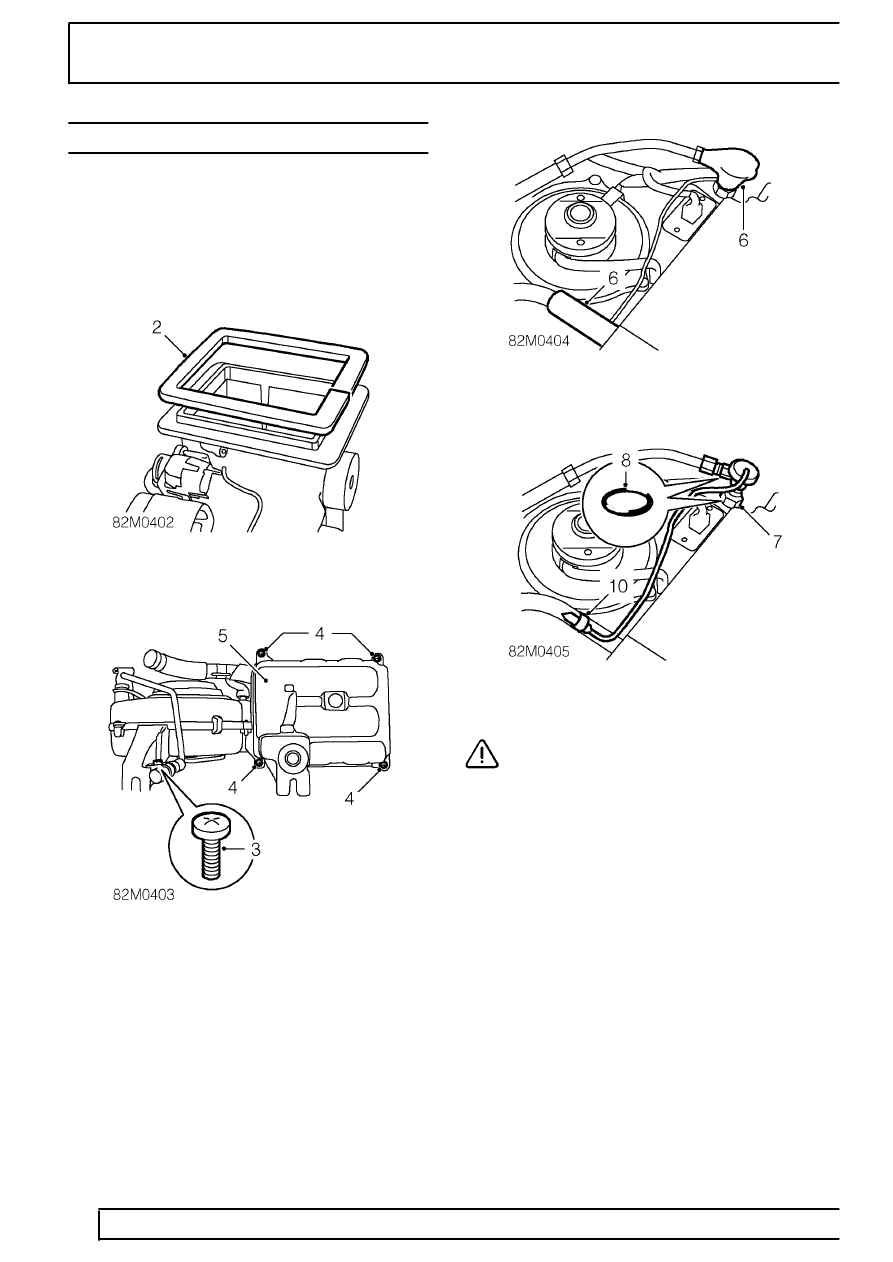
Remove
1. Remove evaporator/blower motor assembly
harness.
See harness - evaporator/blower
motor assembly - rear
2. Remove foam seal from evaporator to alpine
light duct flange.
3. Remove screw securing air conditioning
pressure pipe ’P’ clip to casing.
4. Remove 4 screws securing evaporator/blower
motor lower casing.
5. Remove lower casing.
6. Remove foam insulation from expansion valve
and expansion valve probe.
7. Loosen expansion valve to evaporator union.
CAUTION: Use 2 spanners when loosening
or tightening air conditioning pipe unions.
8. Remove and discard ’O’ ring from evaporator
pipe.
9. Plug expansion valve to evaporator connections.
10. Remove expansion valve probe retaining clip.