
300Tdi Discovery
82
AIR CONDITIONING
20
REPAIR
THERMOSTAT - REAR
Service repair no - 82.26.09
Remove
1. Remove evaporator/blower motor assembly
harness.
See harness - evaporator/blower
motor assembly - rear
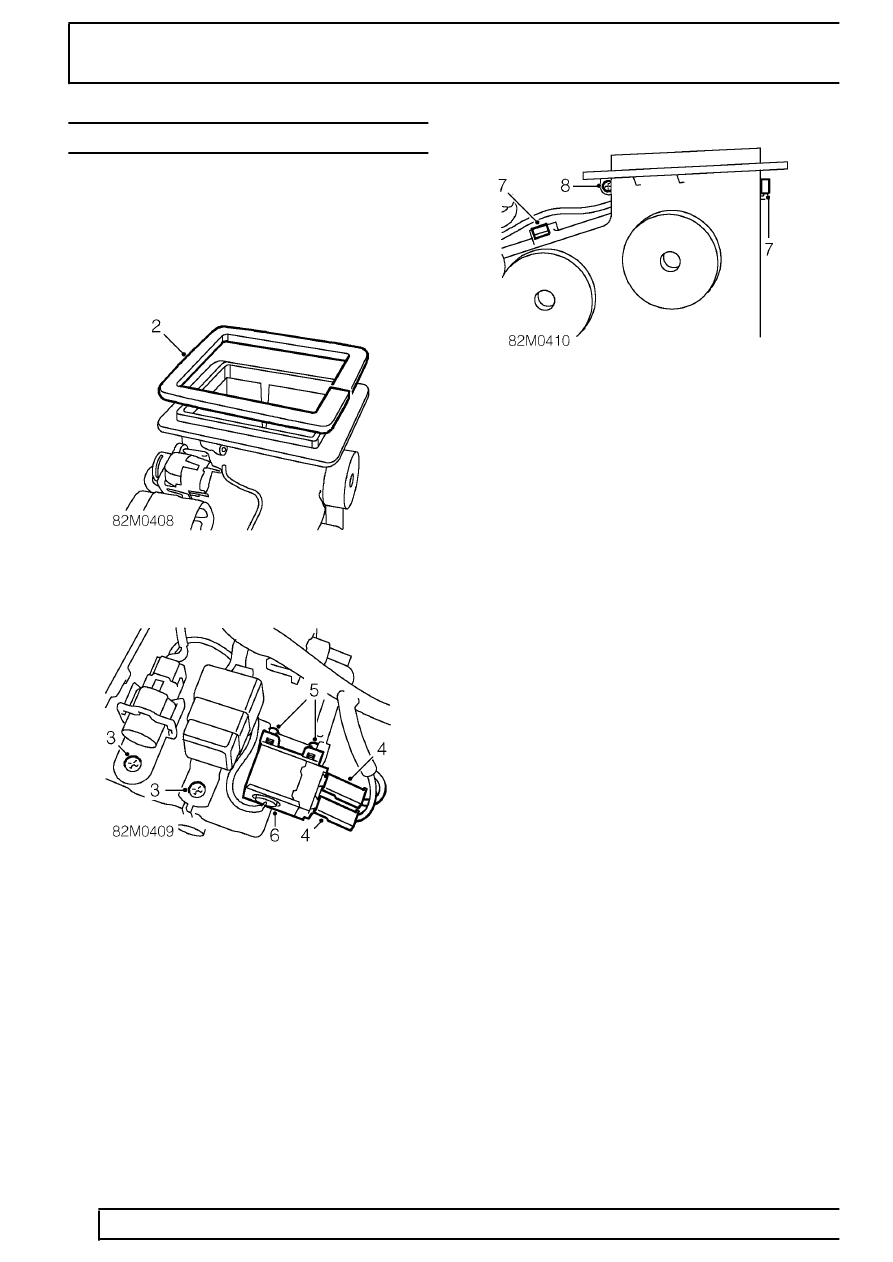
2. Remove foam seal from evaporator to alpine
light duct flange.
3. Remove screws securing 2 relay mounting
brackets to evaporator/blower motor casing and
position aside.
4. Disconnect 2 Lucars from thermostat.
5. Loosen 2 screws securing thermostat.
6. Release thermostat from bracket.
7. Remove 2 clips securing evaporator/blower
motor casing halves.
8. Remove screw securing evaporator/blower
motor casing halves.
9. Separate casing sufficiently to enable removal of
thermostat probe from casing.
10. Remove thermostat.
Refit
11. Position thermostat fixings to casing and tighten
screws.
12. Connect Lucars to thermostat.
13. Separate casing sufficiently to enable fitment of
thermostat probe to casing.
14. Fit and tighten screw securing casing halves.
15. Fit clips securing casing halves.
16. Remove backing paper from NEW foam,
evaporator to alpine light duct, flange seal.
17. Fit foam seal to evaporator/blower motor casing
flange.
18. Fit evaporator/blower motor assembly harness.
See harness - evaporator/blower motor
assembly - rear; Refit