Freelander Service Procedures

SCREENS
76-4-4
REPAIRS
Refit
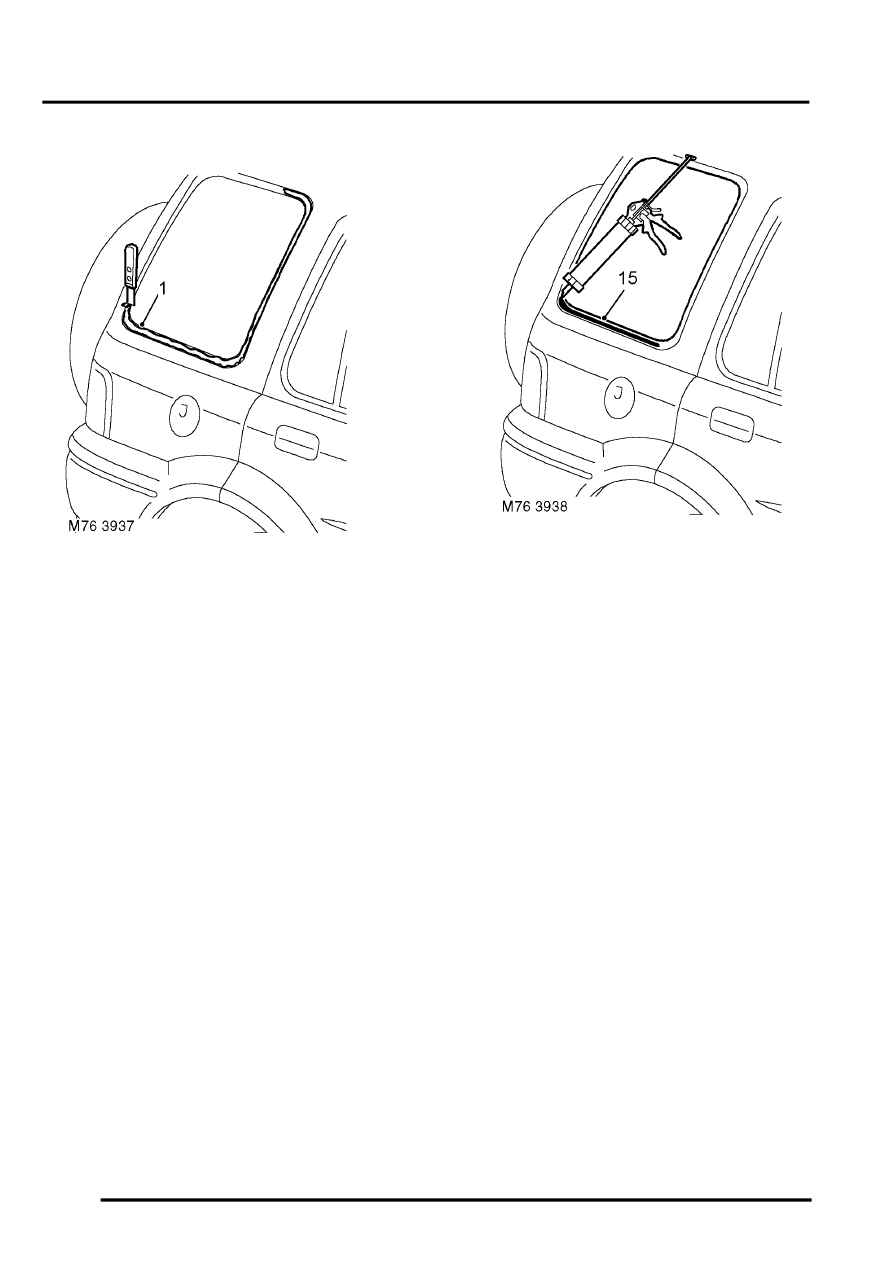
1. Carefully remove excess sealer from body
leaving a smooth surface.
2. Use a vacuum cleaner to clear away any waste.
3. Original glass: Carefully cut back old sealer to
obtain a smooth surface without damaging
obscuration band on glass.
4. Fit rubber spacer blocks to body.
5. With assistance, locate screen to body.
6. Apply masking tape reference marks to aid
fitment.
7. Remove screen and place aside.
8. Clean frame and edge of screen with solvent.
Do not touch cleaned or primed surfaces
with fingers.
9. Apply etch primer to any bare metal on frame.
10. Apply bonding agent to screen and allow to
cure.
11. Apply primer over etch primer on frame.
12. Apply activator over old sealer on frame.
13. Allow activator to cure.
14. Fit pre-cut nozzle to sealer cartridge, remove lid
and shake out crystals. Install cartridge in
applicator gun.
Nozzle will need modification to achieve
required bead section.
15. Apply a continuous bead of sealer around edge
of frame as shown. Make bead slightly thicker
at each corner.
16. Check for breaks and air bubbles in sealer.
17. Position glass to body and align to reference
tape.
18. Lightly press glass to fully seat sealer.
19. Secure glass with tape until sealer has cured.
20. Remove protective covers and tape.
21. Test sealer for leaks, apply additional sealer if
necessary. If water is used, allow sealer to dry
before testing. Spray water around glass and
check for leaks. Mark leakage points and apply
additional sealer as necessary when area is
completely dry.
22. Fit rear quarter upper casing.
