
L322 Range Rover Service Procedures
BRAKES
70-24
REPAIRS
7. Release catch and disconnect ABS modulator
multiplug.
8. Remove 6 Torx screws securing ABS ECU.
CAUTION: Before disconnecting or
removing components, ensure the
immediate area around joint faces and
connections are clean. Plug open
connections to prevent contamination.
9. Remove ABS ECU.
CAUTION: Do not touch the exposed
modulator solenoids as this could lead to
solenoid damage.
Refit
1. Ensure ABS ECU and modulator mating faces
are clean.
2. Fit ABS ECU to modulator, fit Torx screws and
tighten to 2.9 Nm (2 lbf.ft).
3. Connect multiplug to ABS modulator.
4. Position fuel cooler/filter bracket assembly, fit
bolts and nut and tighten to 8 Nm (6 lbf.ft).
5. Locate fuel filter and clamp assembly and
tighten nuts to 25 Nm (18 lbf.ft).
6. Fit intake duct assembly and secure to fuel
cooler with screws.
7. Alignfuel cooler intake duct to bonnet locking
platform, fit bolts and tighten to 3 Nm (2.2 lbf.ft).
8. Connect battery earth lead.
ABS sensor - front wheel
$% 70.65.30
Remove
1. Raise front of vehicle, one side.
WARNING: Do not work on or under a
vehicle supported only by a jack. Always
support the vehicle on safety stands.
2. Remove road wheel.
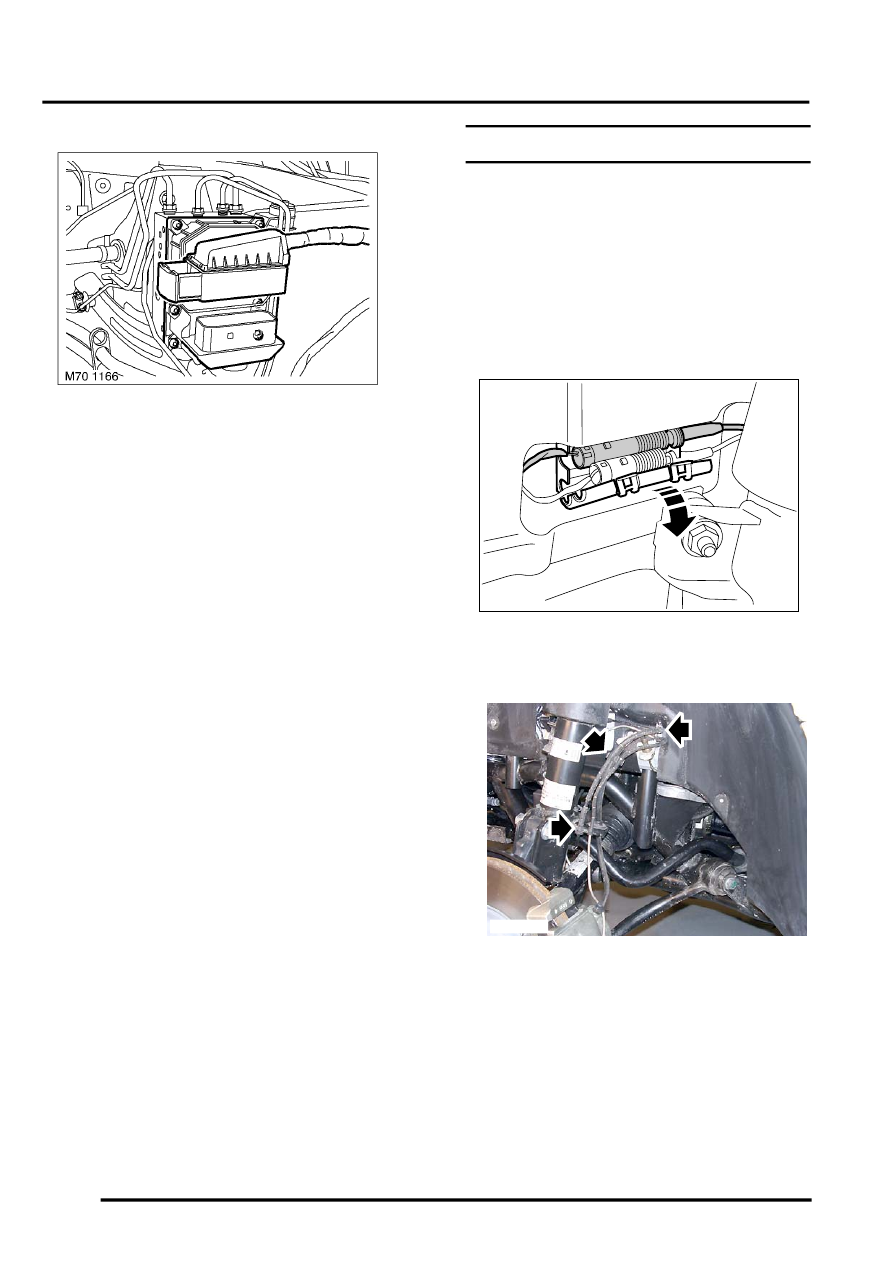
3. Open cover on multiplug housing, release and
disconnect sensor multiplug.
4. Release sensor lead from body bracket, clip
and brake hose bracket.
M70 1128
M70 1129