
LR3/Disco 3
Toe Link (64.35.70)
Removal
Installation
1 .
WARNING: Do not work on or under a vehicle supported only by a jack. Always support the
vehicle on safety stands.
Raise and support the vehicle.
2 .
Remove the wheel and tire.
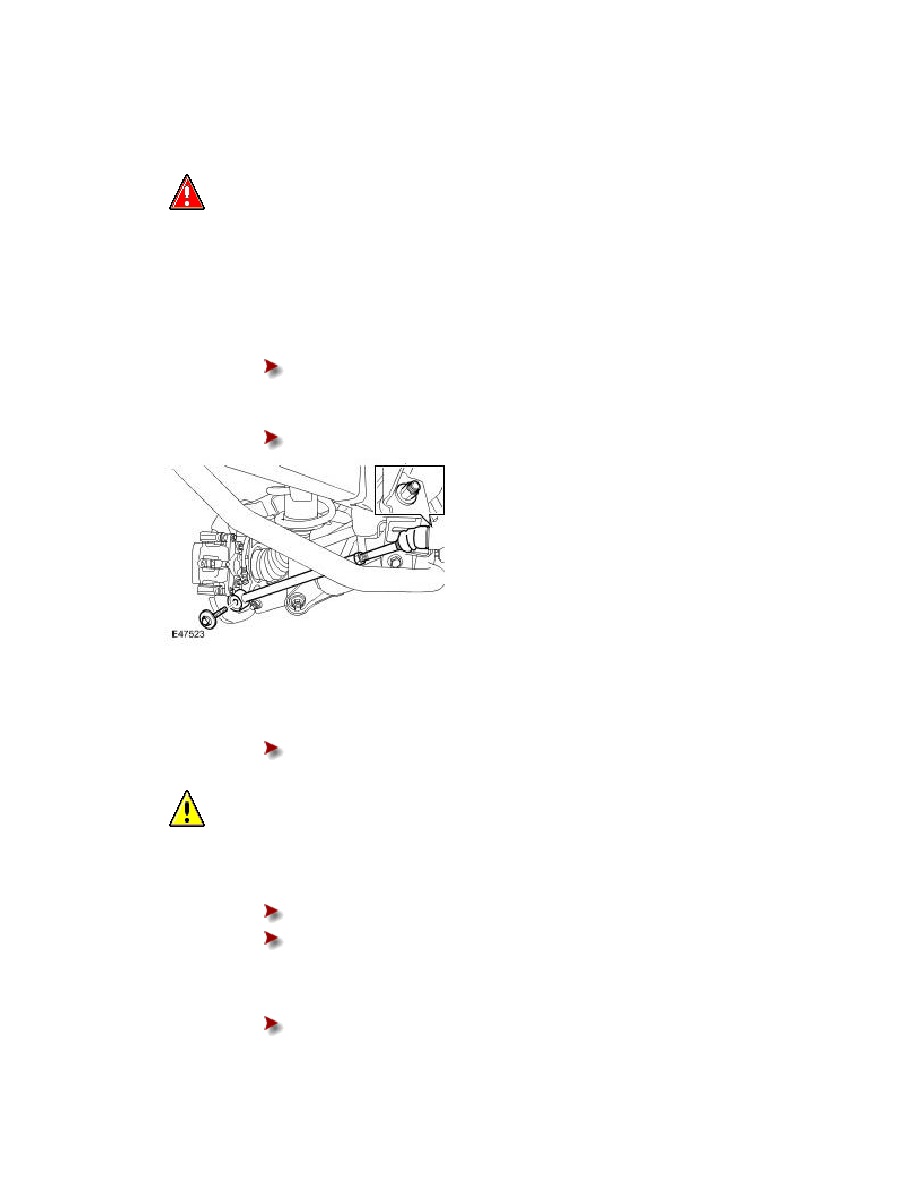
3 .
Disconnect the toe link.
Remove the bolt.
4 .
Remove the toe link.
Remove and discard the nut.
1 .
Install the toe link.
Install a new nut and lightly tighten.
2 .
CAUTION: Do not use a bolt that has been installed more than 5 times. Check the bolt head for
centre punch marks. A bolt head with 4 centre punch marks indicates the bolt has been installed 5
times and must be replaced.
Connect the toe link.
Tighten the bolt to 175 Nm (129 lb.ft).
Mark the bolt head with a centre punch, to indicate the number of times it has been used.
3 .
Set the gap, between the underside of the toe link rubber boot and the integrated body frame
bracket, to 12 mm (0.473 in).
Tighten the toe link inner ball joint retaining nut to 133 Nm (98 lb.ft)