
LR3/Disco 3
Air Suspension Front Solenoid Valve Block (60.50.11)
Removal
Installation
1 .
WARNING: Do not work on or under a vehicle supported only by a jack. Always support the
vehicle on safety stands.
Raise and support the vehicle.
2 .
Remove the RH fender splash shield. For additional information, refer to
Fender Splash Shield
(76.10.48)
(Section 501-02)
3 .
Using T4, depressurize the air suspension. For additional information, refer to
Air Suspension
System Depressurize and Pressurize (60.50.38)
(Section 204-05)
4 .
CAUTION: Before the disconnection or removal of any components, ensure the area around
joint faces and connections are clean. Plug any open connections to prevent contamination.
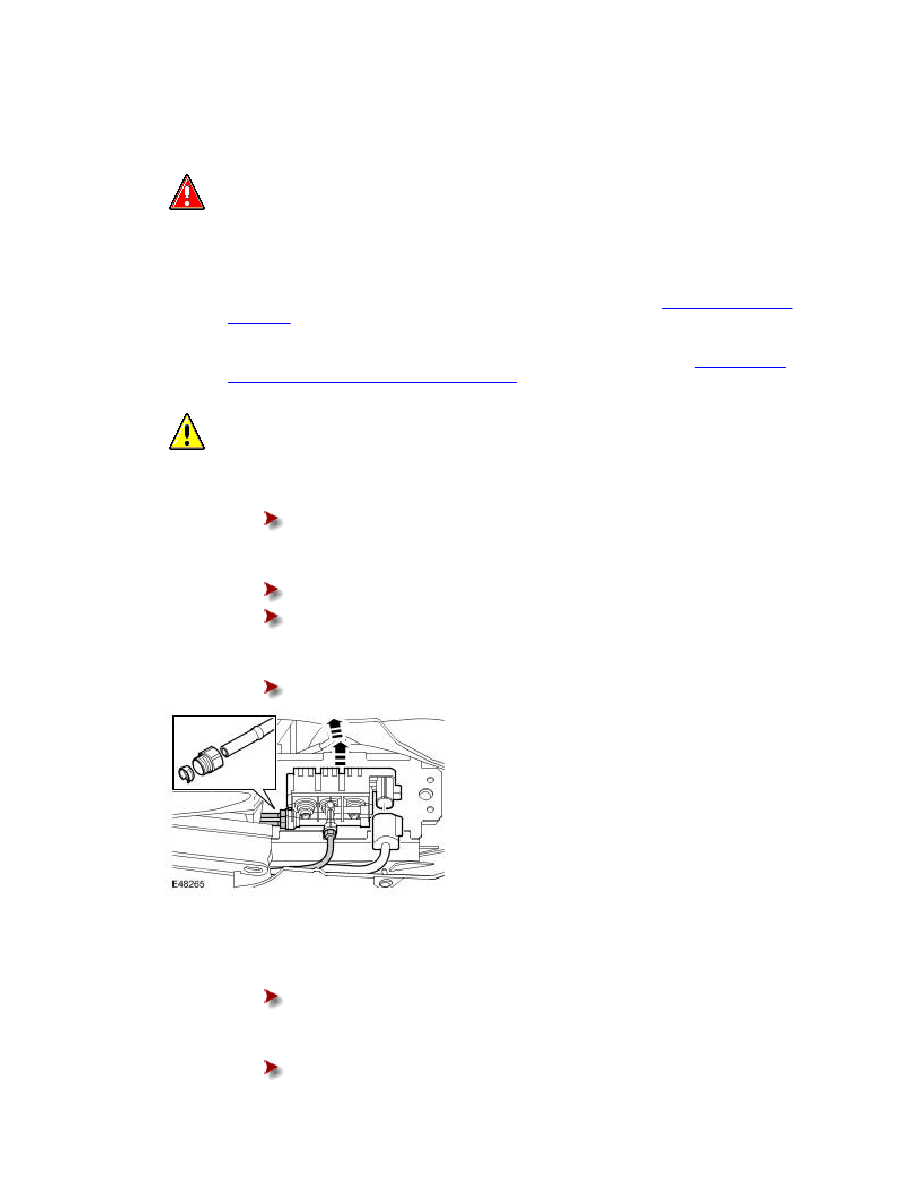
Disconnect 3 air lines from the air suspension front solenoid valve block.
Note their fitted positions.
5 .
Remove the air suspension front solenoid valve block.
Disconnect the electrical connector.
Release the valve block 3 rubber insulators.
6 .
Remove the Voss connectors from the air lines.
Remove and discard the collet and the union.
1 .
Install new Voss connectors to the air suspension front solenoid valve block.
Tighten to 2.5 Nm (1.7 lb.ft).
2 .
Install the air suspension front solenoid valve block.
Connect the air lines into the Voss connector.