
LR3/Disco 3
Adhesive bonding of bonded windows
Removing and installing bonded windows
Safety measures
The following safety measures must always be followed to prevent personal injury: Wear protective gloves. Wear
protective goggles.
Wear protective gloves.
Wear protective goggles.
Preparations
Before cutting out a bonded window, undo and remove any attached parts in the cutting area that are at risk, e.g.
trim panels and decorative strips, as well as all electrical connections.
Mask any painted areas that are adjacent to the window.
Cut off any surplus adhesive, as this makes it easier to cut out the window.
Secure vertical windows against dropping out.
Cutting out the window
Cut into the adhesive bead at easily accessible points using the cutting tool.
Carefully guide the cutting tool around the window, cutting through the adhesive bead.
Avoid touching the window frame and the body flange.
Use cup suction tools to lift the cut-out window out of the window aperture.
General preparations for bonding
Follow the manufacturer's instructions.
Cut back the remaining adhesive bead on the metal flange to a residual height of about 1mm. Do not touch or
clean the cut surface afterwards.
Carefully rectify any paint damage (apply primer and top coat).
Renew the window stops as necessary.
Bonding the window glass
Apply an even bead of adhesive to the window or to the body flange.
Insert the window glass into the window aperture and centre it (2 technicians required).
Check the gaps.
NOTE :
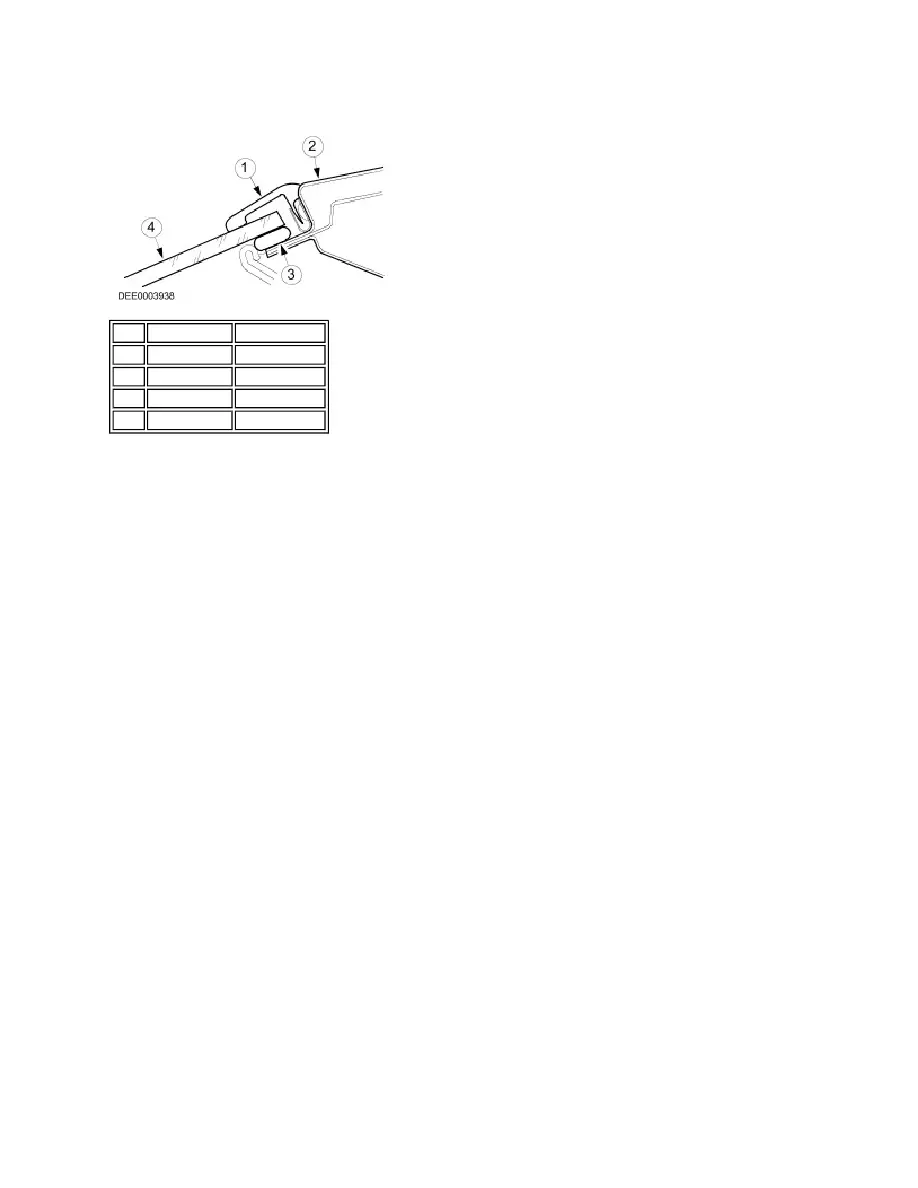
Item Part Number Description
1
Rubber strip
2
Window frame
3
Adhesive
4
Window glass