
LR3/Disco 3
Do not grind the cathodic dip primer.
Thoroughly clean with silicone remover and rob dry.
Slightly damaged new component
Sand out scratches
Finely sand the surrounding surface.
Thoroughly clean with silicone remover and rub dry.
Apply corrosion protection primer to bare areas.
Damaged new components (bumps and dents)
Beat out the dented area sand down to bare metal.
Apply polyester filler (only onto bare metal)
Apply filler.
Lightly sand the whole components.
Thoroughly clean with silicone remover and rob dry.
Apply corrosion protection primer to bare areas.
The clinched flanges on the hood, doors, tailgate and liftgate must be sealed with clinched flange sealer.
Weld Components
Use a rotating tress wire brush to remove the dip coat on the inside and outside of the area to be welded, taking care not
to damage the zinc coating.
NOTE :
NOTE :
Clean the repair area thoroughly (silicone remover).
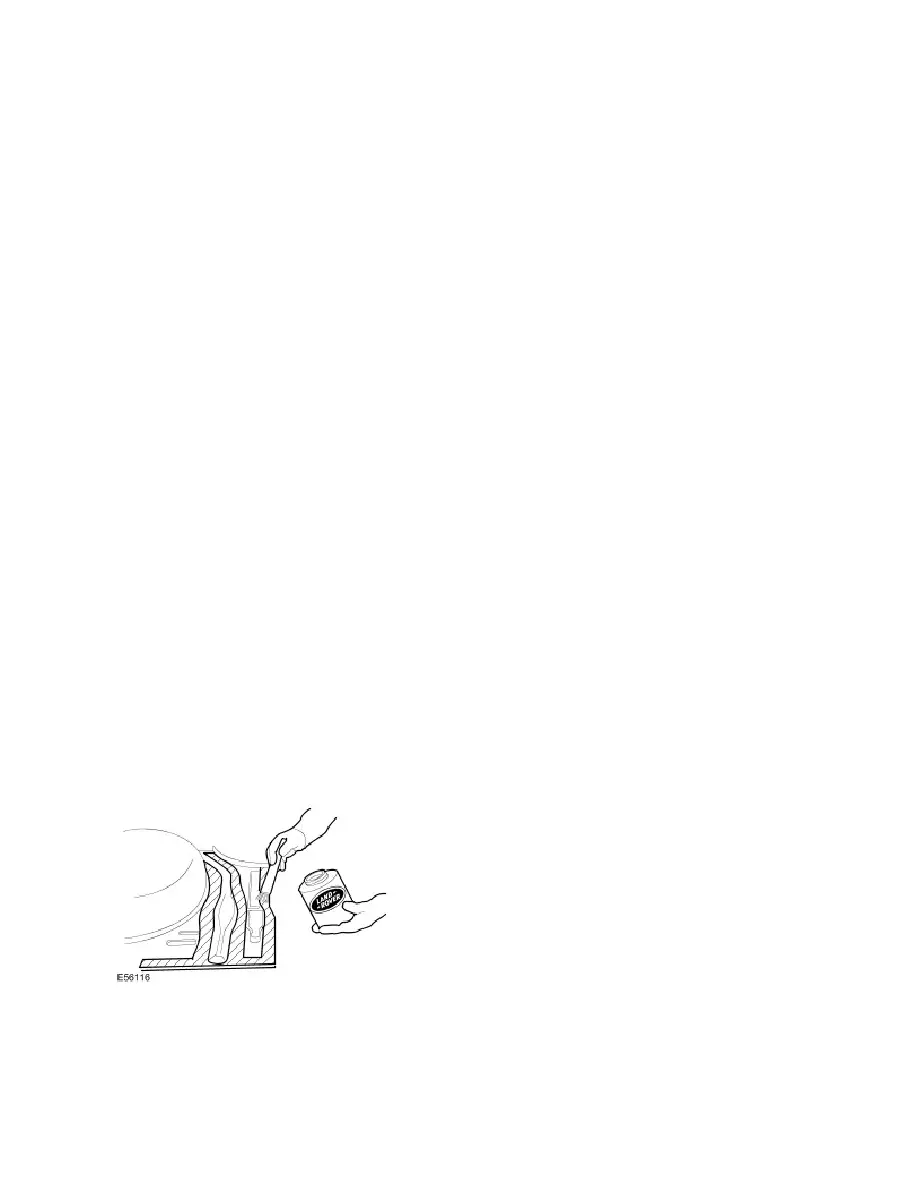
Apply welding primer evenly to all weld flanges (old and new components).
NOTE :
Apply welding primer
All weld beads must be ground down after all welding is completed, taking care not to weaken the material.
Any unevenness at the joint must be made good.
If necessary, spot weld missing T-pins for trim strip clamps into position. The vehicle must be completely cleaned of
sanding dust and metal swarf because of the danger of corrosion.
The area to be ground should be kept as small as possible, the corrosion protection applied in production (cathodic
primer) should be retained as much as is possible.
The welding primer must be stirred well or shaken before application.
The welding primer must be allowed to dry before welding is carried out.