
Range Rover P38
LAND ROVER V8
19
REPAIR
CAUTION: Although robust within the
vehicle environment, HO
2
S sensors are
easily damaged by dropping, excessive
heat and contamination. Care must be exercised
when working on the exhaust system not to
damage the sensor housing or tip.
4. Remove sensor from exhaust front pipe.
Remove sealing washer and discard.
Refit
5. Ensure mating faces are clean.
NOTE: New HO
2
S is supplied pre-treated
with anti-seize compound.
6. If refitting existing HO
2
S, coat threads with
anti-seize compound.
CAUTION: Do not allow anti-seize
compound to come into contact with HO
2
S
nose or enter exhaust system.
7. Position HO
2
S with new sealing washer on
exhaust pipe. Tighten to
20 Nm (15 lbf.ft)
8. Connect multiplug to engine harness. Secure to
bracket.
9. Secure lead in clip.
10. Remove stands. Lower vehicle.
HEATED OXYGEN SENSOR (HO2S) - FRONT -
from 99MY
Service repair no - 19.22.16
Remove
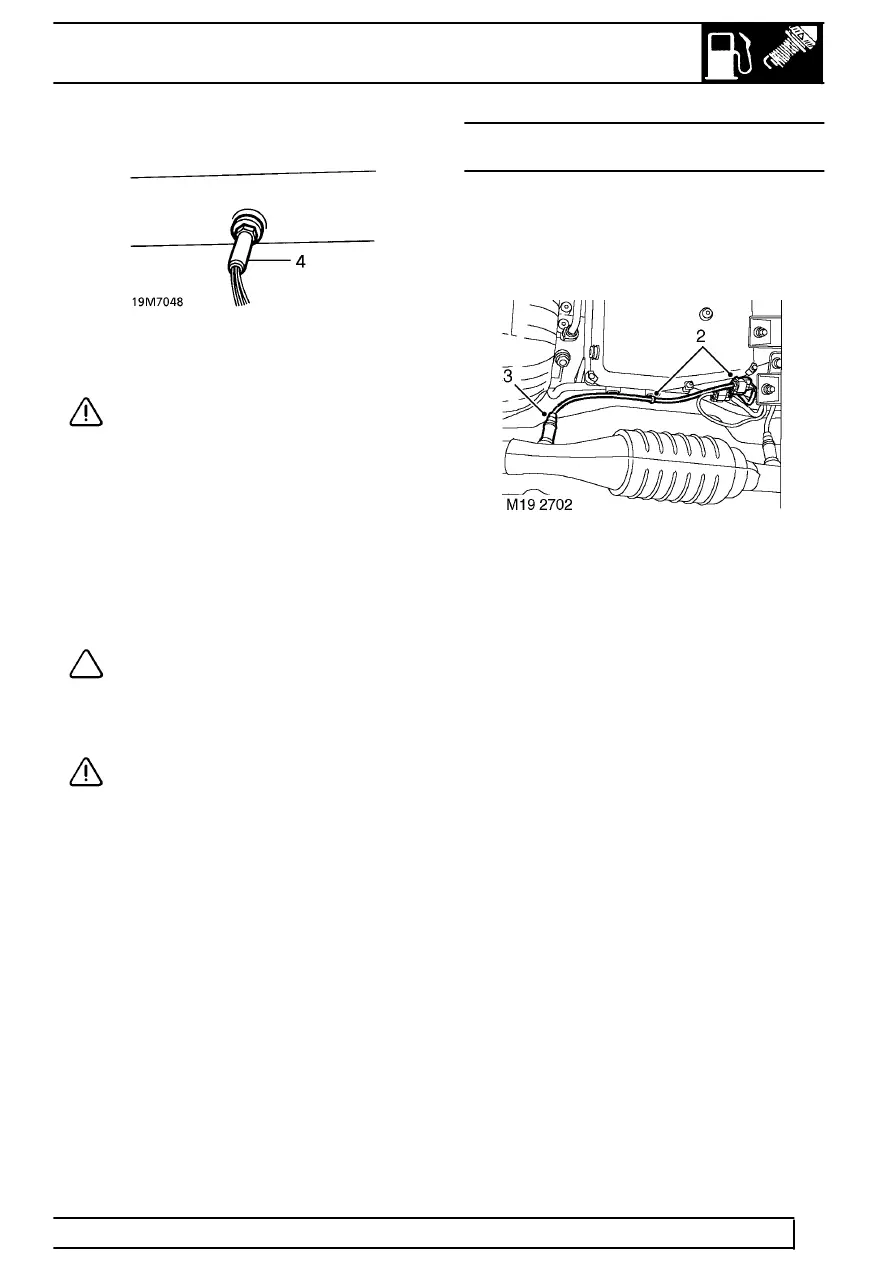
1. Raise vehicle on ramp.
2. Release HO
2
S harness from clip if fitted, and
disconnect HO
2
S multiplug.
3. Remove HO
2
S from exhaust front pipe.
Refit
4. If refitting existing HO
2
S apply anti-seize
compound to threads.
5. Fit new sealing washer to HO
2
S.
6. Fit HO2S and tighten to
45 Nm (33 lbf.ft).
7. Connect HO
2
S multiplug and secure harness to
clip.
8. Lower vehicle.