
Range Rover P38
CHASSIS AND BODY
37
REPAIR
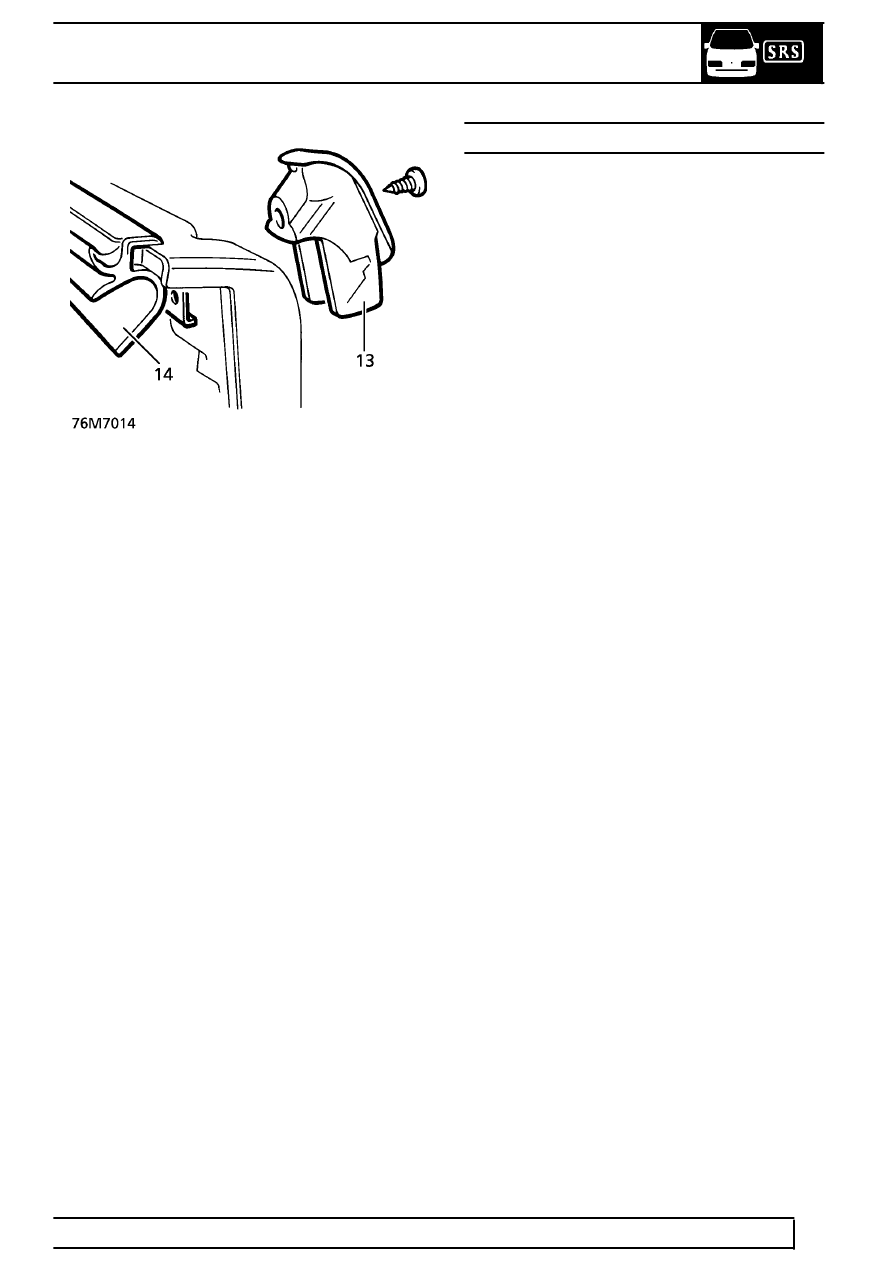
14. Remove door trim casing waist seal.
Assemble
15. Fit door trim casing waist seal.
16. Fit sill button escutcheon, position retaining
clamp, tighten screw.
17. Fit arm rest to trim casing, tighten 3 screws.
18. Fit trim casing pocket, tighten 7 screws.
19. Fit speaker grille to trim casing, tighten 4 screws.
20. Fit speaker to trim, tighten 4 screws.
21. Fit 12 retaining clips.
Refit
22. Connect trim casing speaker connector.
23. Fit trim casing, locating 12 retaining clips.
24. Fit 3 screws securing trim casing.
25. Fit remote handle escutcheon, tighten screw.
26. Position cheater panel, connect 2 tweeter
speaker connectors.
27. Secure cheater panel.
INSERT CAPPING - FRONT DOOR
Service repair no - 76.34.32
Remove
1. Fit protection to door trim casing.
2. Position a blunt flat blade between trim casing
and insert upper edge.
3. Gently raise blade to remove insert.
4. Remove retaining clips from insert.
Refit
5. Fit insert to door casing. Secure with clips.
6. Remove protection from door casing.