
Drivers side access panel uneven gap
- Make
- Land Rover
- Model
- Range Rover P38 Technical Bulletins
- Section
- Drivers side access panel uneven gap › Drivers side access panel uneven gap
DRIVERS SIDE ACCESS PANEL UNEVEN GAP
- Model
- New Range Rover
- Affected vehicles
- All
- Date
- 1995-11-16
- Reference
- 16/11/95
Bulletin text
Driver’s Side Access Panel Uneven Gap
MODEL
New Range Rover
DETAIL
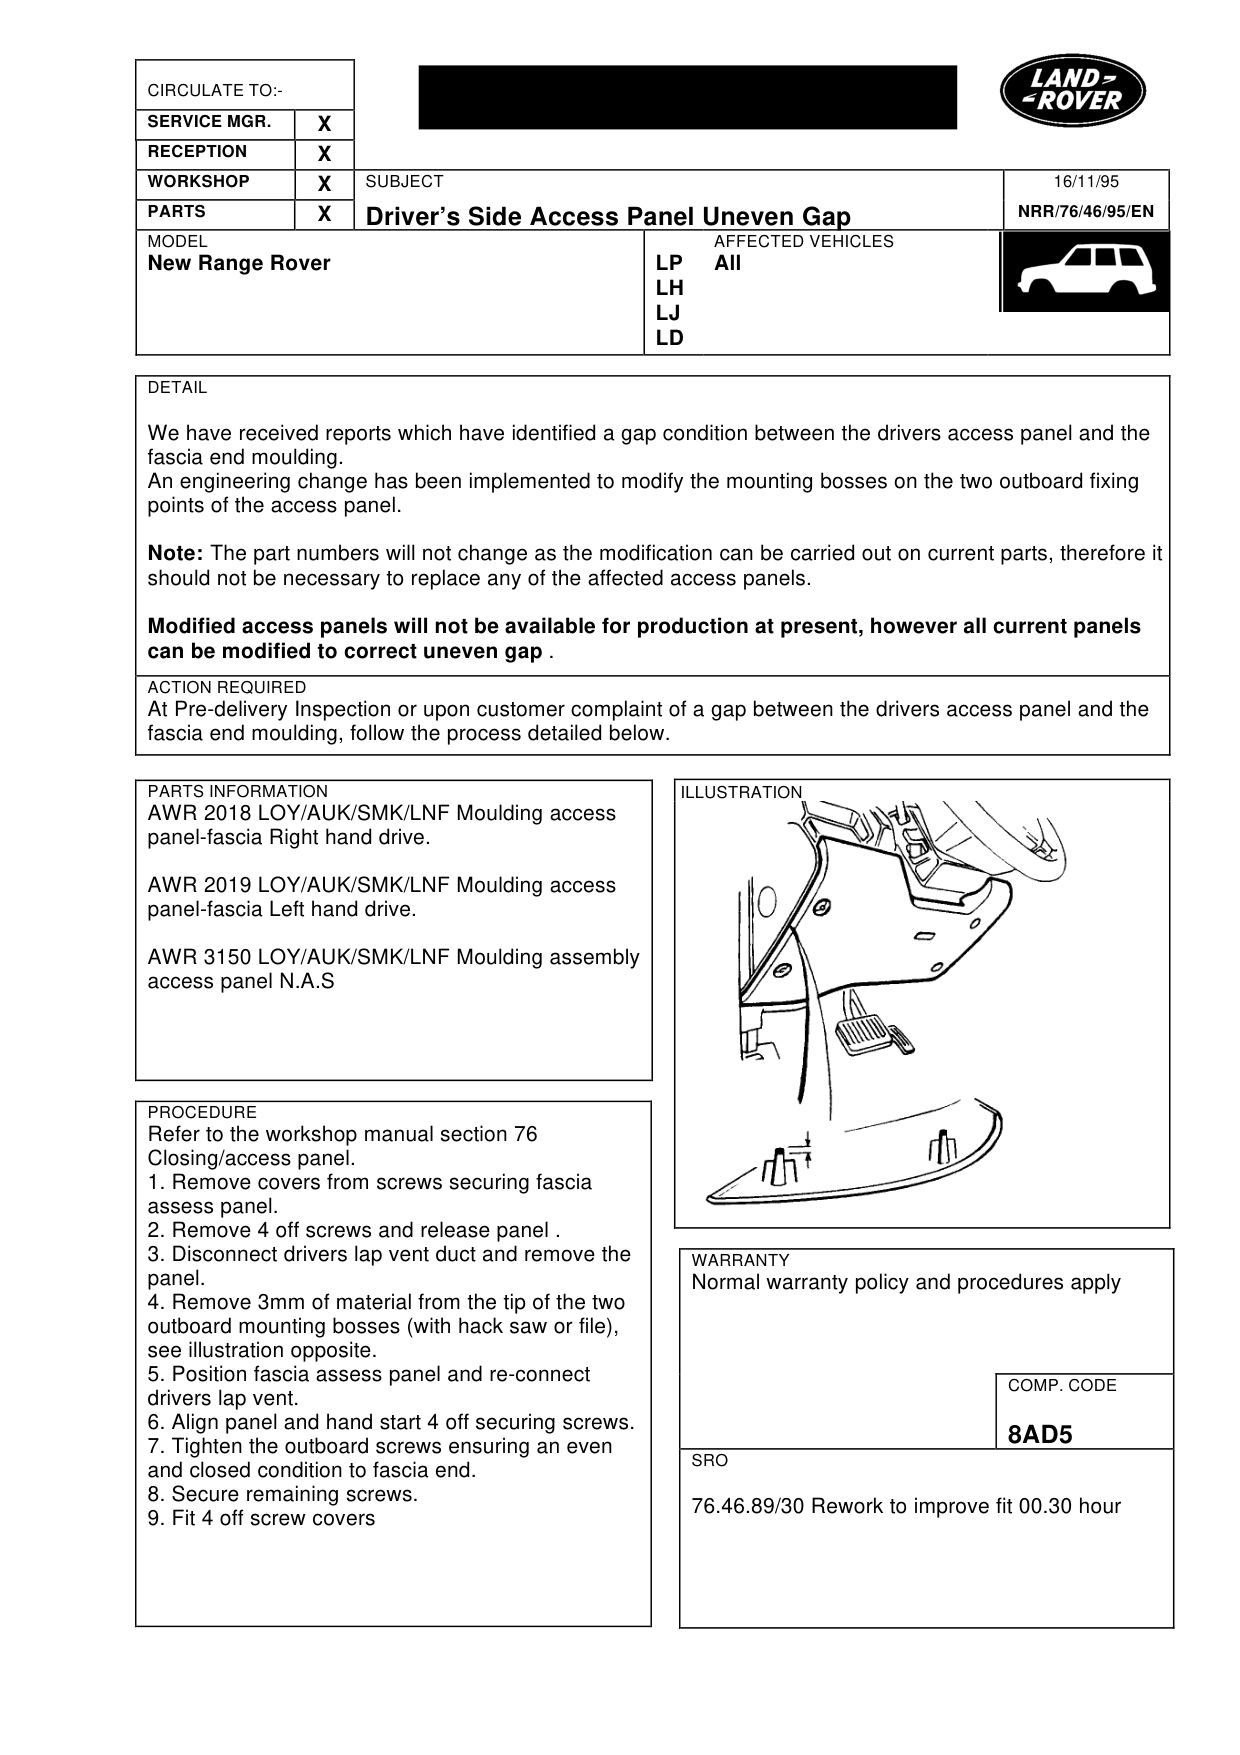
We have received reports which have identified a gap condition between the drivers access panel and the fascia end moulding. An engineering change has been implemented to modify the mounting bosses on the two outboard fixing points of the access panel.
Note: The part numbers will not change as the modification can be carried out on current parts, therefore it should not be necessary to replace any of the affected access panels.
Modified access panels will not be available for production at present, however all current panels can be modified to correct uneven gap .
ACTION REQUIRED
At Pre-delivery Inspection or upon customer complaint of a gap between the drivers access panel and the fascia end moulding, follow the process detailed below.
PARTS INFORMATION
AWR 2018 LOY/AUK/SMK/LNF Moulding access panel-fascia Right hand drive.
AWR 2019 LOY/AUK/SMK/LNF Moulding access panel-fascia Left hand drive.
AWR 3150 LOY/AUK/SMK/LNF Moulding assembly access panel N.A.S
PROCEDURE
Refer to the workshop manual section 76 Closing/access panel. 1. Remove covers from screws securing fascia assess panel. 2. Remove 4 off screws and release panel . 3. Disconnect drivers lap vent duct and remove the panel. 4. Remove 3mm of material from the tip of the two outboard mounting bosses (with hack saw or file), see illustration opposite. 5. Position fascia assess panel and re-connect drivers lap vent. 6. Align panel and hand start 4 off securing screws. 7. Tighten the outboard screws ensuring an even and closed condition to fascia end. 8. Secure remaining screws. 9. Fit 4 off screw covers
16/11/95
NRR/76/46/95/EN
AFFECTED VEHICLES
LP All LH LJ LD
WARRANTY
Normal warranty policy and procedures apply
COMP. CODE
8AD5
SRO
76.46.89/30 Rework to improve fit 00.30 hour
Parts & tools for this job For Land Rover Range Rover
- TOOLOBD2 scanner with SRSSearch: OBD2 scanner ABS SRS
- TOOLTrim removal tool kitSearch: trim removal tool kit
Links open Amazon search results in a new tab. As an Amazon Associate I earn from qualifying purchases.