
Front/rear door latch-buzz
- Make
- Land Rover
- Model
- Range Rover P38 Technical Bulletins
- Section
- Front/rear door latch-buzz › Front/rear door latch-buzz
FRONT/REAR DOOR LATCH-BUZZ
- Model
- New Range Rover
- Affected vehicles
- 318963 to 322091
- Date
- 1995-10-25
- Reference
- 25/10/95
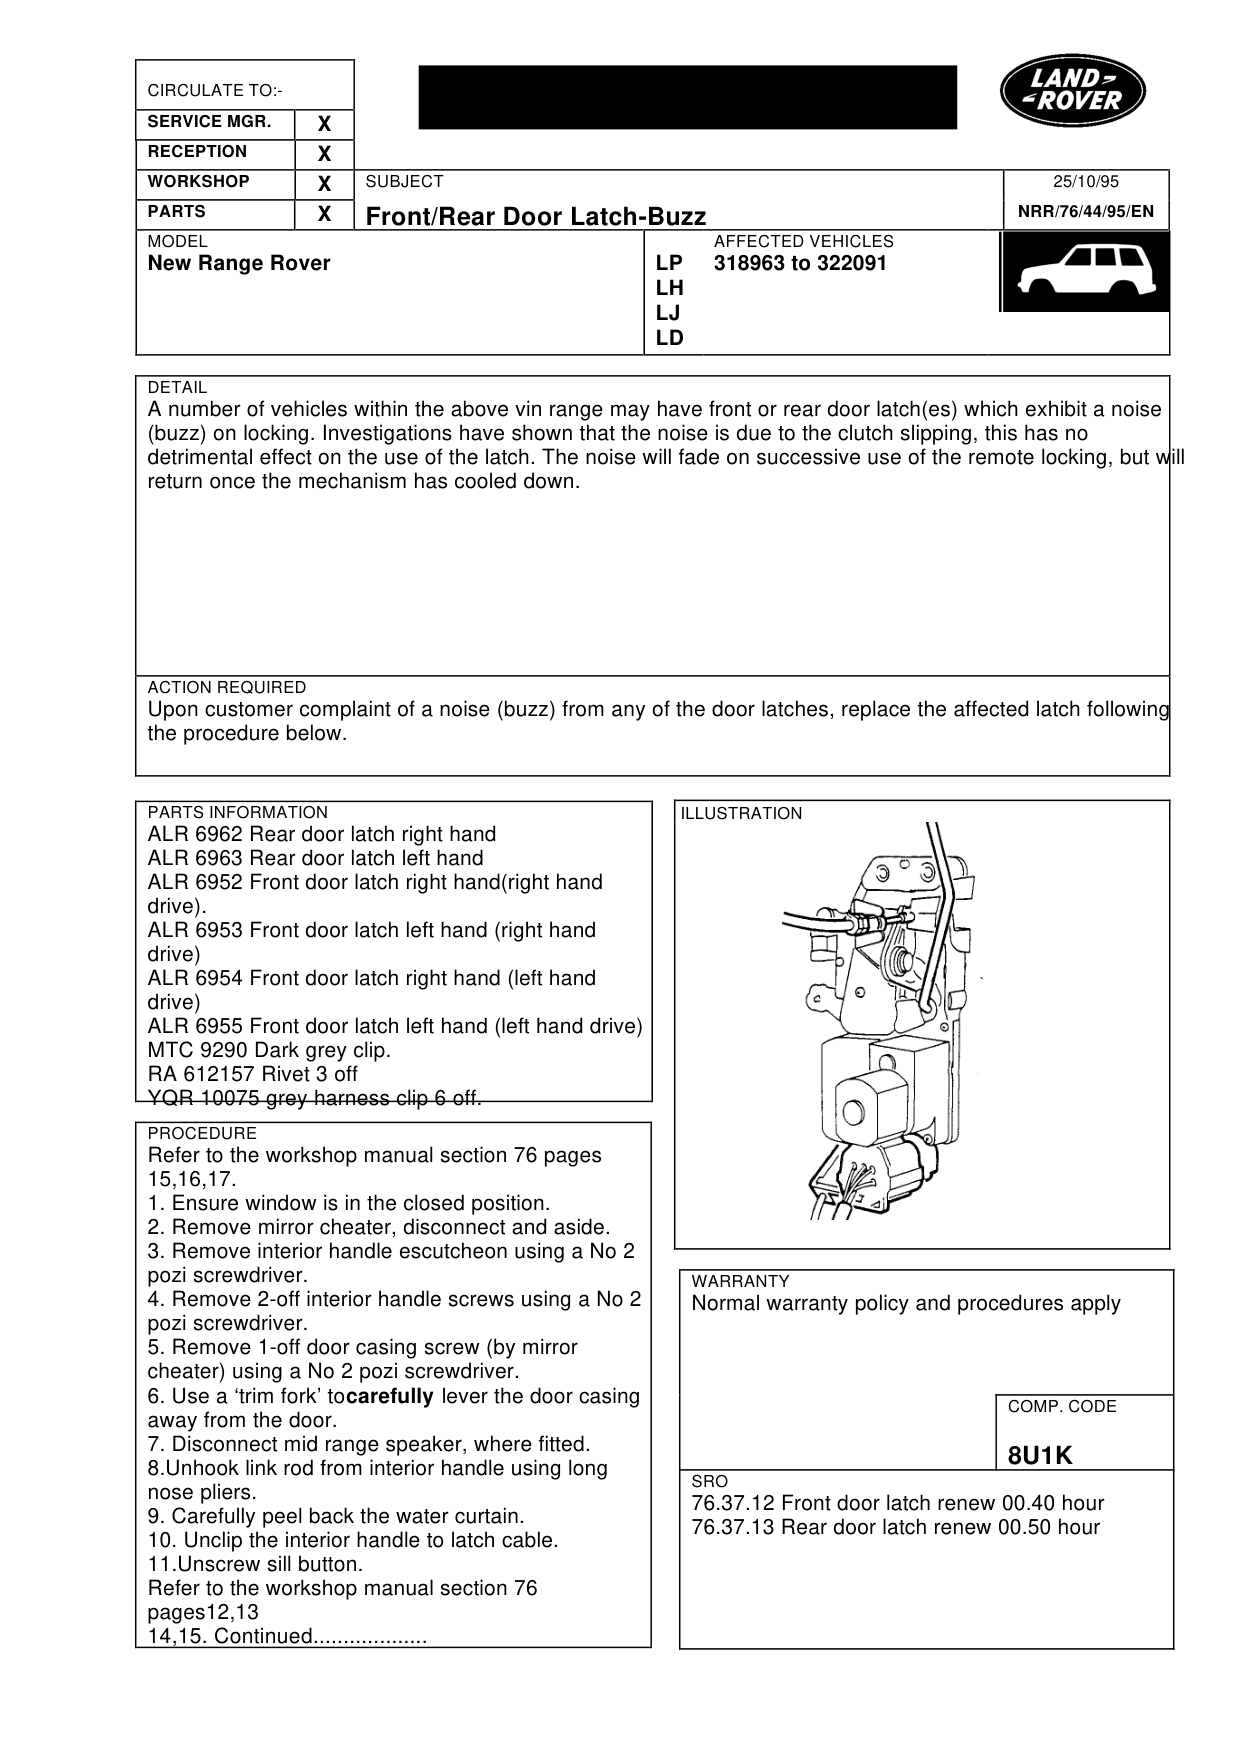
Bulletin text
Front/Rear Door Latch-Buzz
MODEL
New Range Rover
DETAIL
A number of vehicles within the above vin range may have front or rear door latch(es) which exhibit a noise (buzz) on locking. Investigations have shown that the noise is due to the clutch slipping, this has no detrimental effect on the use of the latch. The noise will fade on successive use of the remote locking, but will return once the mechanism has cooled down.
ACTION REQUIRED
Upon customer complaint of a noise (buzz) from any of the door latches, replace the affected latch following the procedure below.
PARTS INFORMATION
ALR 6962 Rear door latch right hand ALR 6963 Rear door latch left hand ALR 6952 Front door latch right hand(right hand drive). ALR 6953 Front door latch left hand (right hand drive) ALR 6954 Front door latch right hand (left hand drive) ALR 6955 Front door latch left hand (left hand drive) MTC 9290 Dark grey clip. RA 612157 Rivet 3 off YQR 10075 grey harness clip 6 off.
PROCEDURE
Refer to the workshop manual section 76 pages 15,16,17. 1. Ensure window is in the closed position. 2. Remove mirror cheater, disconnect and aside. 3. Remove interior handle escutcheon using a No 2 pozi screwdriver. 4. Remove 2-off interior handle screws using a No 2 pozi screwdriver. 5. Remove 1-off door casing screw (by mirror cheater) using a No 2 pozi screwdriver. 6. Use a ‘trim fork’ to carefully lever the door casing away from the door. 7. Disconnect mid range speaker, where fitted. 8.Unhook link rod from interior handle using long nose pliers. 9. Carefully peel back the water curtain. 10. Unclip the interior handle to latch cable. 11.Unscrew sill button. Refer to the workshop manual section 76 pages12,13 14,15. Continued...................
25/10/95
NRR/76/44/95/EN
AFFECTED VEHICLES
LP 318963 to 322091 LH LJ LD
WARRANTY
Normal warranty policy and procedures apply
COMP. CODE
8U1K
SRO
76.37.12 Front door latch renew 00.40 hour 76.37.13 Rear door latch renew 00.50 hour
Front/Rear Door Latch-Buzz
MODEL
New Range Rover
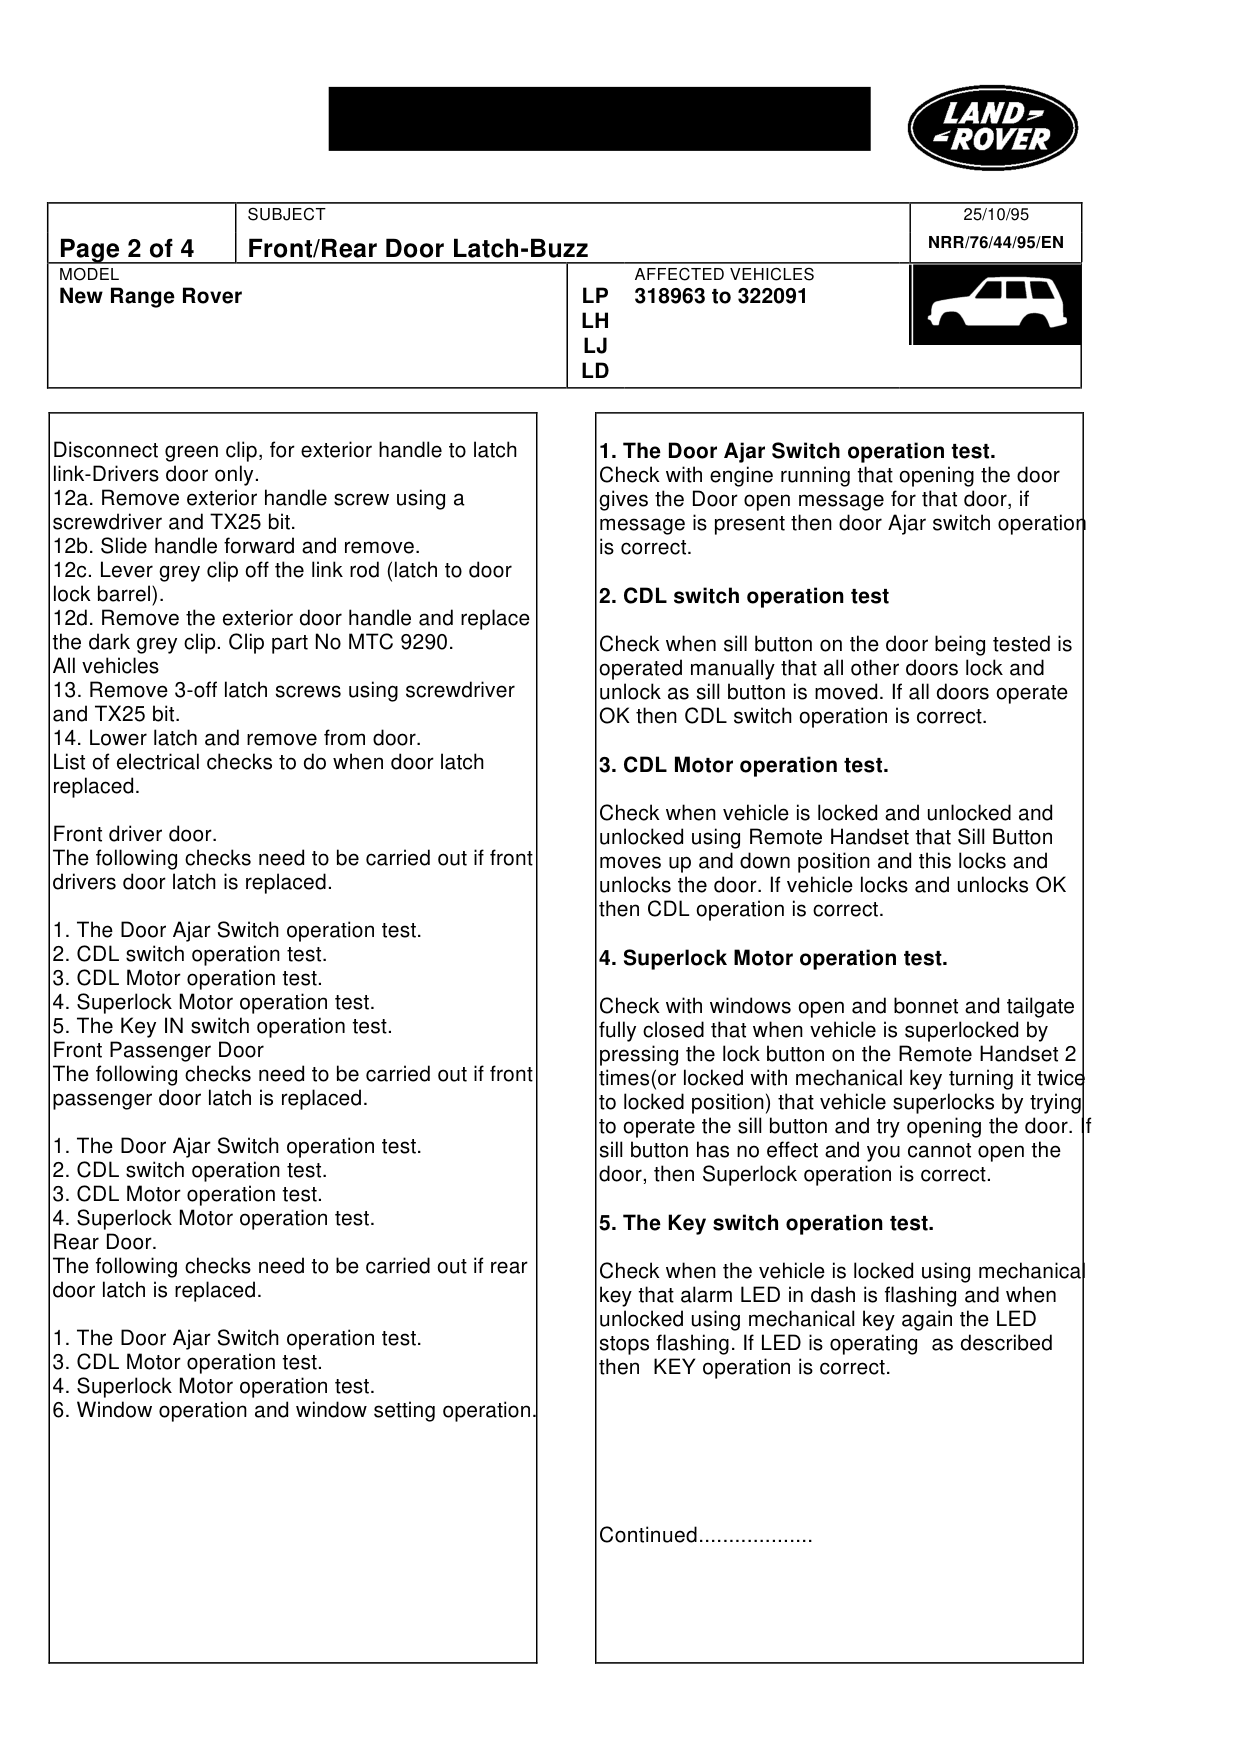
Disconnect green clip, for exterior handle to latch link-Drivers door only. 12a. Remove exterior handle screw using a screwdriver and TX25 bit. 12b. Slide handle forward and remove. 12c. Lever grey clip off the link rod (latch to door lock barrel). 12d. Remove the exterior door handle and replace the dark grey clip. Clip part No MTC 9290. All vehicles 13. Remove 3-off latch screws using screwdriver and TX25 bit. 14. Lower latch and remove from door. List of electrical checks to do when door latch replaced.
Front driver door. The following checks need to be carried out if front drivers door latch is replaced.
1. The Door Ajar Switch operation test. 2. CDL switch operation test. 3. CDL Motor operation test. 4. Superlock Motor operation test. 5. The Key IN switch operation test. Front Passenger Door The following checks need to be carried out if front passenger door latch is replaced.
1. The Door Ajar Switch operation test. 2. CDL switch operation test. 3. CDL Motor operation test. 4. Superlock Motor operation test. Rear Door. The following checks need to be carried out if rear door latch is replaced.
1. The Door Ajar Switch operation test. 3. CDL Motor operation test. 4. Superlock Motor operation test. 6. Window operation and window setting operation.
25/10/95 NRR/76/44/95/EN
AFFECTED VEHICLES
LP 318963 to 322091 LH LJ LD
1. The Door Ajar Switch operation test. Check with engine running that opening the door gives the Door open message for that door, if message is present then door Ajar switch operation is correct.
2. CDL switch operation test
Check when sill button on the door being tested is operated manually that all other doors lock and unlock as sill button is moved. If all doors operate OK then CDL switch operation is correct.
3. CDL Motor operation test.
Check when vehicle is locked and unlocked and unlocked using Remote Handset that Sill Button moves up and down position and this locks and unlocks the door. If vehicle locks and unlocks OK then CDL operation is correct.
4. Superlock Motor operation test.
Check with windows open and bonnet and tailgate fully closed that when vehicle is superlocked by pressing the lock button on the Remote Handset 2 times(or locked with mechanical key turning it twice to locked position) that vehicle superlocks by trying to operate the sill button and try opening the door. If sill button has no effect and you cannot open the door, then Superlock operation is correct.
5. The Key switch operation test.
Check when the vehicle is locked using mechanical key that alarm LED in dash is flashing and when unlocked using mechanical key again the LED stops flashing. If LED is operating as described then KEY operation is correct.
Continued...................
Front/Rear Door Latch-Buzz
MODEL
New Range Rover
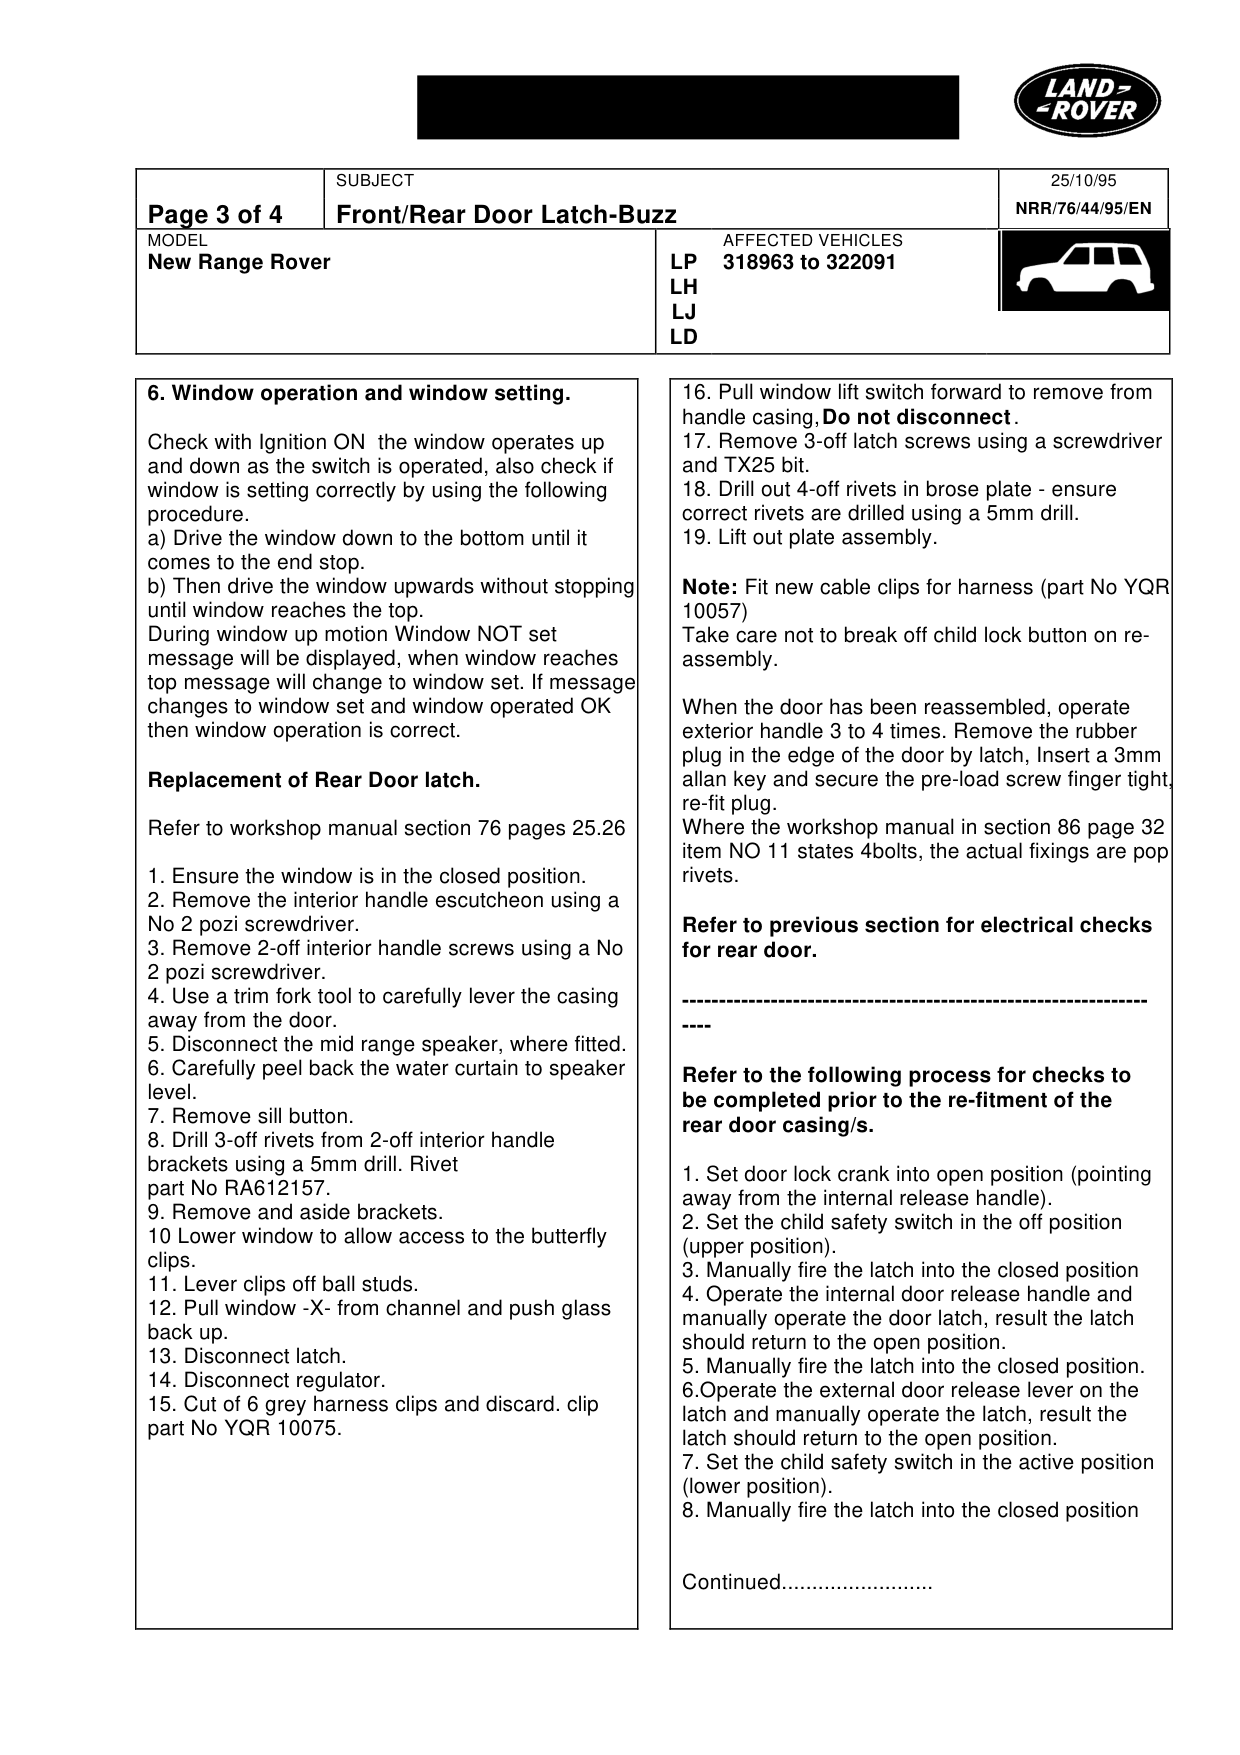
6. Window operation and window setting.
Check with Ignition ON the window operates up and down as the switch is operated, also check if window is setting correctly by using the following procedure. a) Drive the window down to the bottom until it comes to the end stop. b) Then drive the window upwards without stopping until window reaches the top. During window up motion Window NOT set message will be displayed, when window reaches top message will change to window set. If message changes to window set and window operated OK then window operation is correct.
Replacement of Rear Door latch.
Refer to workshop manual section 76 pages 25.26
1. Ensure the window is in the closed position. 2. Remove the interior handle escutcheon using a No 2 pozi screwdriver. 3. Remove 2-off interior handle screws using a No 2 pozi screwdriver. 4. Use a trim fork tool to carefully lever the casing away from the door. 5. Disconnect the mid range speaker, where fitted. 6. Carefully peel back the water curtain to speaker level. 7. Remove sill button. 8. Drill 3-off rivets from 2-off interior handle brackets using a 5mm drill. Rivet part No RA612157. 9. Remove and aside brackets. 10 Lower window to allow access to the butterfly clips. 11. Lever clips off ball studs. 12. Pull window -X- from channel and push glass back up. 13. Disconnect latch. 14. Disconnect regulator. 15. Cut of 6 grey harness clips and discard. clip part No YQR 10075.
25/10/95 NRR/76/44/95/EN
AFFECTED VEHICLES
LP 318963 to 322091 LH LJ LD
16. Pull window lift switch forward to remove from handle casing, Do not disconnect . 17. Remove 3-off latch screws using a screwdriver and TX25 bit. 18. Drill out 4-off rivets in brose plate - ensure correct rivets are drilled using a 5mm drill. 19. Lift out plate assembly.
Note: Fit new cable clips for harness (part No YQR 10057) Take care not to break off child lock button on reassembly.
When the door has been reassembled, operate exterior handle 3 to 4 times. Remove the rubber plug in the edge of the door by latch, Insert a 3mm allan key and secure the pre-load screw finger tight, re-fit plug. Where the workshop manual in section 86 page 32 item NO 11 states 4bolts, the actual fixings are pop rivets.
Refer to previous section for electrical checks for rear door.
------------------------------------------------------------------
Refer to the following process for checks to be completed prior to the re-fitment of the rear door casing/s.
1. Set door lock crank into open position (pointing away from the internal release handle). 2. Set the child safety switch in the off position (upper position). 3. Manually fire the latch into the closed position 4. Operate the internal door release handle and manually operate the door latch, result the latch should return to the open position. 5. Manually fire the latch into the closed position. 6.Operate the external door release lever on the latch and manually operate the latch, result the latch should return to the open position. 7. Set the child safety switch in the active position (lower position). 8. Manually fire the latch into the closed position
Continued.........................
Front/Rear Door Latch-Buzz
MODEL
New Range Rover
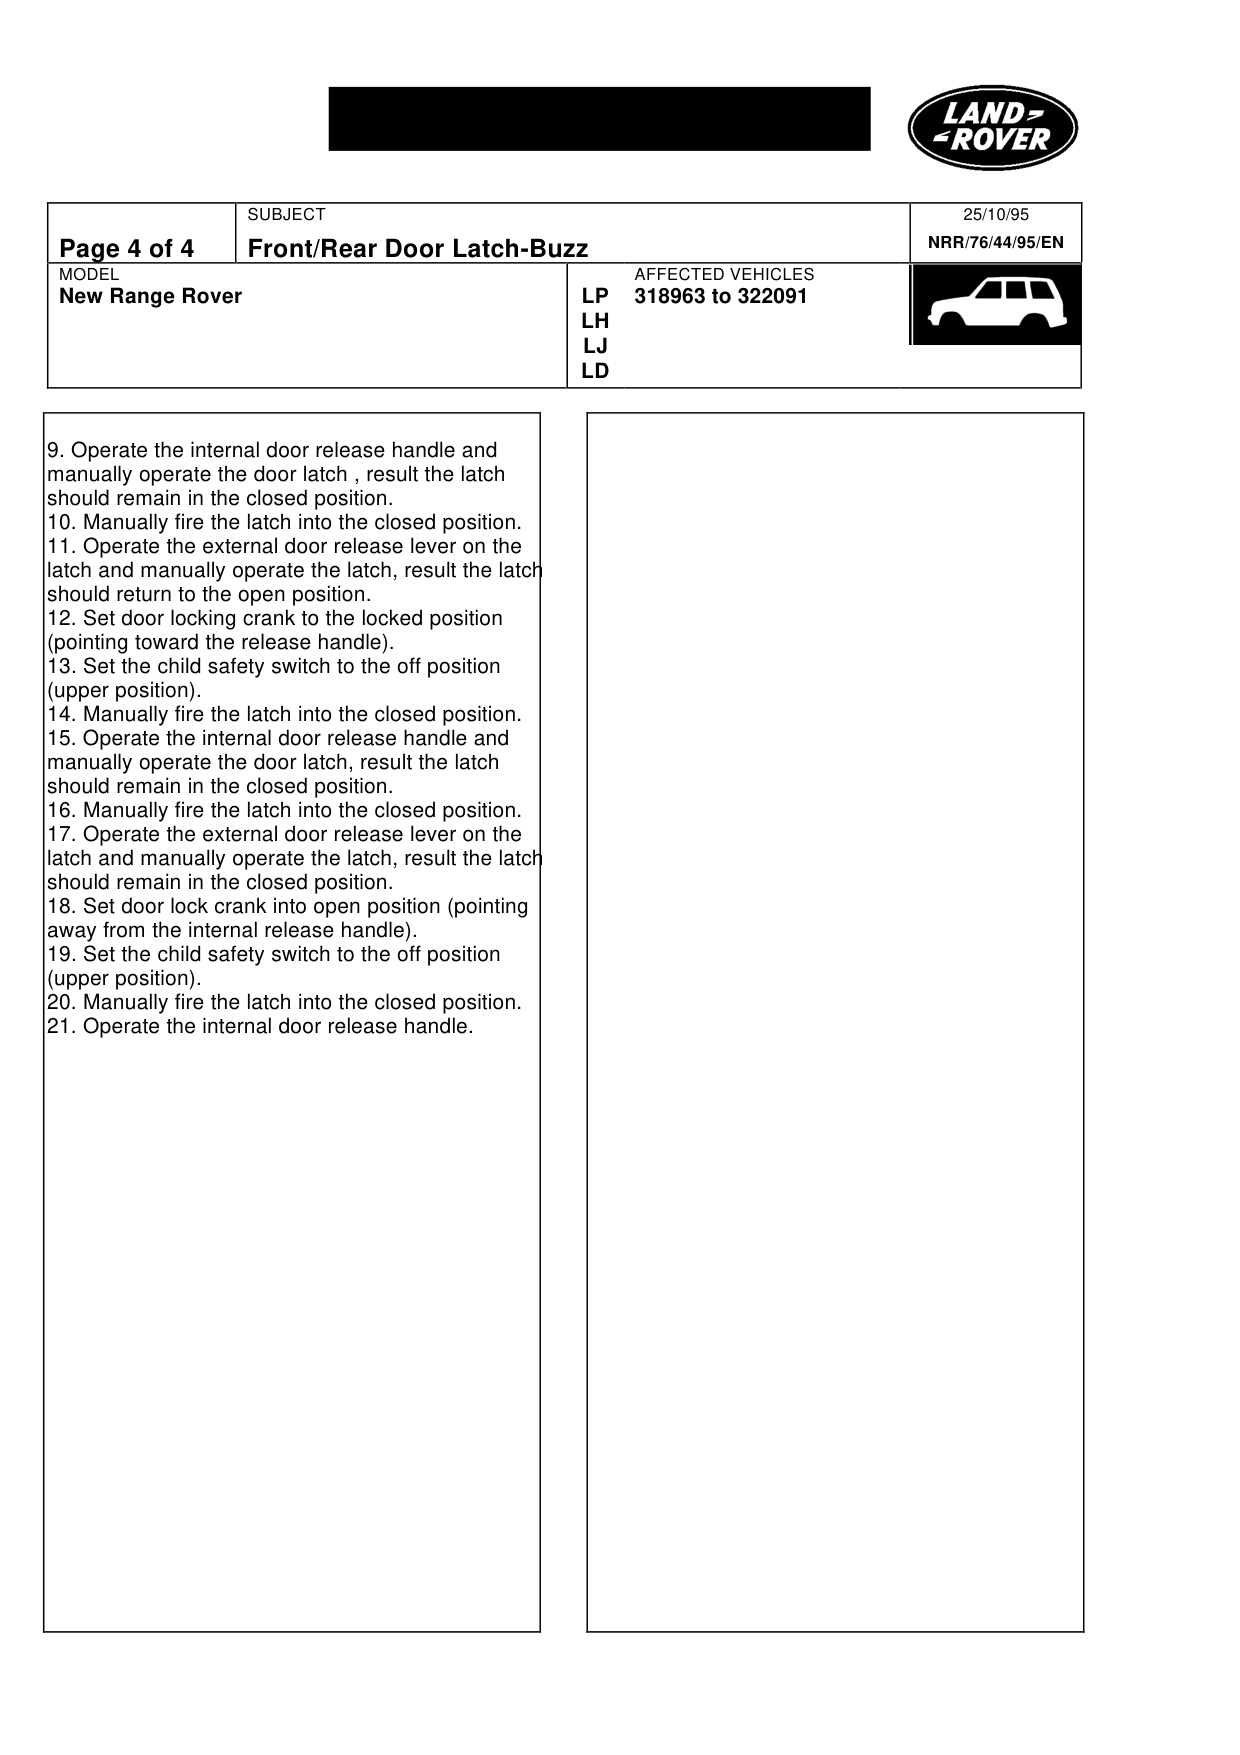
9. Operate the internal door release handle and manually operate the door latch , result the latch should remain in the closed position. 10. Manually fire the latch into the closed position. 11. Operate the external door release lever on the latch and manually operate the latch, result the latch should return to the open position. 12. Set door locking crank to the locked position (pointing toward the release handle). 13. Set the child safety switch to the off position (upper position). 14. Manually fire the latch into the closed position. 15. Operate the internal door release handle and manually operate the door latch, result the latch should remain in the closed position. 16. Manually fire the latch into the closed position. 17. Operate the external door release lever on the latch and manually operate the latch, result the latch should remain in the closed position. 18. Set door lock crank into open position (pointing away from the internal release handle). 19. Set the child safety switch to the off position (upper position). 20. Manually fire the latch into the closed position. 21. Operate the internal door release handle.
25/10/95 NRR/76/44/95/EN
AFFECTED VEHICLES
LP 318963 to 322091 LH LJ LD
Parts & tools for this job For Land Rover Range Rover
- TOOLTrim removal tool kitSearch: trim removal tool kit
- PARTTouch-up paintSearch: Land Rover touch up paint
- PARTPanel clip assortmentSearch: Land Rover panel clips assortment
Links open Amazon search results in a new tab. As an Amazon Associate I earn from qualifying purchases.