
Exterior door mirror vibration
- Make
- Land Rover
- Model
- Range Rover P38 Technical Bulletins
- Section
- Exterior door mirror vibration › Exterior door mirror vibration
EXTERIOR DOOR MIRROR VIBRATION
- Model
- New Range Rover (Pre door modification) New Range Rover (Post door modification)
- Affected vehicles
- 300000 to 345000 345001 to 346800
- Date
- 1997-04-10
- Reference
- 10/04/97
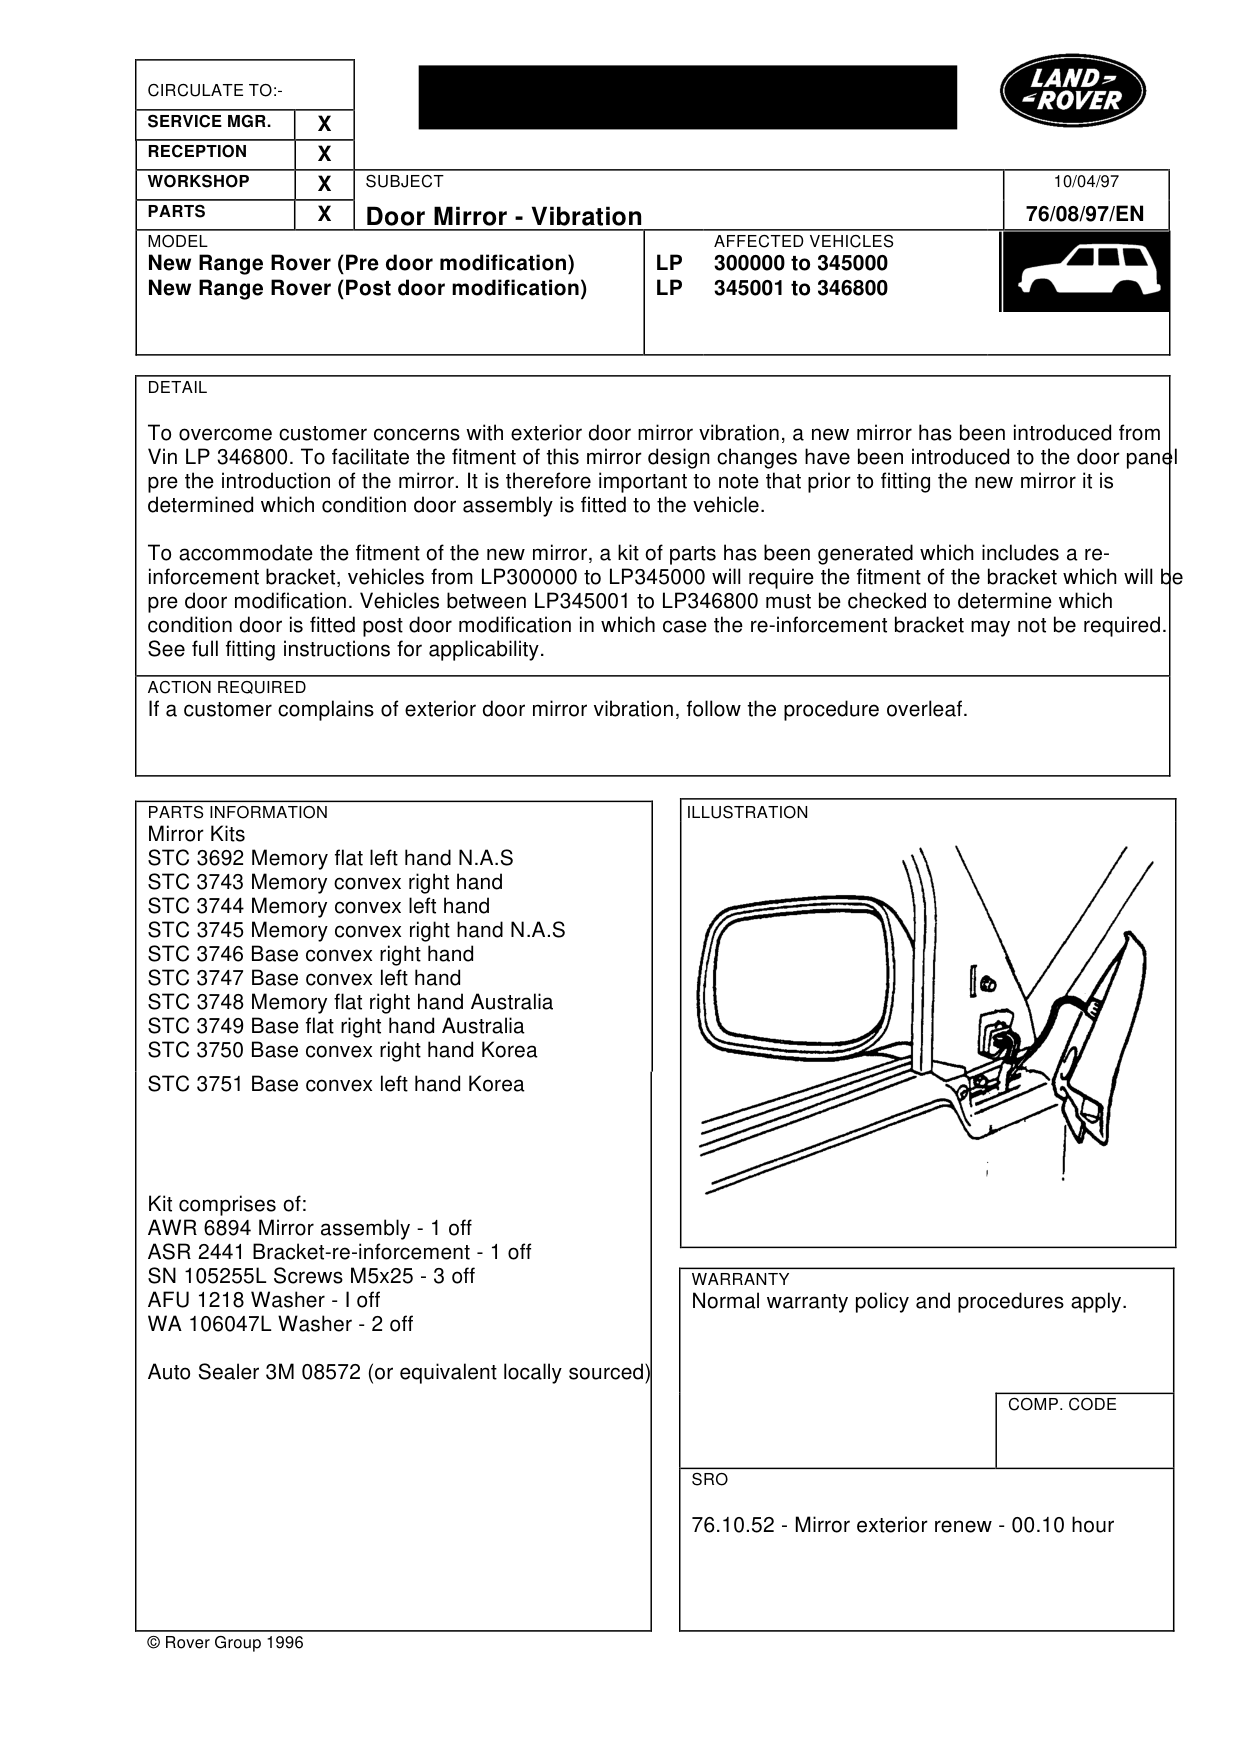
Bulletin text
Door Mirror - Vibration
MODEL
New Range Rover (Pre door modification) New Range Rover (Post door modification)
DETAIL
To overcome customer concerns with exterior door mirror vibration, a new mirror has been introduced from Vin LP 346800. To facilitate the fitment of this mirror design changes have been introduced to the door panel pre the introduction of the mirror. It is therefore important to note that prior to fitting the new mirror it is determined which condition door assembly is fitted to the vehicle.
To accommodate the fitment of the new mirror, a kit of parts has been generated which includes a reinforcement bracket, vehicles from LP300000 to LP345000 will require the fitment of the bracket which will be pre door modification. Vehicles between LP345001 to LP346800 must be checked to determine which condition door is fitted post door modification in which case the re-inforcement bracket may not be required. See full fitting instructions for applicability.
ACTION REQUIRED
If a customer complains of exterior door mirror vibration, follow the procedure overleaf.
PARTS INFORMATION
Mirror Kits STC 3692 Memory flat left hand N.A.S STC 3743 Memory convex right hand STC 3744 Memory convex left hand STC 3745 Memory convex right hand N.A.S STC 3746 Base convex right hand STC 3747 Base convex left hand STC 3748 Memory flat right hand Australia STC 3749 Base flat right hand Australia STC 3750 Base convex right hand Korea STC 3751 Base convex left hand Korea
Kit comprises of: AWR 6894 Mirror assembly - 1 off ASR 2441 Bracket-re-inforcement - 1 off SN 105255L Screws M5x25 - 3 off AFU 1218 Washer - I off WA 106047L Washer - 2 off
Auto Sealer 3M 08572 (or equivalent locally sourced)
© Rover Group 1996
10/04/97
76/08/97/EN
AFFECTED VEHICLES
LP 300000 to 345000 LP 345001 to 346800
WARRANTY
Normal warranty policy and procedures apply.
COMP. CODE
SRO
76.10.52 - Mirror exterior renew - 00.10 hour
Door Mirror - Vibration
MODEL
New Range Rover (Pre door modification) New Range Rover (Post door modification)
1. Release cheater panel. 2. Disconnect 2 tweeter speaker connections and remove the cheater panel. 3. Disconnect the mirror electrical multi plug. 4. Remove three screws and discard. 5. Remove the mirror assembly from the door.
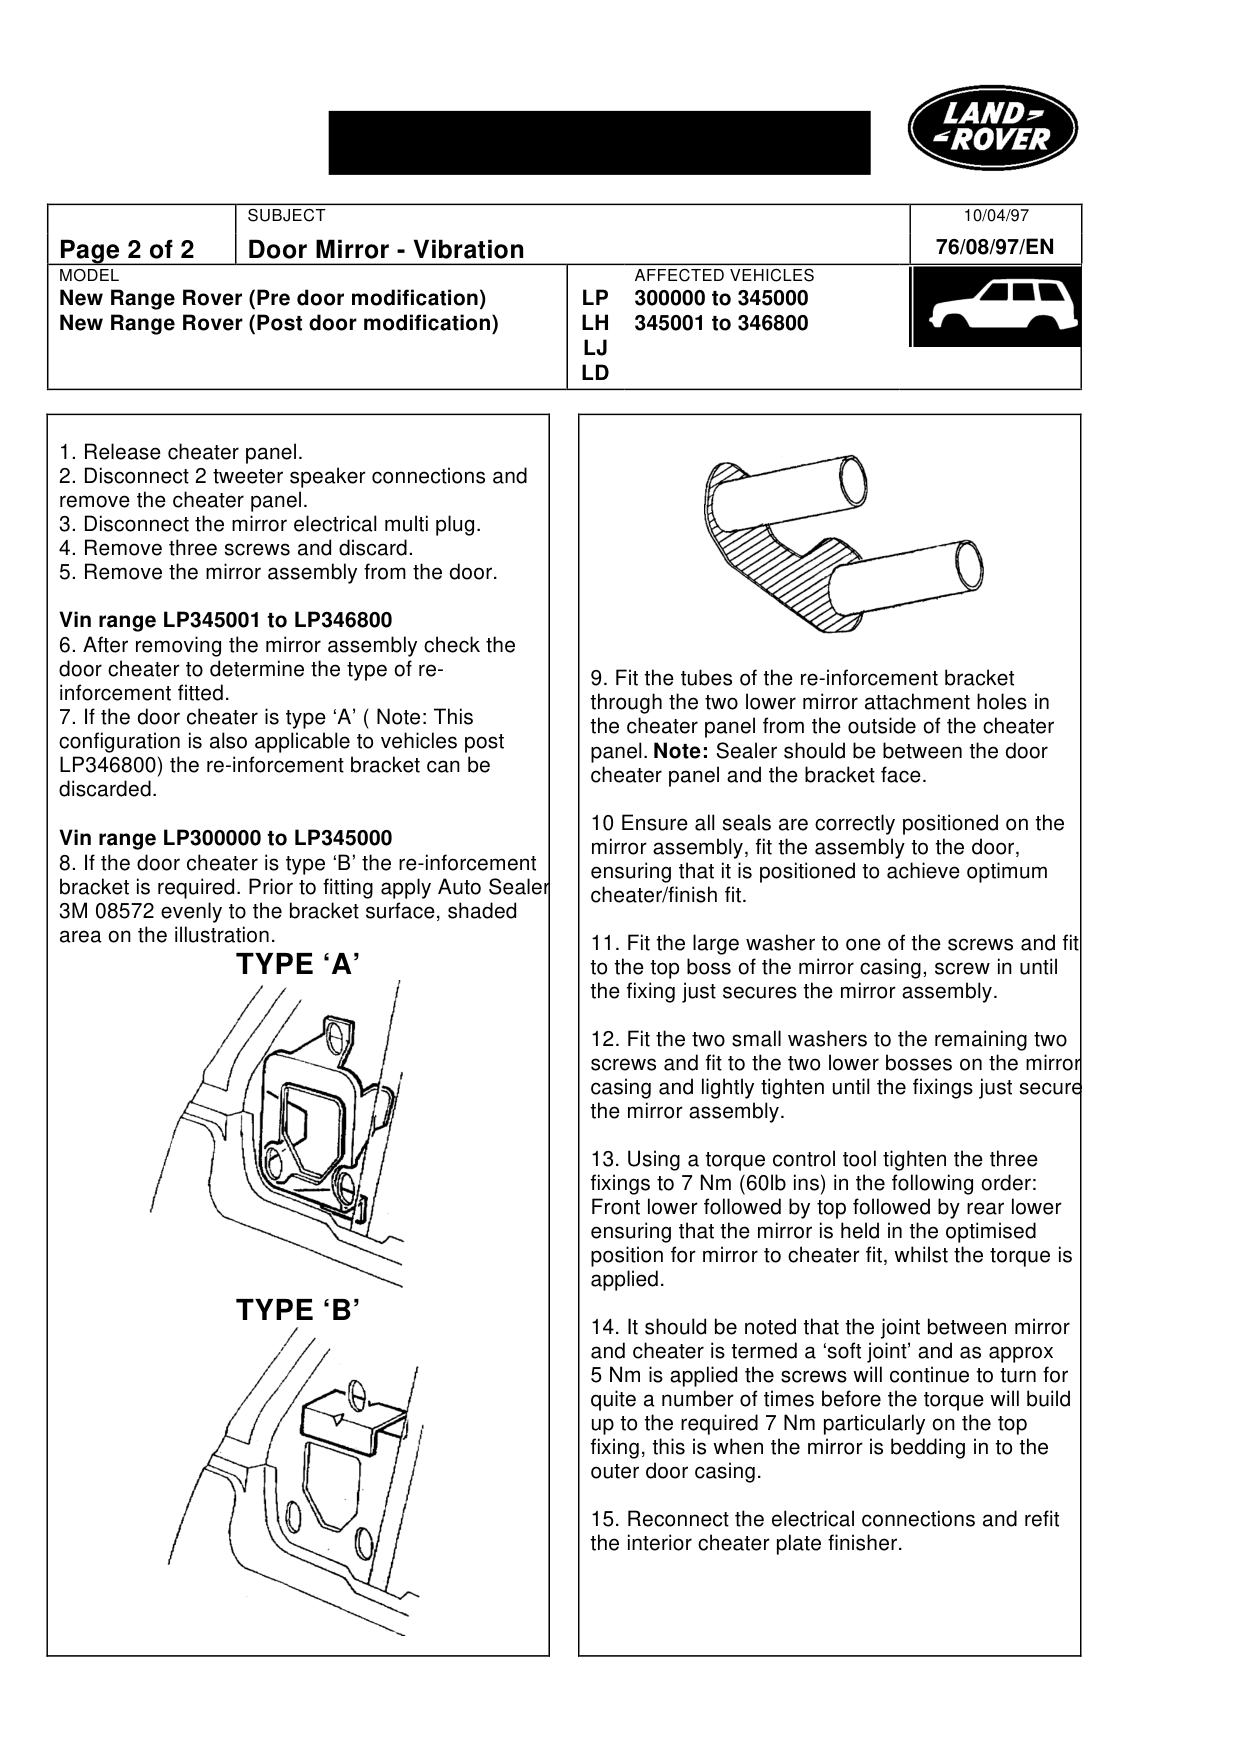
Vin range LP345001 to LP346800 6. After removing the mirror assembly check the door cheater to determine the type of reinforcement fitted. 7. If the door cheater is type ‘A’ ( Note: This configuration is also applicable to vehicles post LP346800) the re-inforcement bracket can be discarded.
Vin range LP300000 to LP345000 8. If the door cheater is type ‘B’ the re-inforcement bracket is required. Prior to fitting apply Auto Sealer 3M 08572 evenly to the bracket surface, shaded area on the illustration. TYPE ‘A’
TYPE ‘B’
10/04/97 76/08/97/EN
AFFECTED VEHICLES
LP 300000 to 345000 LH 345001 to 346800 LJ LD
9. Fit the tubes of the re-inforcement bracket through the two lower mirror attachment holes in the cheater panel from the outside of the cheater panel. Note: Sealer should be between the door cheater panel and the bracket face.
10 Ensure all seals are correctly positioned on the mirror assembly, fit the assembly to the door, ensuring that it is positioned to achieve optimum cheater/finish fit.
11. Fit the large washer to one of the screws and fit to the top boss of the mirror casing, screw in until the fixing just secures the mirror assembly.
12. Fit the two small washers to the remaining two screws and fit to the two lower bosses on the mirror casing and lightly tighten until the fixings just secure the mirror assembly.
13. Using a torque control tool tighten the three fixings to 7 Nm (60lb ins) in the following order: Front lower followed by top followed by rear lower ensuring that the mirror is held in the optimised position for mirror to cheater fit, whilst the torque is applied.
14. It should be noted that the joint between mirror and cheater is termed a ‘soft joint’ and as approx 5 Nm is applied the screws will continue to turn for quite a number of times before the torque will build up to the required 7 Nm particularly on the top fixing, this is when the mirror is bedding in to the outer door casing.
15. Reconnect the electrical connections and refit the interior cheater plate finisher.
Parts & tools for this job For Land Rover Range Rover
- TOOLTrim removal tool kitSearch: trim removal tool kit
- PARTTouch-up paintSearch: Land Rover touch up paint
- PARTPanel clip assortmentSearch: Land Rover panel clips assortment
Links open Amazon search results in a new tab. As an Amazon Associate I earn from qualifying purchases.