
REPAIR (page 2 of 3)
- Make
- Land Rover
- Model
- Range Rover Classic
37
MANUAL GEARBOX
RANGE ROVER
2
REPAIR
14. Mark each drive flange for reassembly and
disconnect front and rear propeller shafts from
transfer box. Tie the shafts to one side.
15. Disconnect multiplug from speed transducer.
16. Release breather pipe and electrical cables from
’P’ clip on right hand side of gearbox.
17. Remove two bolts and withdraw clutch slave
cylinder from bell housing.
18. Remove transmission brake drum. Remove four
bolts securing back plate to transfer box, and tie
assembly aside complete with handbrake cable.
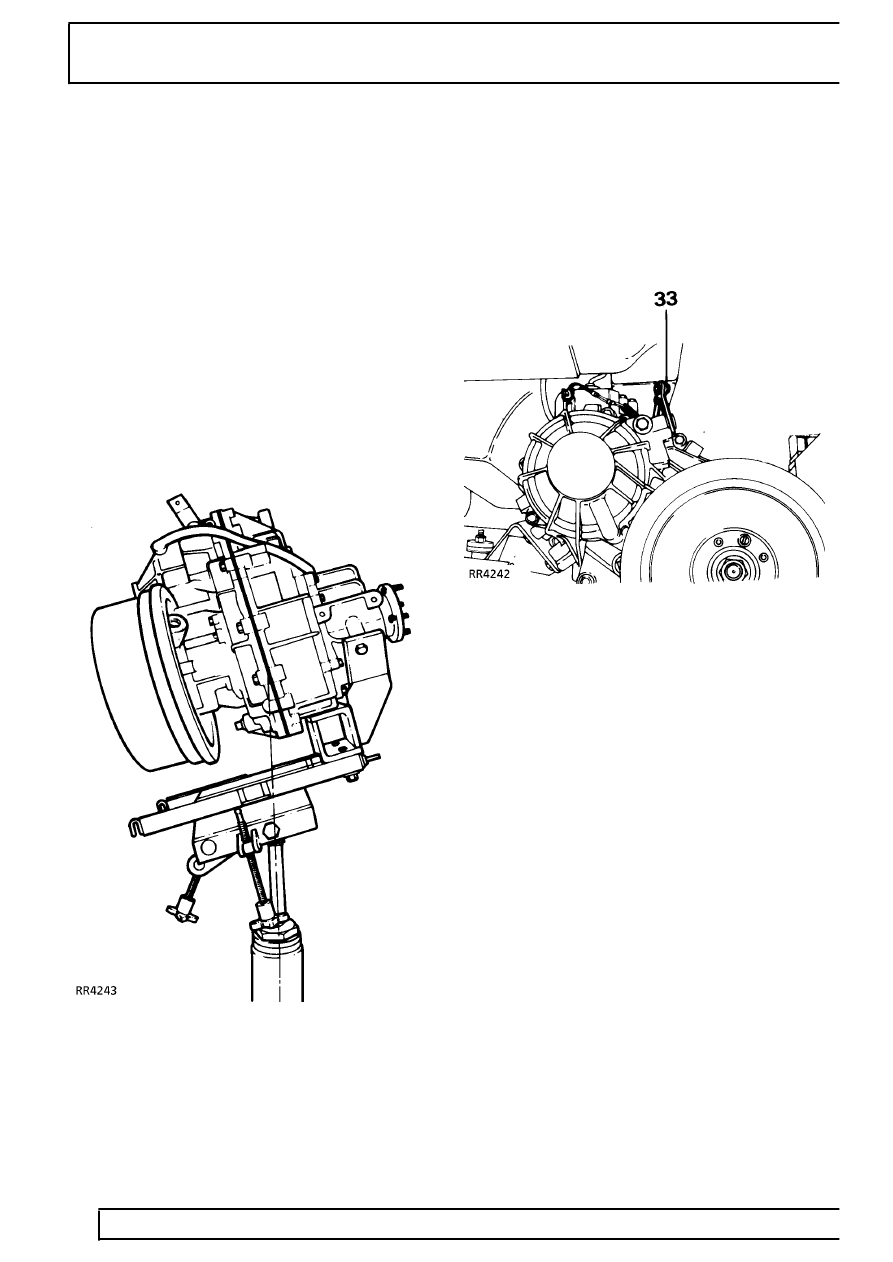
Remove transmission assembly
19. Position a suitable transmission hoist on rear
output housing to support weight of assembly.
20. Remove fixings and withdraw transfer gearbox
mountings.
21. Remove Chassis Cross member (Tdi only)
22. Remove front exhaust section. (Tdi only)
23. Fit adaptor plate to transmission hoist. Raise
hoist and position under transfer box.
See
TRANSFER GEARBOX, Service tools,
Adapter Plate Transfer Box
24. Secure fixture to transfer box mounting points.
25. Remove hoist from rear of transfer box.
26. Lower transmission until top of transfer gearbox
clears rear floor.
27. Position hoist under engine to support weight.
28. Remove bolts from bell housing.
29. Ensuring all fixings are released, withdraw
transmission.
Separating transfer box from gearbox
30. Remove transmission assembly from hoist and
cradle.
31. Place sling round transfer box and attach to
hoist.
32. Detach high low link from transfer gearbox
selector lever and remove breather pipe.
33. Remove bolts and two nuts retaining transfer
box to extension housing and separate.
Parts & tools for this job For Land Rover Range Rover
- PARTClutch kitSearch: Land Rover Range Rover clutch kit
- TOOLClutch alignment toolSearch: clutch alignment tool
- FLUIDGear oilSearch: Land Rover Range Rover manual gearbox oil
Links open Amazon search results in a new tab. As an Amazon Associate I earn from qualifying purchases.