Range Rover Classic

76
CHASSIS AND BODY
72
REPAIR
ADD: 09/95
WINDSCREEN GLASS
Service repair no - 76.81.01
Information
The following equipment is required:
Cutting wire and handles
Windscreen repair kit
See WIPERS AND WASHERS,
Repair, Wiper arms - windscreen
Sealant applicator gun
Suction cup lifters
The following materials are included in the windscreen
repair kit:
Glass cleaning solvent - ’Betawipe’ Glass activator
(yellow cap)
Cotton buds.
Glass primer - ’Betaprime’(green cap)
Body primer - ’Betaprime’ paint/plastic primer (red
cap)
Betaseal Adhesive sealant
NOTE: The adhesive sealant cures in 6 to 8
hours
CAUTION: Once existing sealant is cut, the
exposed surfaces oxidises in
approximately 90 minutes. The refit
procedure must be completed within this time
span to prevent the sealant oxidising, to effect a
satisfactory joint.
CAUTION: If the windscreen aperture body
flange shows signs of corrosion it must be
treated with anti corrosion primer and
repainted. Newly painted areas must then be left
for 8 hours or more before applying adhesive
sealant.
NOTE: The multiplugs for heated
windscreen are located under the
decker[cowl] panel, release decker[cowl]
panel to gain access.
Remove
1. Remove windscreen wiper arms.
See WIPERS
AND WASHERS, Repair, Wiper Arms -
Windscreen.
2. Remove rear view mirror and stickers from
glass.
3. Remove ’A’ post finishers.
4. Fit protective cover over dash panel and apply
masking tape to protect ’A’ posts.
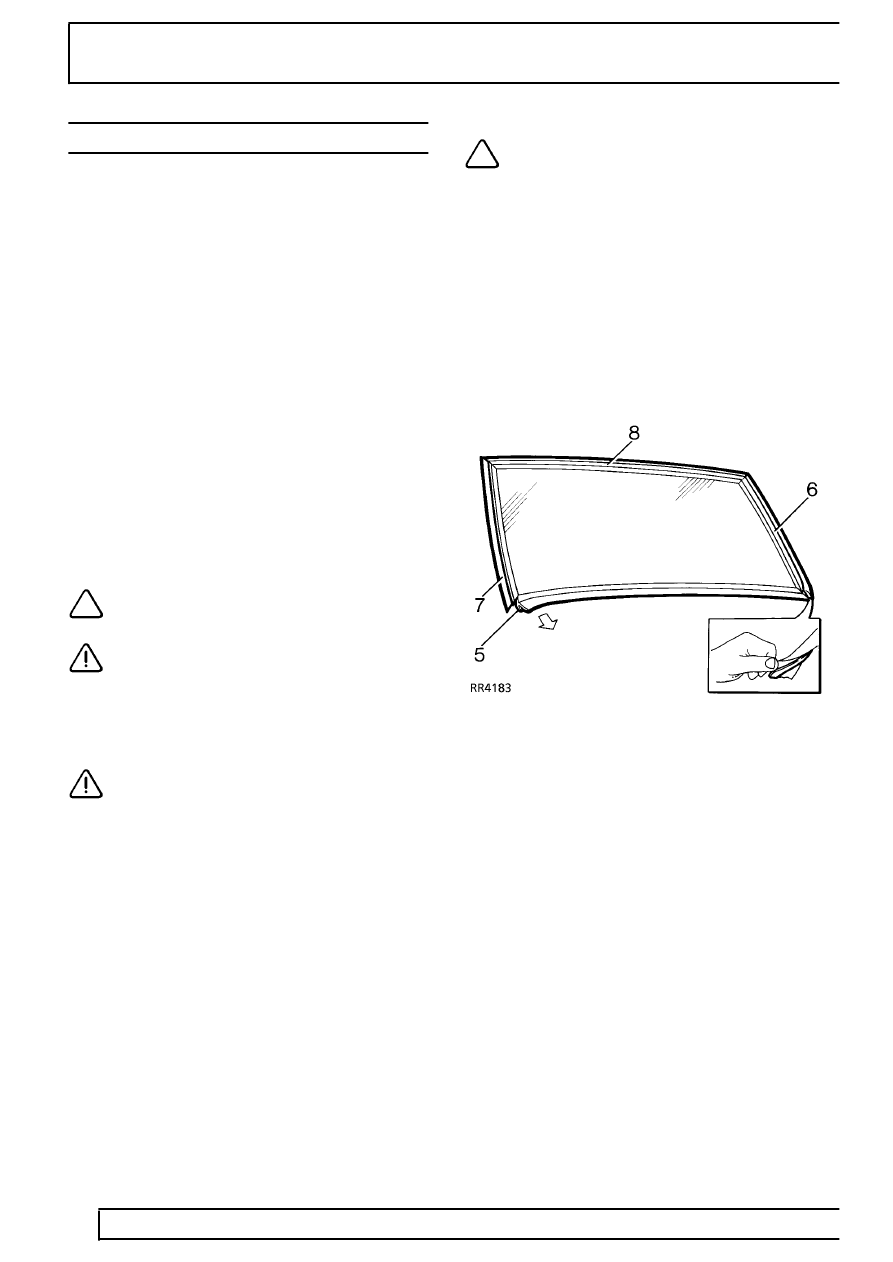
5. Ease one end of bottom finisher away from
glass, pull to disengage finisher flange and
remove.
6. Lift lip of LH ’A’ post finisher and release sealing
strip along its length, pull to disengage finisher
flange from glass and remove.
