
MKT AWD V6-3.5L Turbo (2010)
Removal and Installation
All vehicles
1. With the vehicle in NEUTRAL, position it on a hoist. For additional information, refer to Vehicle Jacking and Lifting.
2. Drain the engine cooling system. For additional information, refer to Cooling System &/or Engine Block Heater.
3. Recover the refrigerant.
4. Remove the LH quarter trim panel.
Vehicles with power liftgate
5. Remove the 2 power liftgate motor assembly bolts and the power liftgate motor assembly nut. Position the power liftgate motor assembly aside.
-
To install, tighten to 9 Nm (80 lb-in).
All vehicles
6. Remove the auxiliary evaporator line fitting nuts at the floorpan connection and disconnect the fittings.
-
Discard the O-ring seals and gasket seals.
-
To install, tighten to 15 Nm (133 lb-in).
7. Release auxiliary heater line clamps and disconnect the auxiliary heater outlet and inlet lines at the auxiliary floorpan bracket.
8. Remove the 2 auxiliary line floorpan bracket nuts.
-
To install, tighten to 9 Nm (80 lb-in).
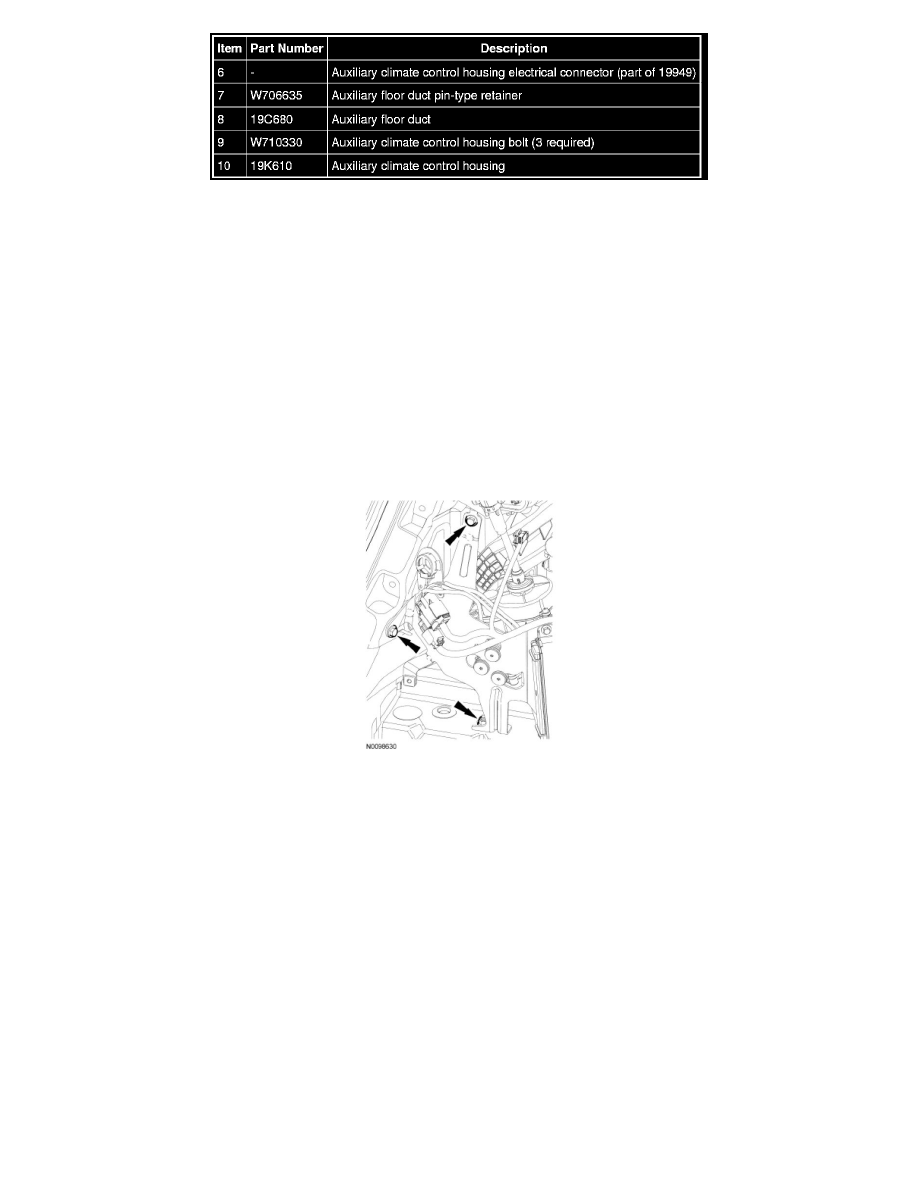
9. Disconnect the auxiliary climate control housing electrical connector.
10. Remove the auxiliary floor duct pin-type retainer and the auxiliary floor duct.
11. Remove the 3 auxiliary climate control housing bolts.
-
To install, tighten to 9 Nm (80 lb-in).
12. Remove the auxiliary climate control housing.
13. To install, reverse the removal procedure.