
3 L4-2.0L (2007)
Coolant: Service and Repair
ENGINE COOLANT REPLACEMENT [LF, L3]
Warning:
-
Remove and install all parts when the engine is cold, otherwise they can cause severe burns or serious injury.
-
Turn off the engine and wait until it is cool. Even then, be very careful when removing the cap. Wrap a thick cloth around it and slowly
turn it counterclockwise 2.5 turns. Step back while the pressure escapes.
-
When you are sure all the pressure is gone, turn the cap using the cloth, and remove it.
Caution:
-
Use engine coolant at a concentration that meets the environmental conditions in which the vehicle is driven, otherwise engine damage
could occur.
-
The engine has aluminum parts and must be protected by an ethylene-glycol-based coolant to prevent corrosion and freezing.
-
Do not use coolants containing Alcohol, Methanol, Borate or Silicate. These coolants could damage the cooling system.
-
Use only soft (demineralized) water in the coolant mixture. Water that contains minerals will cut down on the coolant's effectiveness.
-
Engine coolant damages paint. If engine coolant does get on a painted surface, rinse it off quickly.
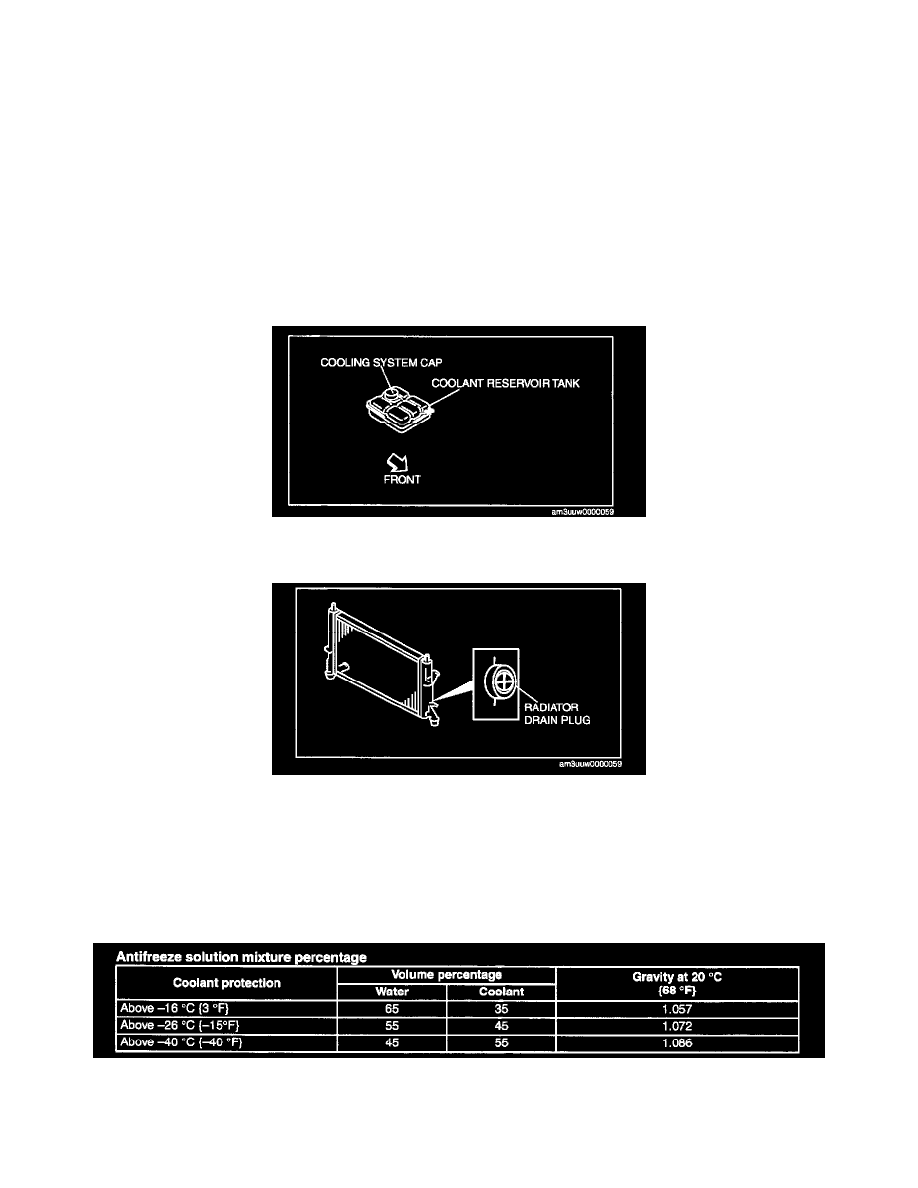
1. Remove the cooling system cap.
2. Remove the under cover.
3. Remove the radiator drain plug and drain the engine coolant into a container.
4. Flush the cooling system with water until all traces of color are gone.
5. Let the system drain completely.
6. Tighten the radiator drain plug.
Tightening torque 1.2 - 1.5 Nm (13 - 15 kgf-cm, 11 - 13 in-lbf)
7. Referring to the following chart, select the correct volume percentage of the water and coolant.
Antifreeze Solution Mixture Percentage
8. Refill the coolant into the coolant reserve tank up to the MAX mark on the tank.
9. Fully install the cooling system cap.