
3 L4-2.5L (2010)
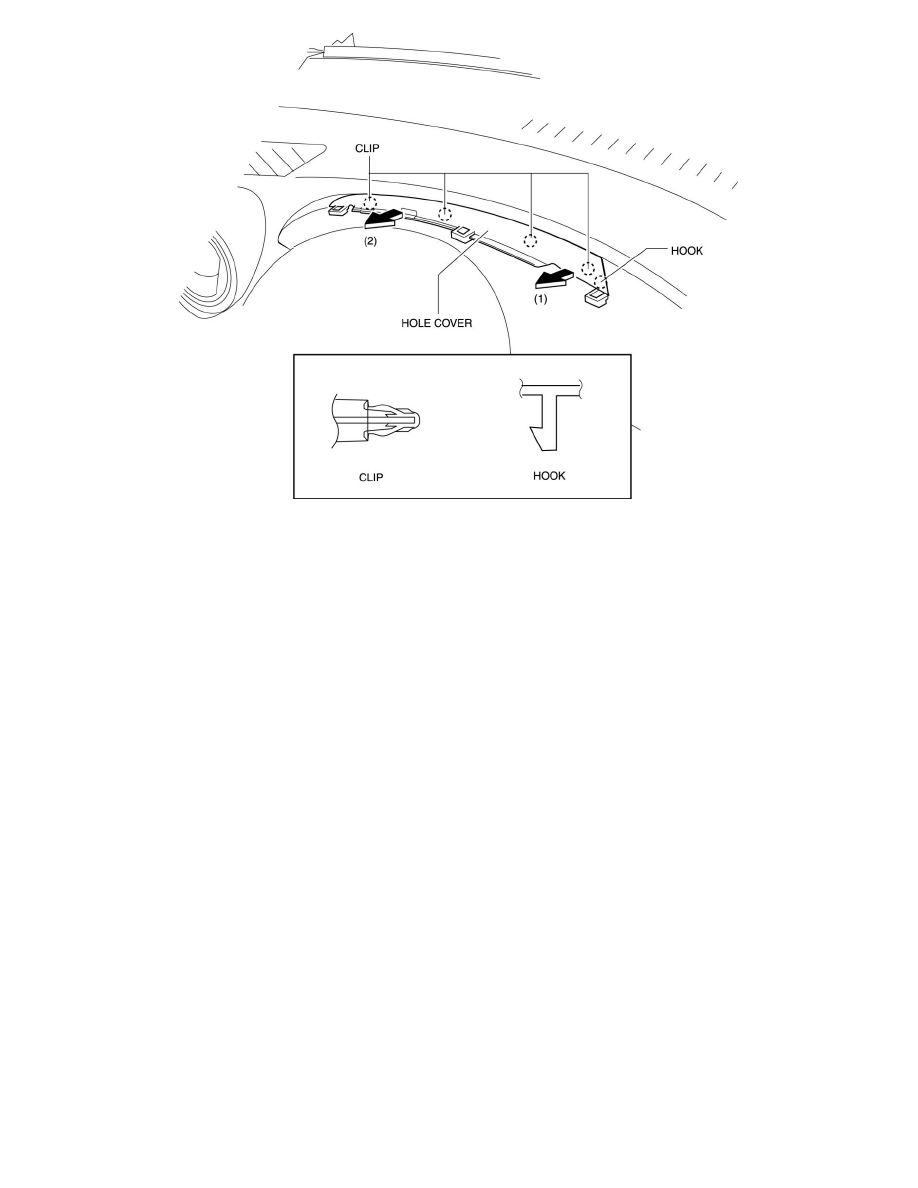
3. Remove the hole cover.
4. Install in the order of removal.
Knee Bolster Removal/Installation
KNEE BOLSTER REMOVAL/INSTALLATION
1. Disconnect the negative battery cable.
2. Remove the following parts:
a. Driver-side front scuff plate See: Body and Frame/Interior Moulding / Trim/Scuff Plate/Service and Repair/Front Scuff Plate
Removal/Installation
b. Driver-side front side trim See: Body and Frame/Interior Moulding / Trim/Trim Panel/Service and Repair/Front Side Trim
Removal/Installation
c. Hood release lever See: Body and Frame/Doors, Hood and Trunk/Hood/Hood Latch Release/Service and Repair
d. Upper panel See: Body and Frame/Interior Moulding / Trim/Console/Service and Repair/Upper Panel Removal/Installation
e. Shift knob (MTX) (See See: Transmission and Drivetrain/Manual Transmission/Transaxle/Shifter M/T/Service and Repair)
f.
Selector lever knob (ATX) See: Transmission and Drivetrain/Automatic Transmission/Transaxle/Shifter A/T/Service and Repair/Automatic
Transaxle Shift Mechanism Removal/Installation
g. Shift panel See: Body and Frame/Interior Moulding / Trim/Console/Service and Repair/Shift Panel Removal/Installation
h. Side wall See: Side Wall Removal/Installation
i.
Console See: Body and Frame/Interior Moulding / Trim/Console/Service and Repair/Console Removal/Installation
j.
Driver-side lower panel See: Lower Panel Removal/Installation
3. Remove the bolts.