
3 L4-2.5L (2010)
Starter Cut Relay: Service and Repair
STARTER CUT RELAY REMOVAL/INSTALLATION [MTX]
Advanced Keyless Entry And Push Button Start System Only
1. Disconnect the negative battery cable.
2. Remove the following parts:
-
Front scuff plate (LH) See: Body and Frame/Interior Moulding / Trim/Scuff Plate/Service and Repair/Front Scuff Plate Removal/Installation
-
Front side trim (LH) See: Body and Frame/Interior Moulding / Trim/Trim Panel/Service and Repair/Front Side Trim Removal/Installation
-
Side wall See: Body and Frame/Interior Moulding / Trim/Dashboard / Instrument Panel/Service and Repair/Removal and Replacement/Side
Wall Removal/Installation
-
Console See: Body and Frame/Interior Moulding / Trim/Console/Service and Repair/Console Removal/Installation
3. Set the hood release lever out of the way. See: Body and Frame/Doors, Hood and Trunk/Hood/Hood Latch Release/Service and Repair
4. Remove the lower panel. See: Body and Frame/Interior Moulding / Trim/Dashboard / Instrument Panel/Service and Repair/Removal and
Replacement/Lower Panel Removal/Installation
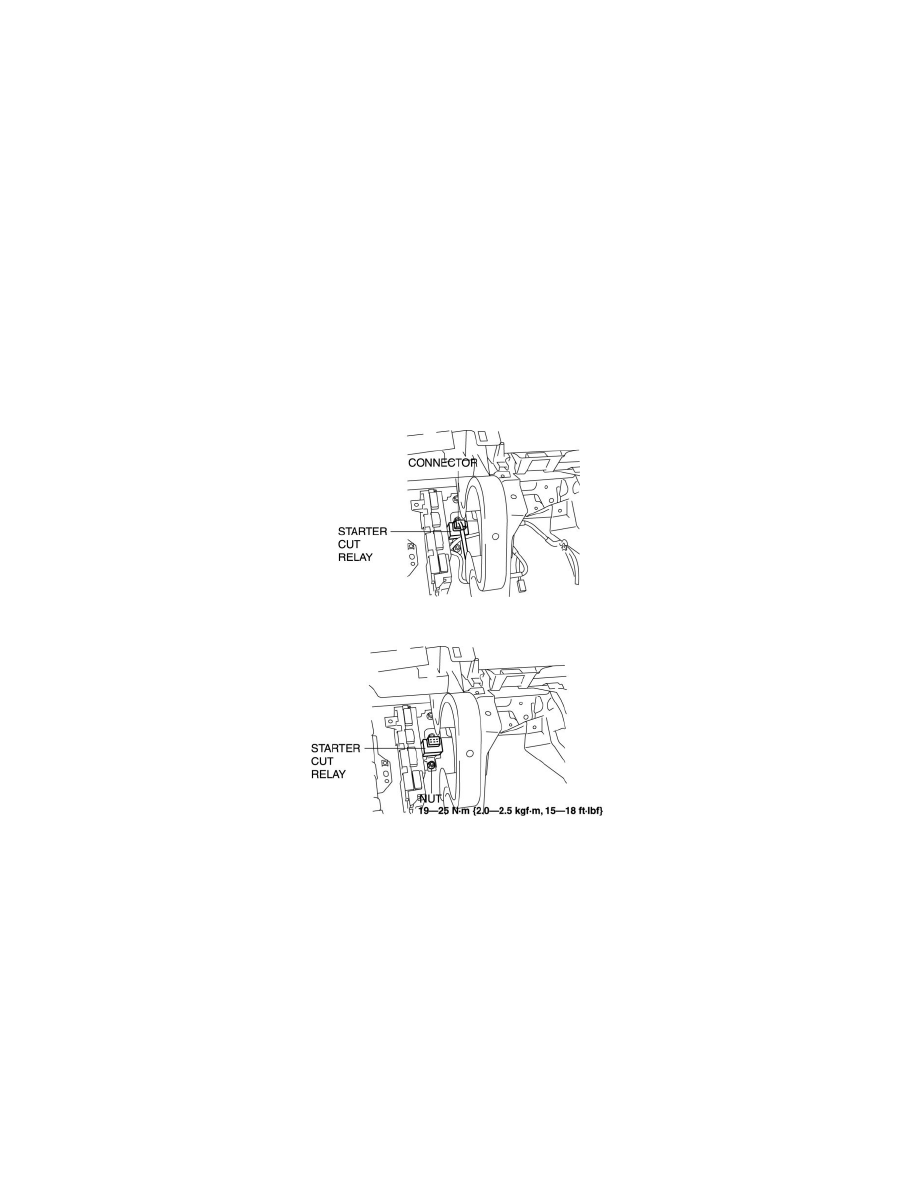
5. Disconnect the connector.
6. Remove the nut.
7. Remove the starter cut relay.
8. Install in the reverse order of removal.