
3 L4-2.5L (2010)
Door Lock Cylinder Switch: Testing and Inspection
Front Door Key Cylinder Switch Inspection
FRONT DOOR KEY CYLINDER SWITCH INSPECTION
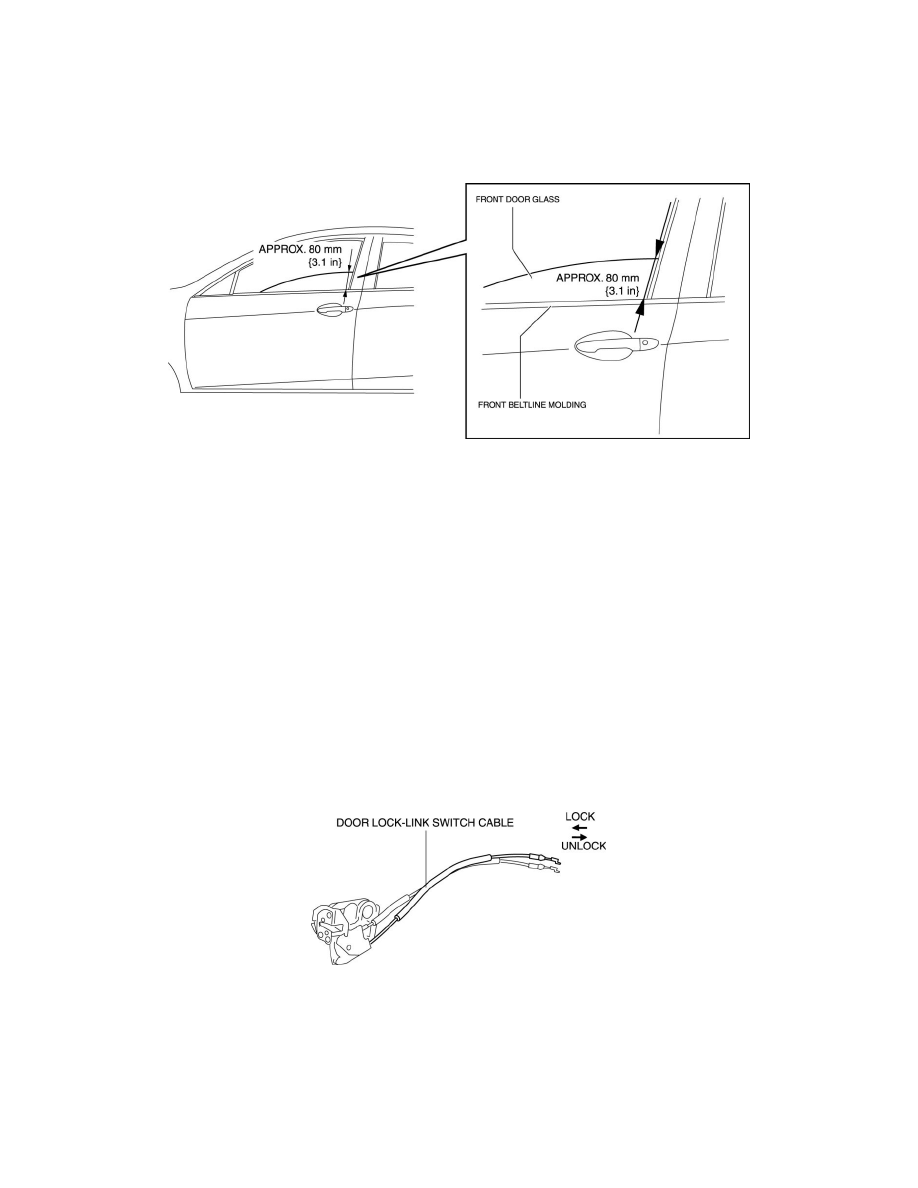
1. To access the glass installation bolt, position the front door glass so that the distance from the top of the front door glass to the upper part of the
front beltline molding is approx. 80 mm {3.1 in}.
2. Disconnect the negative battery cable.
3. Remove the following parts:
a. Inner garnish See: Body and Frame/Doors, Hood and Trunk/Doors/Front Door/Front Door Panel/Service and Repair/Removal and
Replacement/Inner Garnish Removal/Installation
b. Front door trim See: Body and Frame/Doors, Hood and Trunk/Doors/Front Door/Front Door Panel/Service and Repair/Removal and
Replacement/Front Door Trim Removal/Installation
c. Front door speaker (See See: Accessories and Optional Equipment/Radio, Stereo, and Compact Disc/Speaker/Service and Repair/Front Door
Speaker Removal/Installation)
d. Front door glass See: Body and Frame/Doors, Hood and Trunk/Doors/Front Door/Front Door Window Glass/Service and Repair
e. Front door module panel See: Body and Frame/Doors, Hood and Trunk/Doors/Front Door/Service and Repair/Front Door Module Panel
Removal/Installation
f.
Front door latch and lock actuator See: Body and Frame/Doors, Hood and Trunk/Doors/Front Door/Front Door Latch/Service and Repair
4. If the door lock condition is to be inspected, pull the door lock-link switch cable, or press it in.
5. Verify that the continuity is as indicated in the table.