
3 L4-2.5L (2010)
1. Loosen the front lower arm inner bolt.
2. Separate the front lower arm ball joint.
3. Separate the shock absorber from the wheel hub, steering knuckle component by tapping the upper part of the steering knuckle with a hammer.
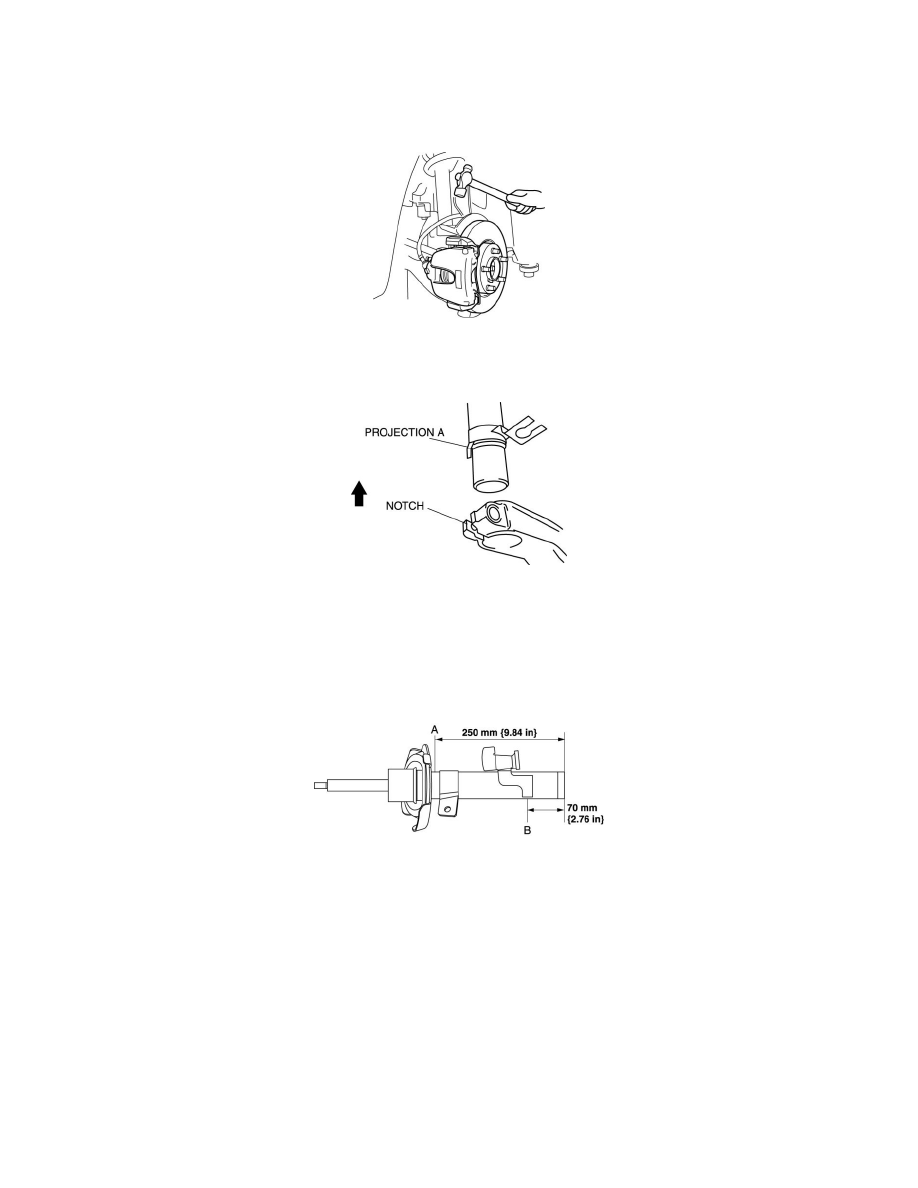
Shock Absorber and Coil Spring Installation Note
1. Raise the front lower arm using a jack and install the shock absorber and coil spring.
Front Shock Absorber Disposal
FRONT SHOCK ABSORBER DISPOSAL
1. Place the shock absorber on a level surface or with the piston pointing downwards.
2. Drill a 2-3 mm {0.08-0.11 in} hole at the point A shown in the figure so that the gas can escape.
WARNING:
-
Whenever drilling into a shock absorber, wear protective eye wear. The gas in the shock absorber is pressurized and could spray metal chips
into the eyes and face.
3. Drill a 2-3 mm {0.08-0.11 in} hole at the point B shown in the figure to drain the oil.
4. Turn the hole made in Step 3 downwards and drain the oil by pumping the piston rod up and down several times.
5. Cut off the end of the shock absorber.
6. Dispose of waste oil according to local waste disposal laws.
Rear Shock Absorber Removal/Installation
REAR SHOCK ABSORBER REMOVAL/INSTALLATION
1. Support the rear axle using a jack.