
323 L4-1800cc 1.8L OHC (1991)
Canister Purge Solenoid: Testing and Inspection
Fig. 117 Solenoid Valve
SYSTEM INSPECTION
NOTE: Check the condition of the wiring harness and/or vacuum lines and connectors before checking the sensors or switches.
1.
Warm up the engine to normal operating temperature.
2.
Run the engine at idle.
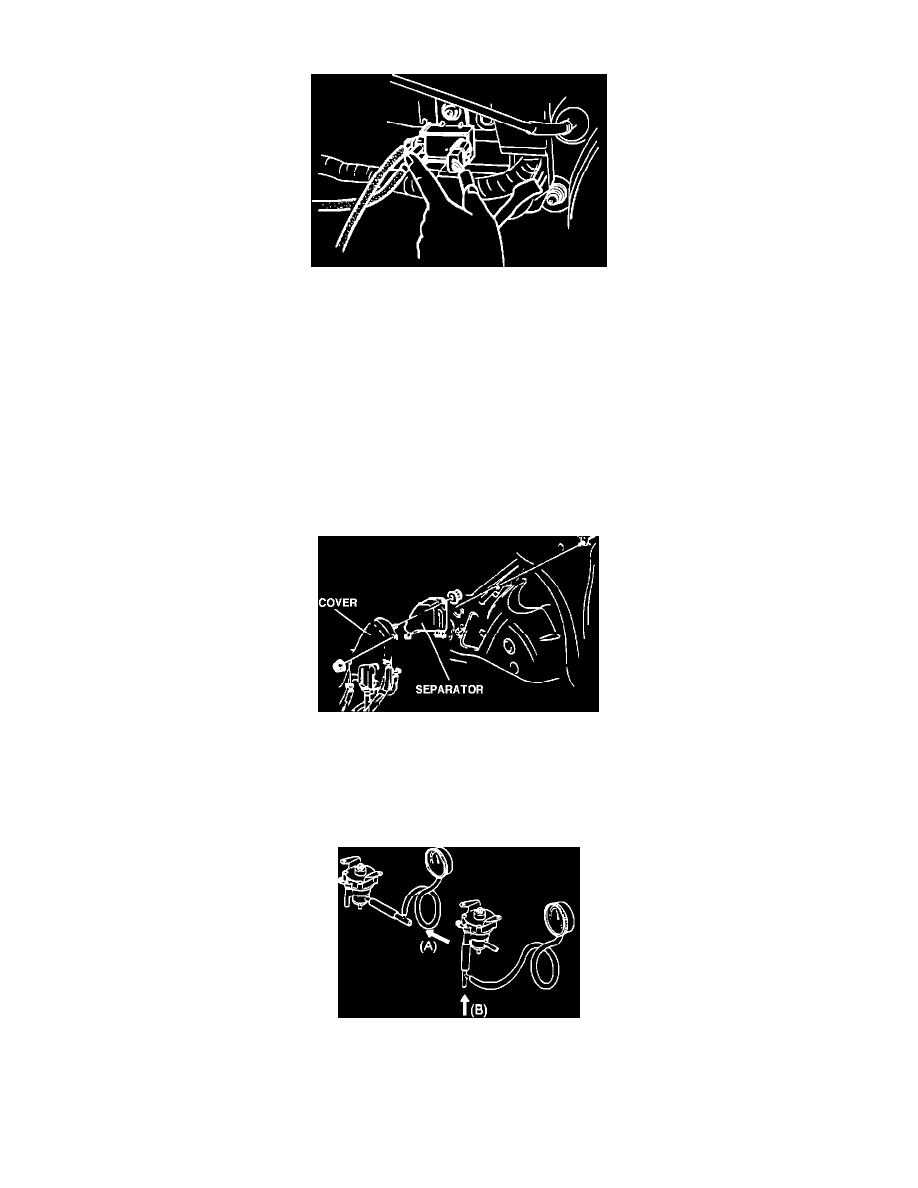
3.
Disconnect the vacuum hose from the solenoid valve as shown in the image and verify that no vacuum is felt at the solenoid valve.
4.
If not as specified, check the solenoid valve.
CHARCOAL CANISTER
Visually inspect the cannister for signs of damage of cracks. Replace the cannister if necessary.
Fig. 84 Separator
CHECK AND CUT VALVE
1.
Remove the check and cut valve.
2.
Connect a pressure gauge to the passage from the fuel tank.
Check And Cut Valve Testing
3.
Blow through the valve from "A", and check to see that it opens at a pressure of 6.38 - 8.34 kPa (0.065 - 0.085 kg/sq cm, 0.92 - 1.2 psi)
4.
Remove the pressure gauge, and connect it to the passage to atmosphere.
5.
Blow through the valve from "B", and check to see that it opens at a pressure of 0.98 - 4.9 kPa (0.01 - 0.05 kg/sq cm, 0.14 - 0.71 psi).