5 L4-2.3L (2007)

3. Remove the front drain hose from the clips.
4. Pull the front drain hose into the vehicle interior and remove the front drain hose.
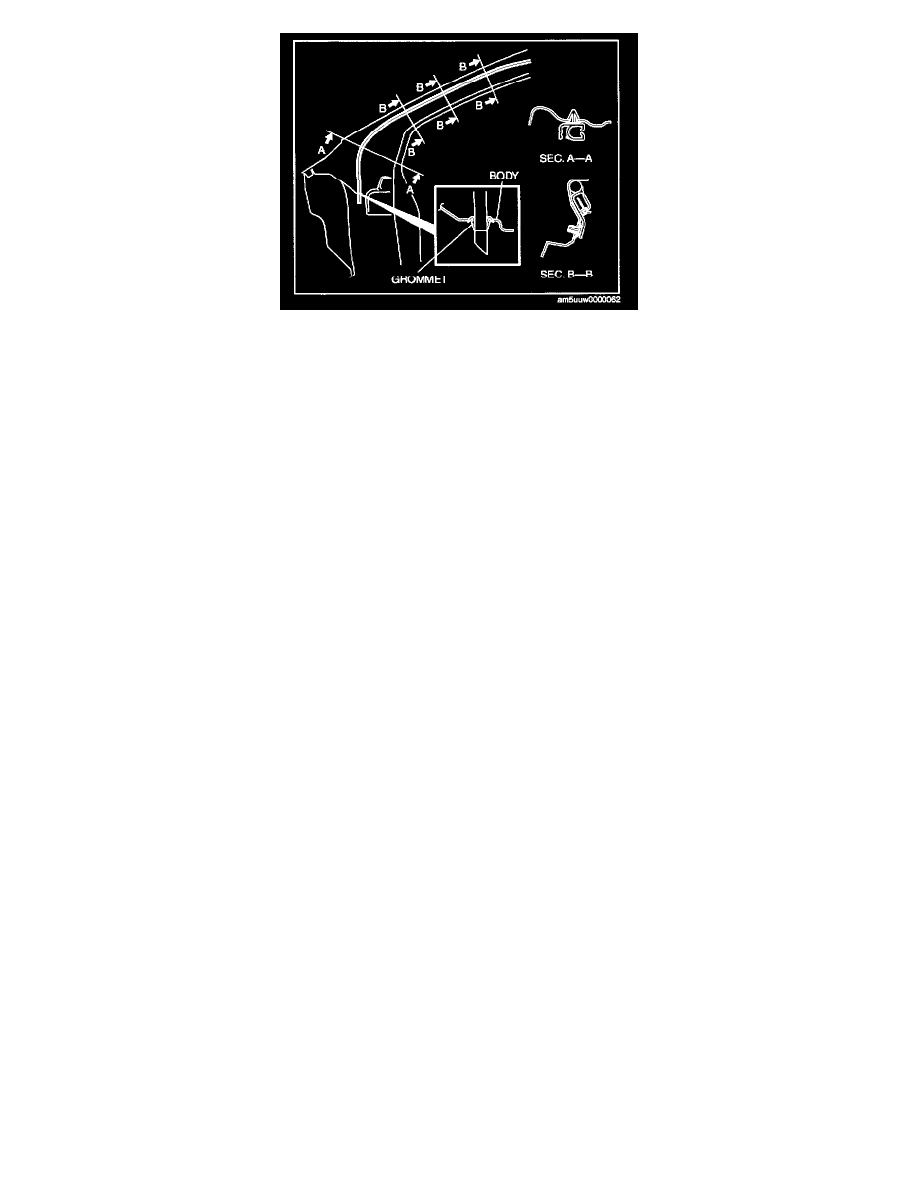
FRONT DRAIN HOSE INSTALLATION
CAUTION: If the front drain hose is pinched or bent at any point, the water in the hose may not drain and could leak inside the vehicle.
During and after installation of the trims and headliner, always make sure there is no interference with the front drain hose. Correct any
abnormality if found.
1. Apply soapy water to the part of the sunroof frame where the front drain hose is inserted.
2. Insert the front drain hose end into the sunroof frame.
3. Install the front drain hose to the clips parallel to the pillar and free of looseness.
4. Insert the front drain hose grommet into the hole of the inner hinge pillar.
5. Install the following parts:
1. Dashboard
2. Cowl grille
3. Windshield wiper arm and blade
4. Rear heat duct (1)
5. Climate control unit
6. Steering shaft
7. Instrument cluster
8. Lower column cover
9. Meter hood
10. Selector lever component
11. Driver-side air bag module
12. Center panel unit
13. Lower panel
14. Front console
15. Glove compartment
16. Side panel (passenger's side)
17. Side wall
18. Front side trim
19. headliner
20. Assist handle
21. Sunvisor
22. Map light
23. C-pillar trim
24. Second-row seat belt upper anchor installation bolt
25. Trunk side trim
26. Cargo compartment light
27. Third-row seat belt lower anchor installation bolt
28. Rear header trim
29. Trunk end trim
30. Third-row seat
31. Sub-trunk
32. Rear package tray lid
33. B-pillar upper trim
34. Front seat belt upper anchor installation bolt
