
6 L4-2.5L (2010)
7. Remove the following parts.
a. Windshield wiper arm and blade See: Wiper and Washer Systems/Wiper Arm/Service and Repair
b. Cowl grille See: Body and Frame/Cowl/Cowl Moulding / Trim/Service and Repair/Cowl Grille Removal/Installation
c. Windshield wiper motor See: Wiper and Washer Systems/Wiper Motor/Service and Repair/Removal and Replacement
d. Cowl panel See: Body and Frame/Cowl/Cowl Moulding / Trim/Service and Repair/Cowl Panel Removal/Installation
e. ABS/TCS HU/CM (with ABS/TCS) See: Brakes and Traction Control/Antilock Brakes / Traction Control Systems/Hydraulic Control
Assembly - Antilock Brakes/Service and Repair
f.
DSC HU/CM (with DSC) See: Brakes and Traction Control/Antilock Brakes / Traction Control Systems/Service and Repair/DSC HU/CM
Removal/Installation
g. Front pipe See: Engine, Cooling and Exhaust/Exhaust System/Service and Repair
h. Air cleaner component See: Engine, Cooling and Exhaust/Engine/Intake Manifold/Service and Repair
i.
Aerodynamic under cover No.1 and No.2. See: Body and Frame/Splash Guard/Service and Repair/Aerodynamic Under Cover No.1
Removal/Installation See: Body and Frame/Splash Guard/Service and Repair/Aerodynamic Under Cover No.2 Removal/Installation
8. Disconnect the engine mount No.1. See: Engine, Cooling and Exhaust/Engine/Service and Repair/Removal and Replacement/Engine
Removal/Installation
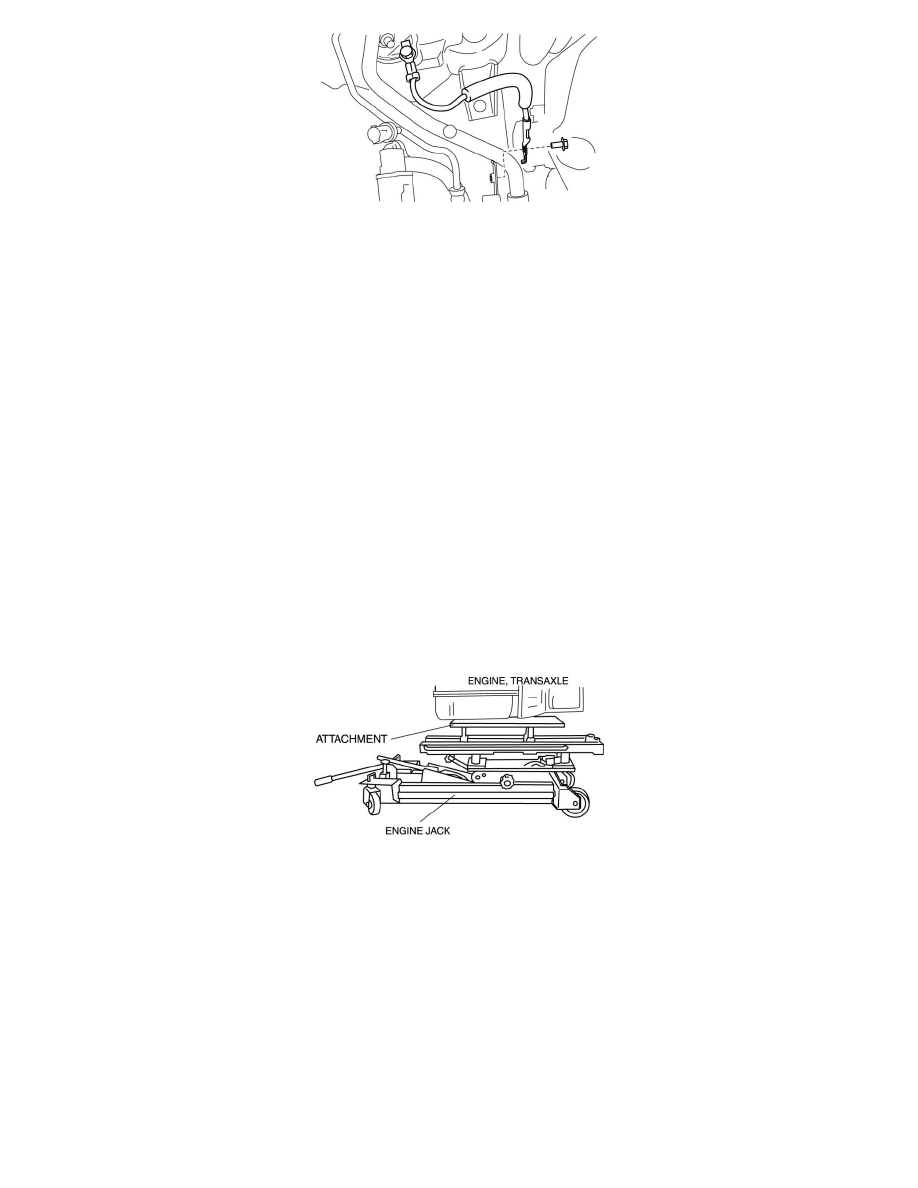
9. Sustain the engine and transaxle component with the engine jack.
10. Disconnect the engine mount No.3 and No.4. See: Engine, Cooling and Exhaust/Engine/Service and Repair/Removal and Replacement/Engine
Removal/Installation
11. Move the engine and transaxle component slightly direction to left, and enlarge the space for remove the refrigerant line.
12. Do not allow remaining compressor oil in the piping and connecting parts to spill, and remove in the order indicated in the table.
CAUTION:
-
If moisture or foreign material enters the refrigeration cycle, cooling ability will be lowered and abnormal noise or other malfunction could
occur. Always plug open fittings immediately after removing any refrigeration cycle parts.
13. Install in the reverse order of removal.
14. Perform the refrigerant system performance test. See: Heating and Air Conditioning/Testing and Inspection/Component Tests and General
Diagnostics/Refrigerant System Performance Test