
6 V6-3.0L (2007)
Fuel Injector: Service and Repair
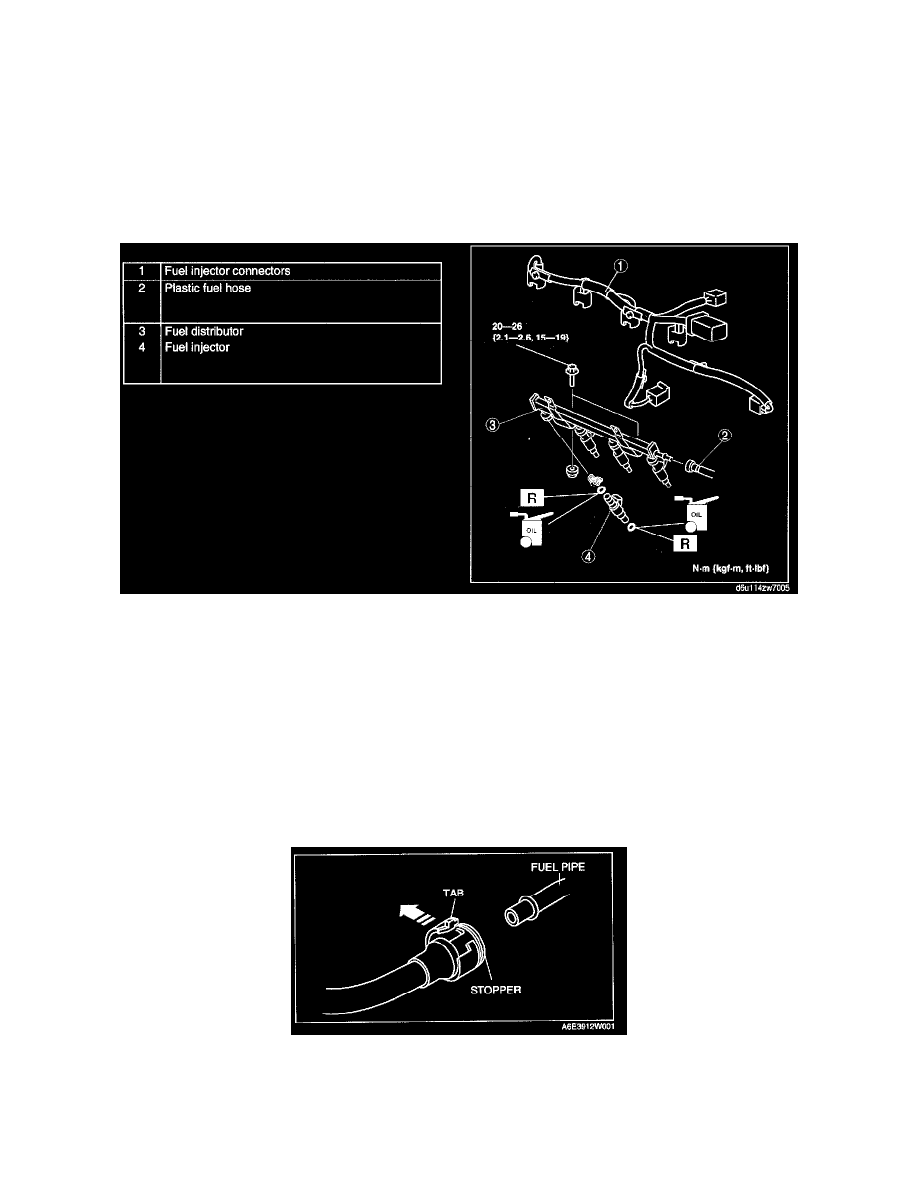
FUEL INJECTOR REMOVAL/INSTALLATION (L3)[L3, AJ]
CAUTION: Disconnecting/connecting the quick release connector without cleaning it may cause damage to the fuel pipe and quick release
connector. Always clean the quick release connector joint area before disconnecting connecting using a cloth or soft brush, and make sure
that it is free of foreign material.
1. Complete the "BEFORE REPAIR PROCEDURE". (See BEFORE REPAIR PROCEDURE[L3, AJ].) See: Service and Repair/Procedures/Before
Repair Procedure
2. Disconnect the negative battery cable.
3. Remove in the order indicated in the table.
4. Install in the reverse order of removal.
5. Complete the "AFTER REPAIR PROCEDURE". (See AFTER REPAIR PROCEDURE[L3, AJ].) See: Service and Repair/Procedures/After
Repair Procedure
Plastic Fuel Hose Removal Note
CAUTION: The quick release connector may be damaged if the tab is bent excessively. Do not expand the tab over the stopper.
1. Disconnect the quick release connector.
1. Push the tab on the locking coupler 90° until it stops.
2. Pull the fuel hose straight back.
NOTE:
-
The stopper may be removed from the quick connector. Take care not to lose it. Reinstall it to the quick release connector before reconnecting the
fuel line.