
626 LX L4-2.0L DOHC (1999)
3.
Reach through opening at front of body to install one 8 mm washer and nut.
WARNING:
To avoid injury, be careful when inserting hand through opening in front of body. This area contains sharp edges.
4.
Proceed to Oil Pipe Assembly Installation procedure.
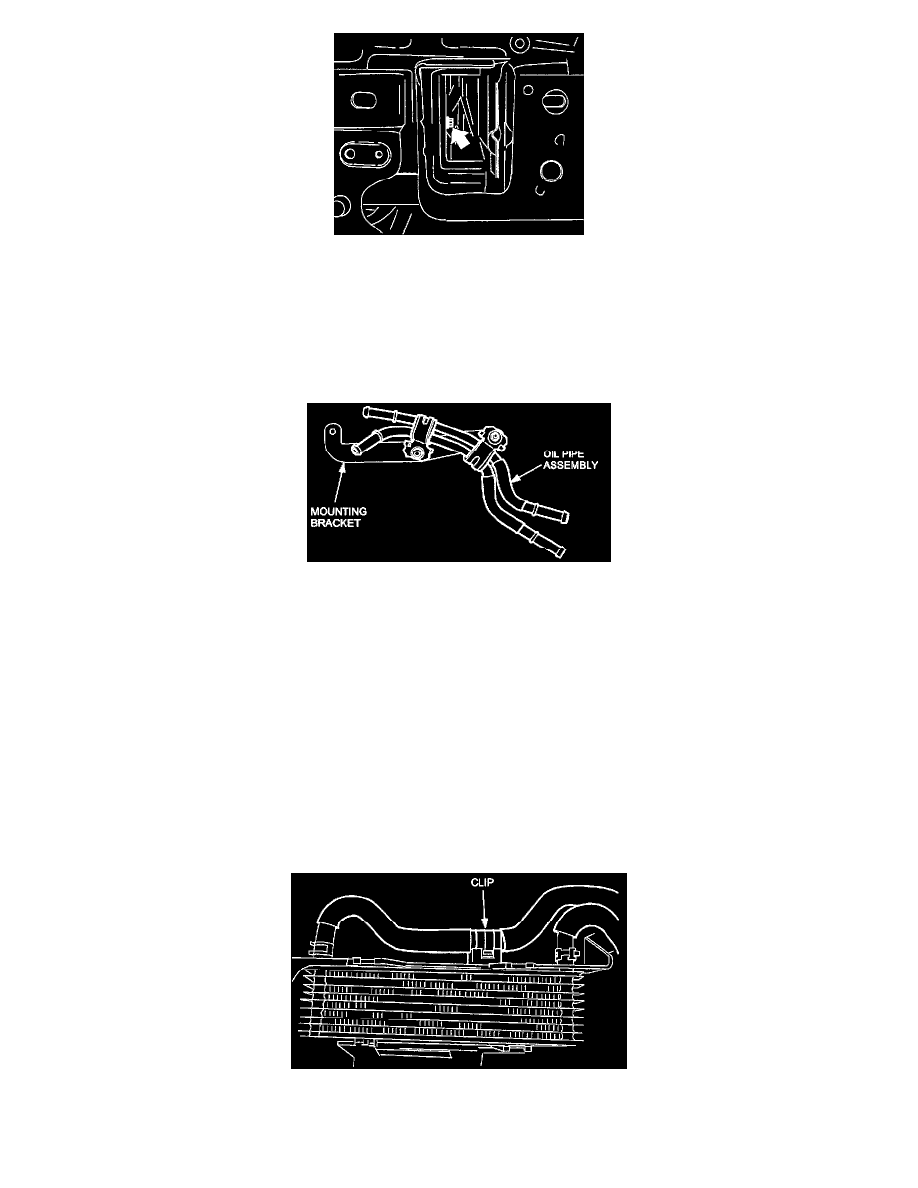
Oil Pipe Assembly Installation
1.
Install oil pipe assembly on mounting bracket and position them so that the longer section of the oil pipe is facing out through seal plate, towards
front of vehicle.
2.
Install two(2) 6 mm nuts.
3.
Proceed to Radiator Installation procedure.
Radiator Installation
1.
Transfer original oil pipes, radiator hoses and fan assemblies that were previously removed, and connect them to the new radiator.
NOTE:
Use new copper sealing washers on both sides of oil pipe banjo bolts.
2.
Install the entire assembly into the vehicle and connect the upper and lower oil cooler hoses to the engine.
3.
Reconnect engine and A/C condenser fan harnesses and reinstall radiator mounts.
4.
Connect hoses to oil cooler and secure hose to oil cooler using clip provided.