
B2500 SX Regular Cab 2WD L4-2.5L VIN C (1999)
Companion Flange: Service and Repair
REAR COMPANION FLANGE REMOVAL/INSTALLATION
Removal Note
Note: The rear wheels and brake drums must be removed to prevent brake drag during drive pinion bearing preload adjustment.
1. Remove the brake drums.
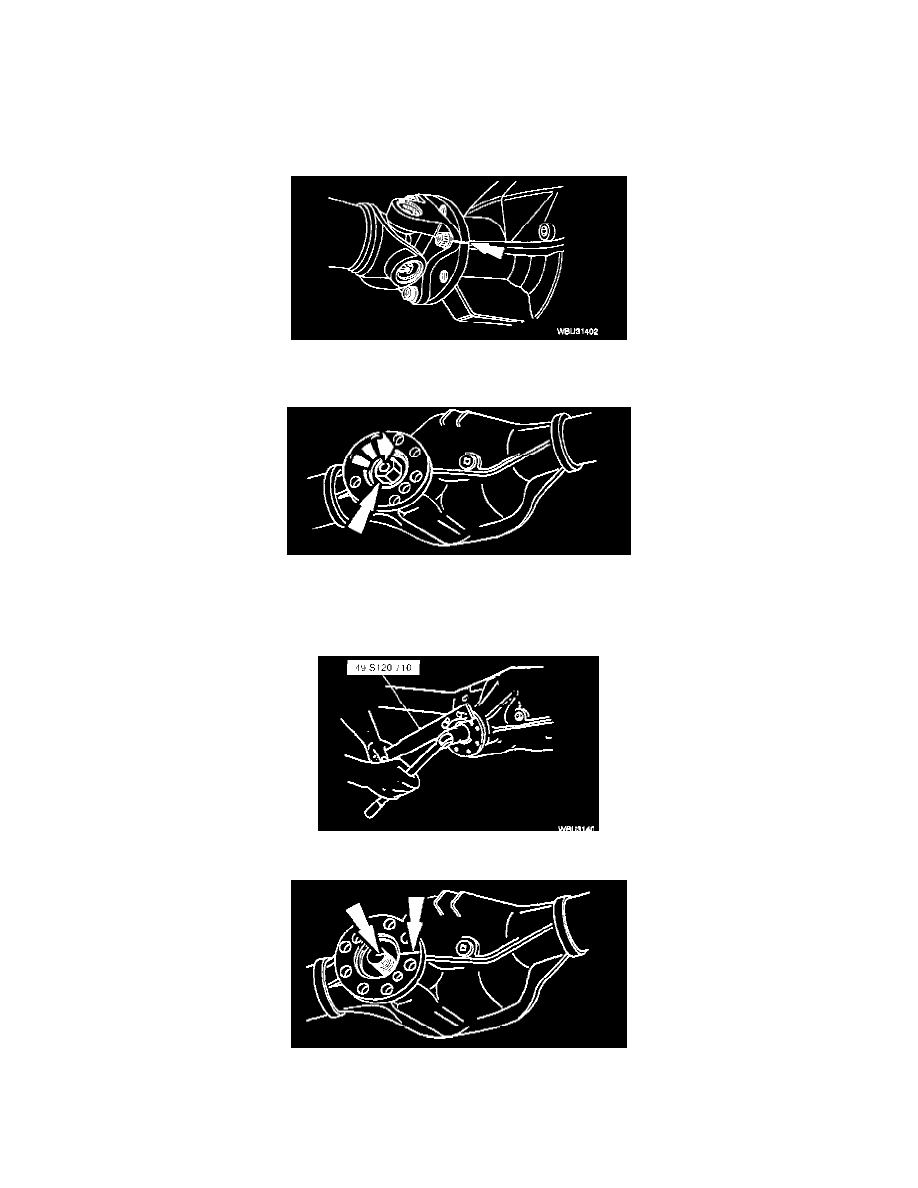
2. Mark the propeller shaft flange and rear axle companion flange for correct alignment during installation.
3. Remove the four propeller shaft bolts and disconnect the propeller shaft. Wire the propeller shaft out of the way.
4. Install an Nm (inch/pound) torque wrench on the pinion nut and record the torque required to maintain rotation of the pinion through several
revolutions.
Note: After removal of the pinion nut, discard it. A new nut must be used for installation.
5. Use Coupling Holder Special Service Tool (SST) 49-S120-710 to hold the rear axle companion flange while removing the pinion nut.
6. Mark the companion flange in relation to the drive pinion stem to ensure proper alignment during installation.
7. Use a 2-jaw puller to remove the companion flange.
Installation Note
1. Lubricate the companion flange splines.