
B3000 DS Regular Cab 2WD V6-3.0L OHV (2002)
Band: Adjustments
BAND ADJUSTMENTS
Overdrive / Front Band
Caution: Do not allow overdrive/front band adjust mend screw to back out. Band strut could fall out of position.
Throw the locknut away. The locknut is not reusable for assembly.
1. Remove and discard the overdrive/front band locknut.
Note: The wrench will click at the specified torque.
2. Tighten overdrive/front band adjustment screw and back off overdrive/front band adjustment screw exactly two (2) turns and hold that position.
Caution: Install, but do not tighten, a new locknut on the band adjustment screw. Apply petroleum jelly to the locknut seal.
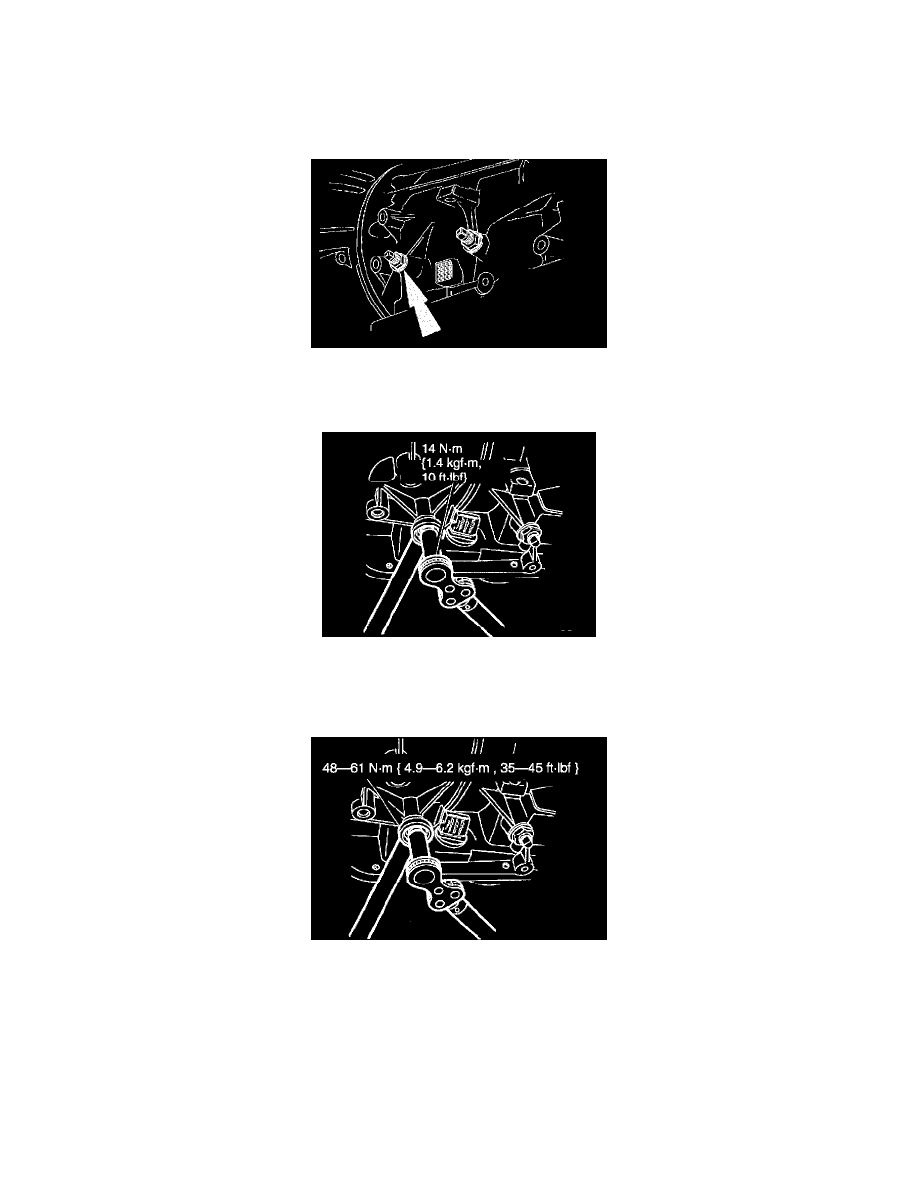
The front servo must be installed prior to band adjustment.
3. While holding the overdrive/front band adjustment screw stationary, tighten the overdrive/front band locknut using a 19 mm wrench.
4. Install the digital transmission range (TR) sensor.