B3000 SE Cab Plus 4 4WD V6-3.0L OHV (2000)

Band: Adjustments
BAND ADJUSTMENTS
Overdrive/Front Band
Caution
-
Do not allow overdrive/front band adjustment screw to back out. Band strut could fall out of position.
-
Throw the locknut away. The locknut is not reusable for assembly.
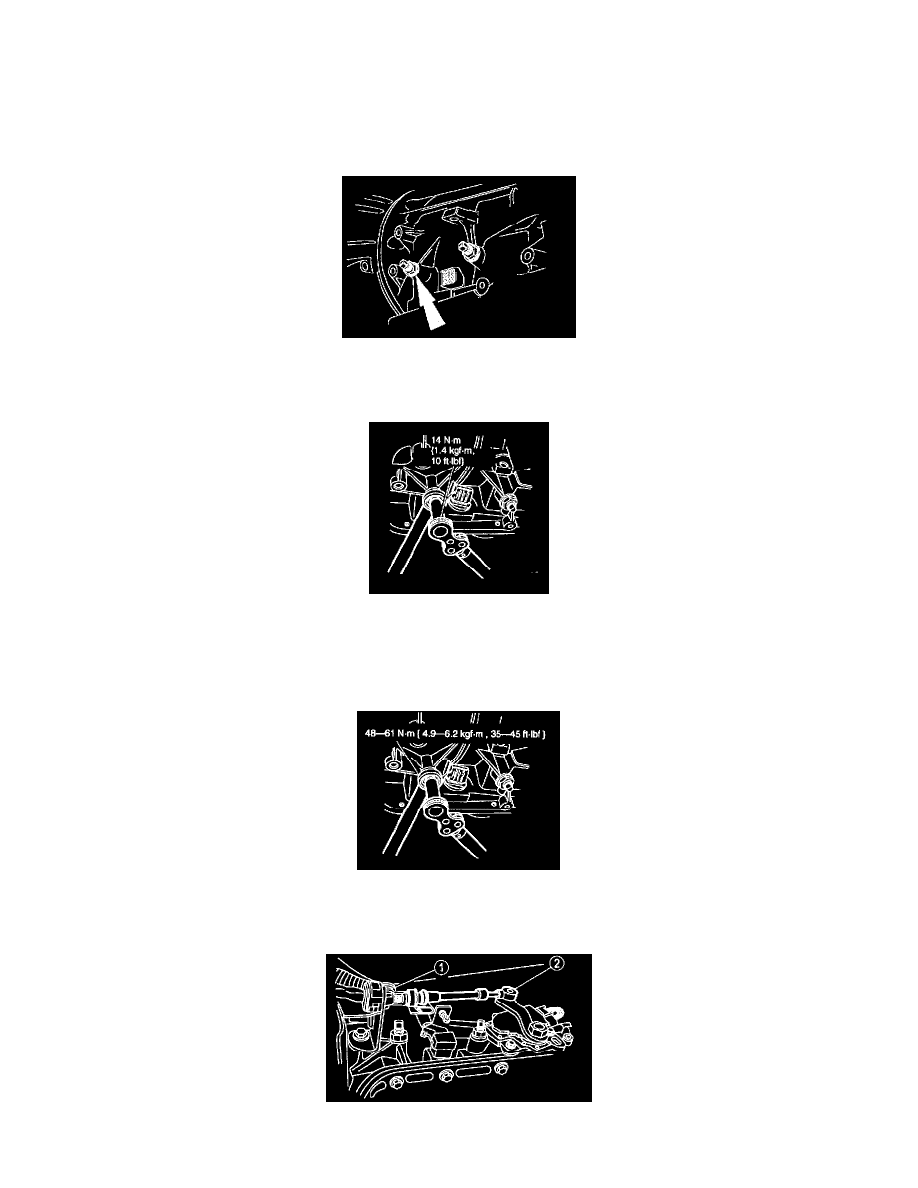
1. Remove and discard the overdrive/front band locknut.
Note The wrench will click at the specified torque.
2. Tighten overdrive/front band adjustment screw and back off overdrive/front band adjustment screw exactly two (2) turns and hold that position.
Caution
-
Install, but do not tighten, a new locknut on the band adjustment screw. Apply petroleum jelly to the locknut seal.
-
The front servo must be installed prior to band adjustment.
3. While holding the overdrive/front band adjustment screw stationary, tighten the overdrive/front band locknut using a 19 mm wrench.
4. Install the digital Transmission Range (TR) sensor. Refer to Powertrain Manangement; Computers and Control Systems; Transmission Position
Switch/Sensor.
5. Install the shift cable.
