
B3000 SE Regular Cab 4WD V6-3.0L OHV (1998)
Trim Panel: Service and Repair
Removal
1. Remove the tailgate.
2. Remove the rear lamps.
3. Remove the body side panel step mat(s).
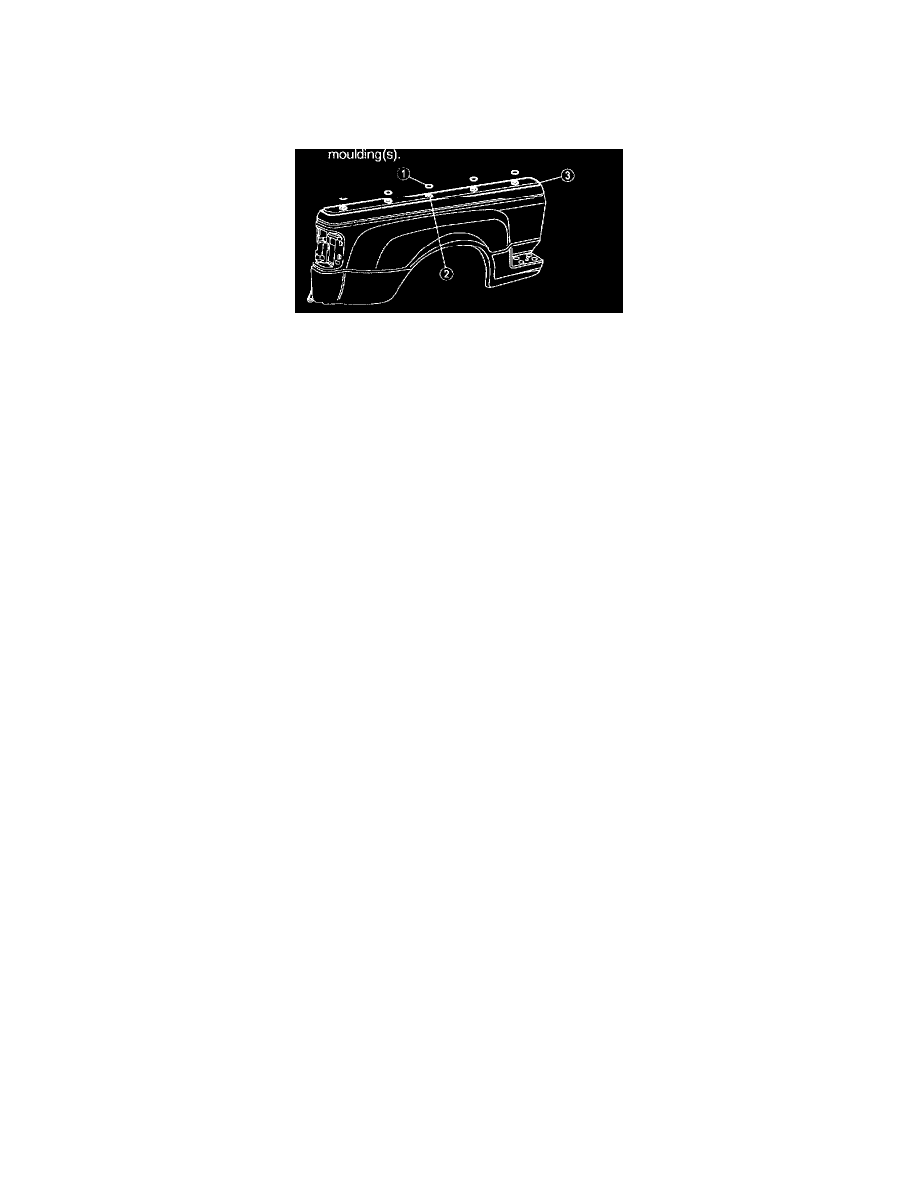
4. Remove the body side outside upper moulding(s).
1. Remove the plug buttons.
2. Remove the screws.
3. Remove the body side outside upper moulding (s).
5. If removing the LH body side outer panel, remove the fuel filler cap.
NOTE: Mark the position of the fuel filler cap tether for proper installation.
6. If removing the LH body side outer panel, remove the filler neck screws.
7. If equipped, remove the mud flap(s).
8. Remove the rear wheel splash shield(s).
CAUTION: Use care not to scratch the pickup bed.
NOTE: Label the pickup bed bolts because they are not identical and must be installed in the same location that they are removed from.
9. Remove the pickup bed bolts.
10. With the aid of an assistant, move the pickup bed toward the rear of the truck enough to access the front panel to bed bolts.
11. Remove the step screws.
12. Remove the rear lamp opening bolts.
13. Remove the lower rear body side outer panel screw.
14. Remove the three front panel to bed bolts.
15. Remove the body side outer panel(s).
1. Remove the screws.
2. Remove the body side outer panel(s).
16. Install in reverse order of removal.