
B3000 SE Regular Cab 4WD V6-3.0L OHV (1998)
6. Loosen the torsion bar adjustment tool until all of the tension is off from the torsion bar.
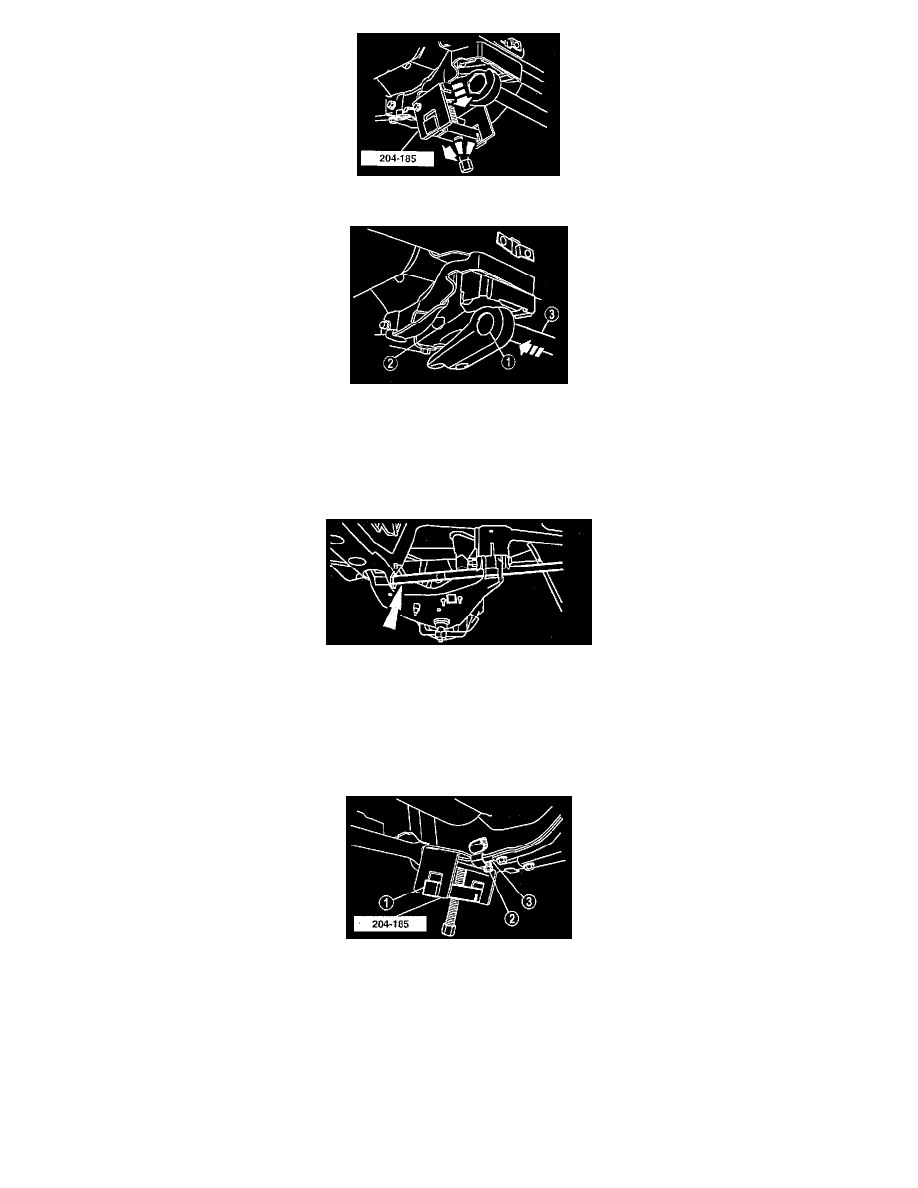
7. Remove the torsion bar.
(1) Mark the torsion bar and the adjuster for proper installation.
(2) Remove the torsion bar insulator.
(3) Grasp the torsion bar and pull it free from the front suspension lower arm.
INSTALLATION
1. Position the torsion bar into the front suspension lower arm.
2. Install the SST.
(1) Align the marks on the torsion bar and the torsion bar adjuster, then install the torsion bar adjuster.
(2) Position the torsion bar insulator.
CAUTION: The torsion bar adjustment bolt is coated with dry adhesive, and must be replaced if it is backed off or removed. Failure to do so can
cause the adjustment bolt to loosen up during operation and a loss of vehicle alignment.
3. Preload the torsion bar.
(1) Install SST 204-185 torsion bar tool and adapters.
(2) Tighten the SST until the new adjustment bolt and nut can be installed.
(3) Turn the adjustment bolt until the preliminary adjustment measurement is reached (the recorder length of the old adjustment bolt).