
B3000 SE Regular Cab 4WD V6-3.0L OHV (1998)
Wheels: Service and Repair
REMOVAL
1. Remove the wheel cover, if equipped.
CAUTION: Do not use heat to loosen a seized lug nut. Heat can damage the wheel and wheel bearings.
NOTE: Do not remove the lug nuts at this time.
2. With the weight of the vehicle still on the tires, loosen the lug nuts.
3. Raise the vehicle until the wheel and tire assembly clears the floor.
4. Remove the lug nuts.
5. Remove the wheel and tire assembly.
INSTALLATION
1. Position the wheel and tire assembly on the vehicle.
2. Install the lug nuts loosely. Make sure the cone ends of the lug nut face inward.
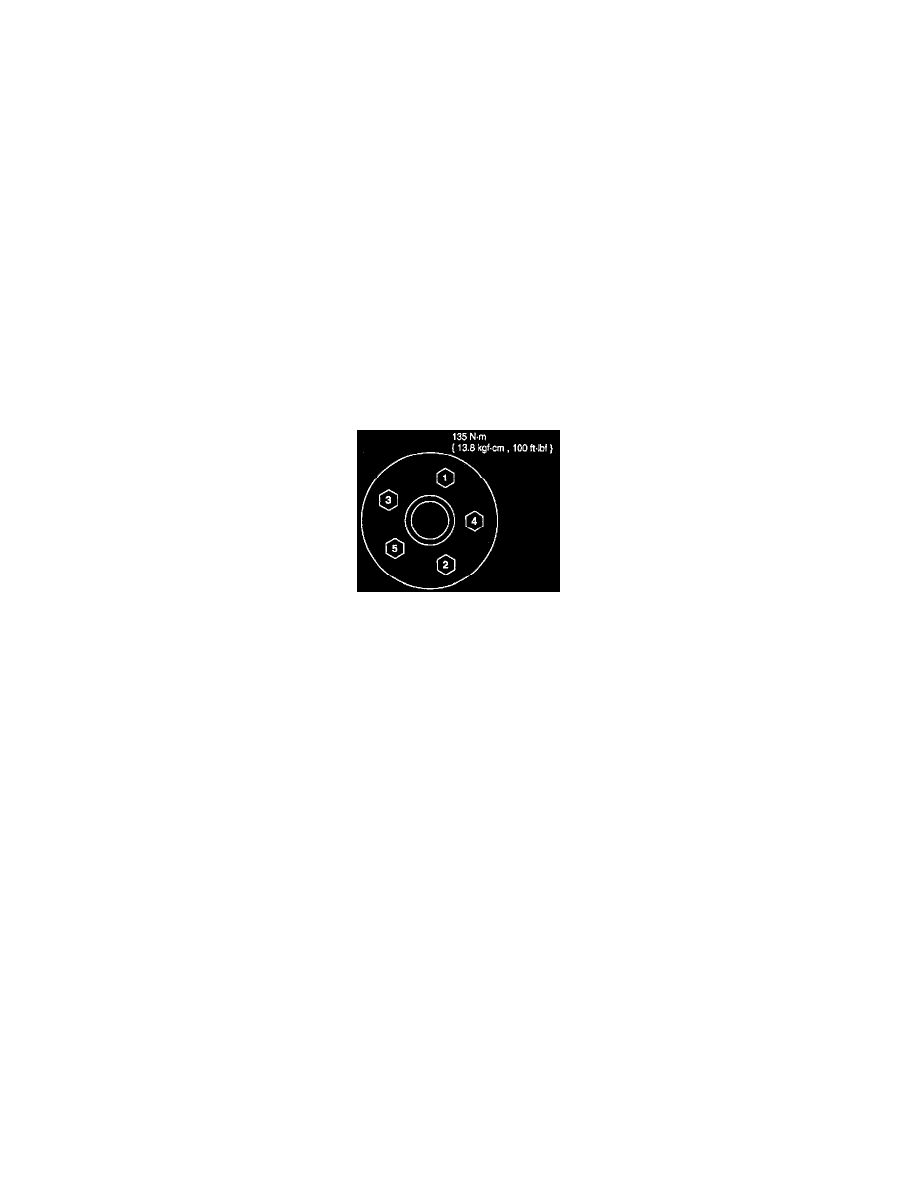
3. Turn the wheel until one lug nut is at the top of the wheel hub bolt circle. Tighten the lug nut until snug. In a crisscross-type pattern, tighten the
remaining lug nuts until snug to minimize runout.
4. Lower the vehicle.
CAUTION: Failure to tighten the lug nuts in a star pattern can result in high rotor runout, which will speed up the development of brake
roughness, shudder and vibration.
5. Tighten the lug nuts to specification.
6. Advise the customer that the wheels need to be retightened at 800 km (500 miles) after any wheel change or any other time the lug nuts have been
loosened. This is required to permit the wheel clamping system to seat properly so that the lug nuts will hold a uniform clamp load and remain
fully tightened.
7. Install the wheel cover, if so equipped.