
CX-7 L4-2.3L Turbo (2007)
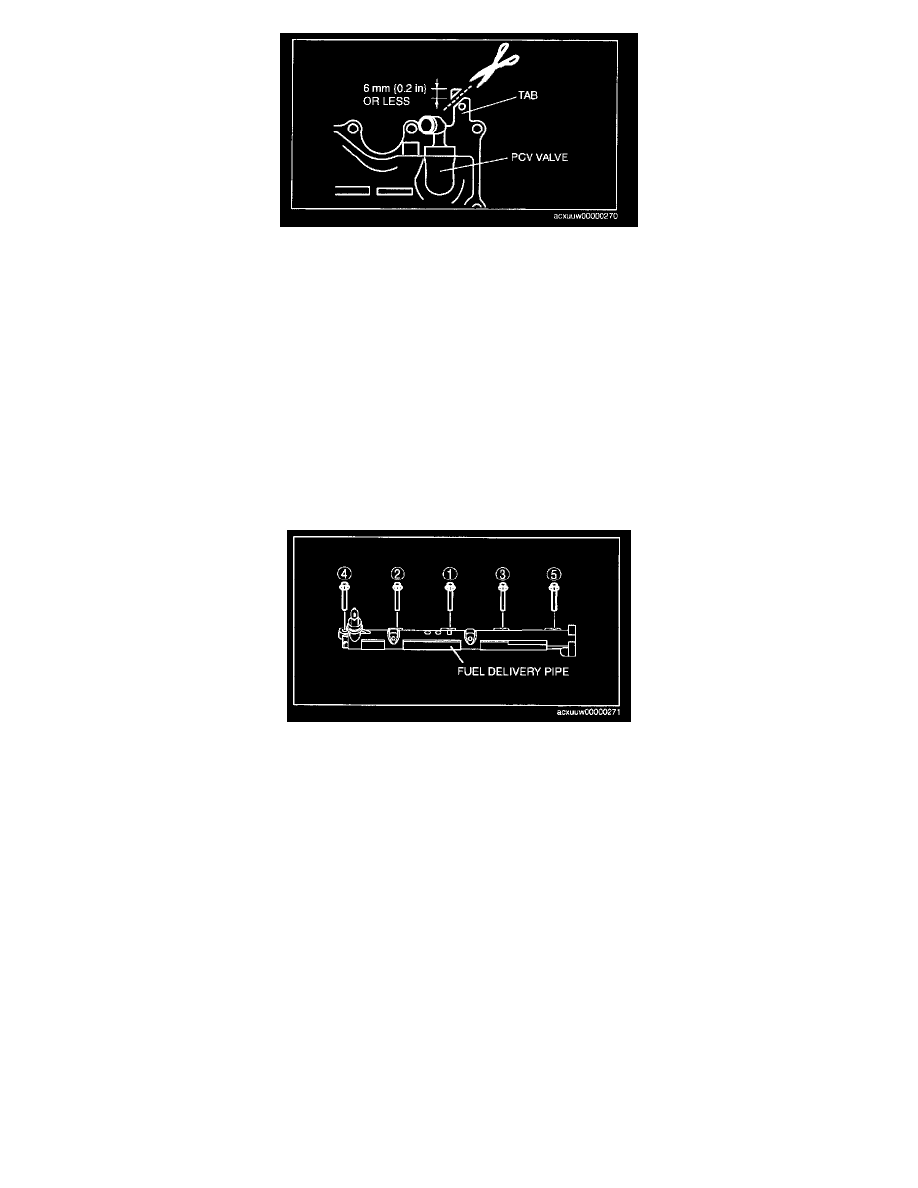
NOTE: If fuel injector No.3 contacts the oil separator, cut the tab on the oil separator as shown in the figure. Carefully cut the tab so that the oil
separator is not deformed or damaged, with no clearance on the mating surfaces of the oil separator and engine.
2. keep ratcheting the SST so that the fuel injector becomes free enough to ratchet up without using the SST.
CAUTION: Do not apply excessive force to the fuel injector connector because the fuel injector could be damaged.
3. Pull out the fuel injector by ratcheting it upright.
4. Verify that there are no gasket in the cylinder heads after removing the fuel injectors.
WARNING: If foreign material such as metal shavings penetrates the fuel injector installation hole on the cylinder block, the engine
could be damaged. Remove all foreign material and cap the fuel injector installation hole after removing the fuel injector.
5. Clean the fuel injector and around the insertion hole using a vacuum cleaner.
Fuel Delivery Pipe Installation Note
1. Tighten the bolts in the order shown in the figure.
Tightening torque
17 - 23 N.m (1.8 - 2.3 kgf.m, 13 - 16 ft.lbf)
High Pressure Line Pipe Installation Note