
CX-7 L4-2.3L Turbo (2007)
14.
Make sure the ball joint gets warm, then disconnect the joint.
CAUTION:
Do not use a tool to disconnect the joint, otherwise the plate could get deformed.
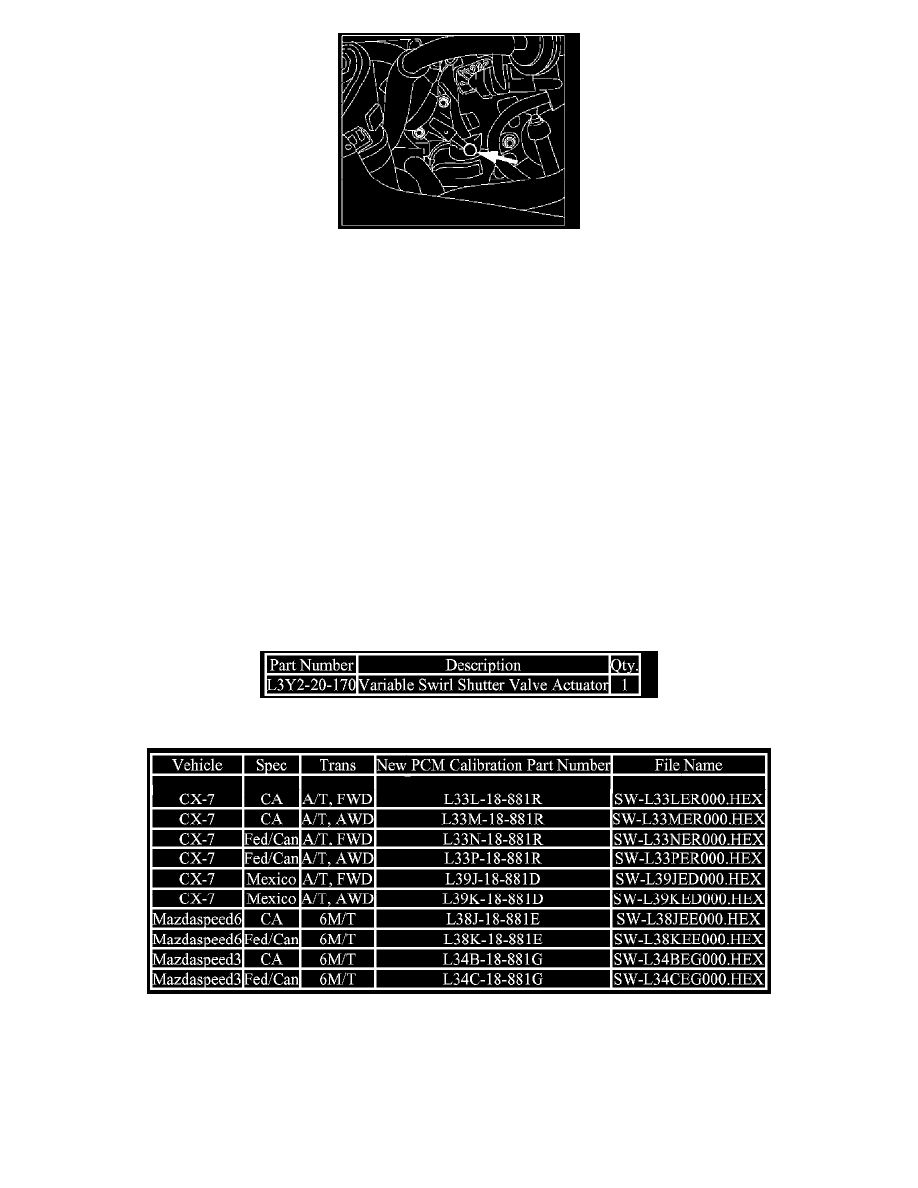
15.
Disconnect the variable swirl shutter valve actuator hose, then remove the actuator from the vehicle.
16.
Apply approximately 176°F (80°C) heat to the modified variable swirl shutter valve actuator ball joint for 3 minutes, then install the modified
actuator.
CAUTION:
In order to prevent the plate from getting deformed, make sure to warm up the joint before the installation.
17.
Re-assemble the parts in the reverse order of removal.
NOTE:
For proper alignment, connect the vent hose to the air intake hose before tightening the clamps for the air intake hose.
18.
Reprogram the PCM with IDS 47.5 or later software.
19.
Verify repair.
20.
Enter the customer's radio presets.
PART(S) INFORMATION
CALIBRATION INFORMATION
NOTE:
The PCM Calibration Part Numbers listed above are provided for PCM reprogramming purposes only. These are not necessarily the same Mazda
part numbers used to order an actual PCM through the Mazda Parts System. It is not necessary to order a PCM as part of this repair procedure.