CX-7 L4-2.3L Turbo (2007)

NOTE:
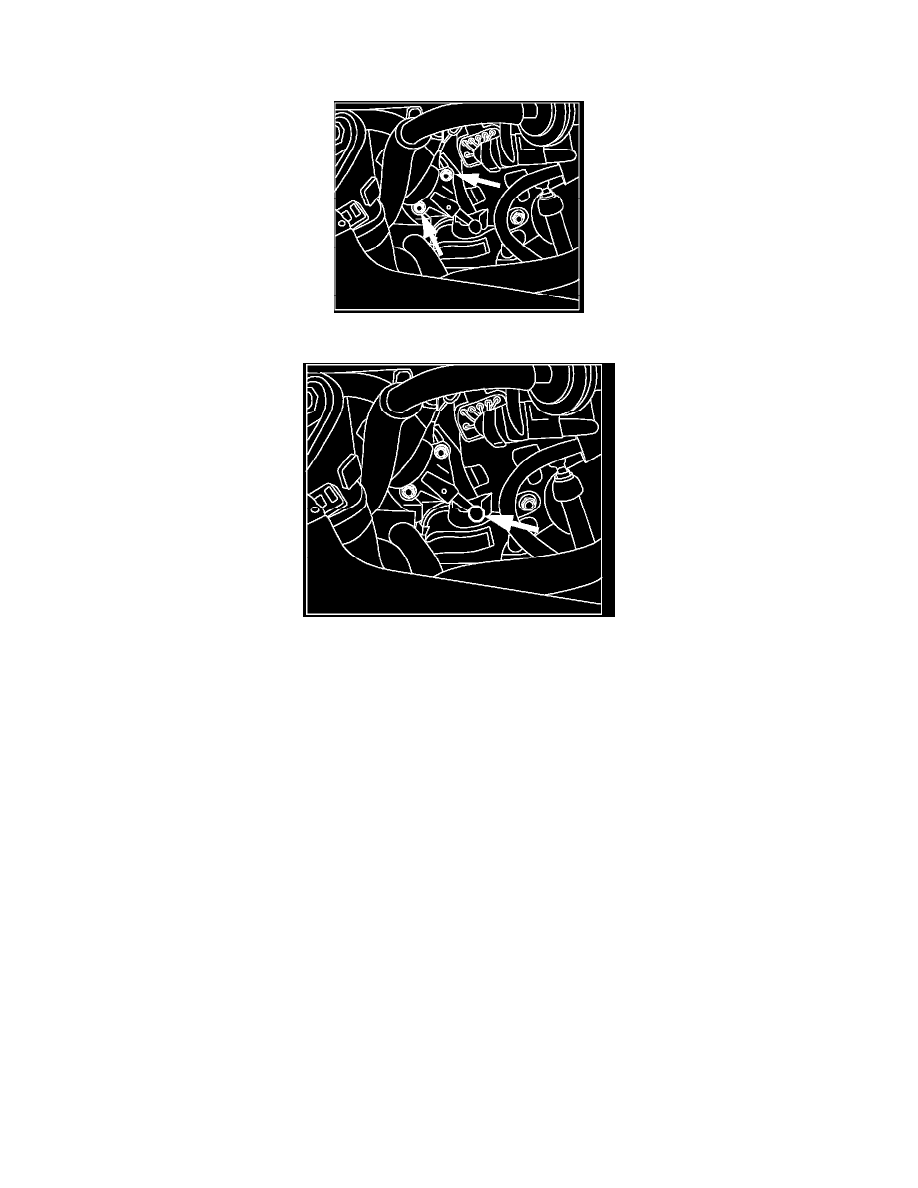
It is not necessary to remove the ground wire bolt or disconnect the connectors as shown.
8.
Remove two (2) bolts from variable swirl shutter valve actuator.
9.
Using a hair dryer (NOT a heat gun), apply approximately 176°F (80°C) heat onto variable swirl shutter valve actuator ball joint for three (3)
minutes.
CAUTION:
Do not apply heat higher than 212°F (100°C) because it may cause damage to sensors.
10.
Make sure ball joint gets warm, then disconnect joint.
CAUTION:
Do not use a tool to disconnect the joint, otherwise the plate could get deformed.
11.
Disconnect variable swirl shutter valve actuator hose, then remove actuator from vehicle.
12.
Apply approximately 176°F (80°C) heat to modified variable swirl shutter valve actuator ball joint for three (3) minutes, then install modified
actuator.
CAUTION:
In order to prevent the plate from getting deformed, make sure to warm up the joint before the installation.
13.
Re-assemble parts in reverse order of removal.
NOTE:
For proper alignment, connect the vent hose to the air intake hose before tightening the clamps for the air intake hose.
14.
Reconnect negative battery cable.
15.
Re-enter customer's radio station presets.
16.
Mazdaspeed6 & CX-7 Only: Proceed to Power Window Initialization Procedure".
