
CX-7 L4-2.3L Turbo (2007)
7. Cut away the old sealant using a razor or scraper so that 1-2 mm (0.04-0.07 in) thickness of sealant remains along the perimeter of the frame.
8. If the sealant has come off completely in any one place, apply some primer after degreasing, and allow it approx. 30 min to dry. Then apply 2 mm
(0.08 in) thickness of new sealant.
CAUTION: To prevent weakening of the primer adhesion, keep the bonding surface free of dirt, moisture, and grease. Do not touch the
surface with your hand.
9. Clean and degrease along the perimeter of the bonding area on the body.
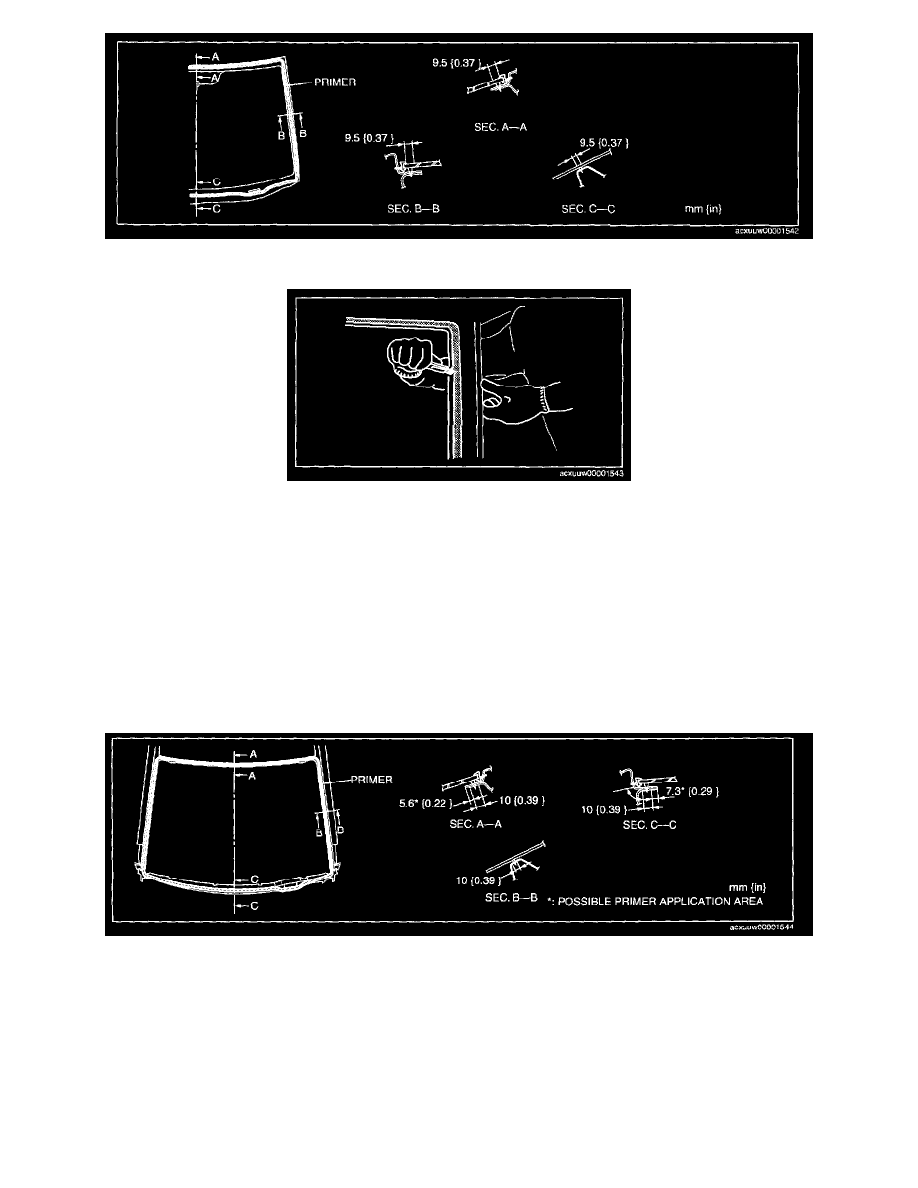
10. Apply body primer on the body as shown in the figure, then allow it to dry for approx. 30 min.
CAUTION: To prevent weakening of the primer adhesion, keep the bonding surface free of dirt, moisture, and grease. Do not touch the
surface with your hand.
NOTE: Apply primer 10 the hollowed marks in the ceramic coating.
11. Apply sealant to the area of the glass surface as shown in the figure.