
MPV 4WD V6-180 2954cc 3.0L FI (1989)
Drive/Propeller Shaft: Service and Repair
4 Wheel Drive
FRONT
1.
Raise and support vehicle.
2.
Place alignment marks on each end of propeller shaft flanges to ensure proper installation.
3.
Remove nut and bolts securing propeller shaft to front differential.
4.
Remove propeller shaft from vehicle.
5.
Reverse procedure to install, aligning marks made during removal.
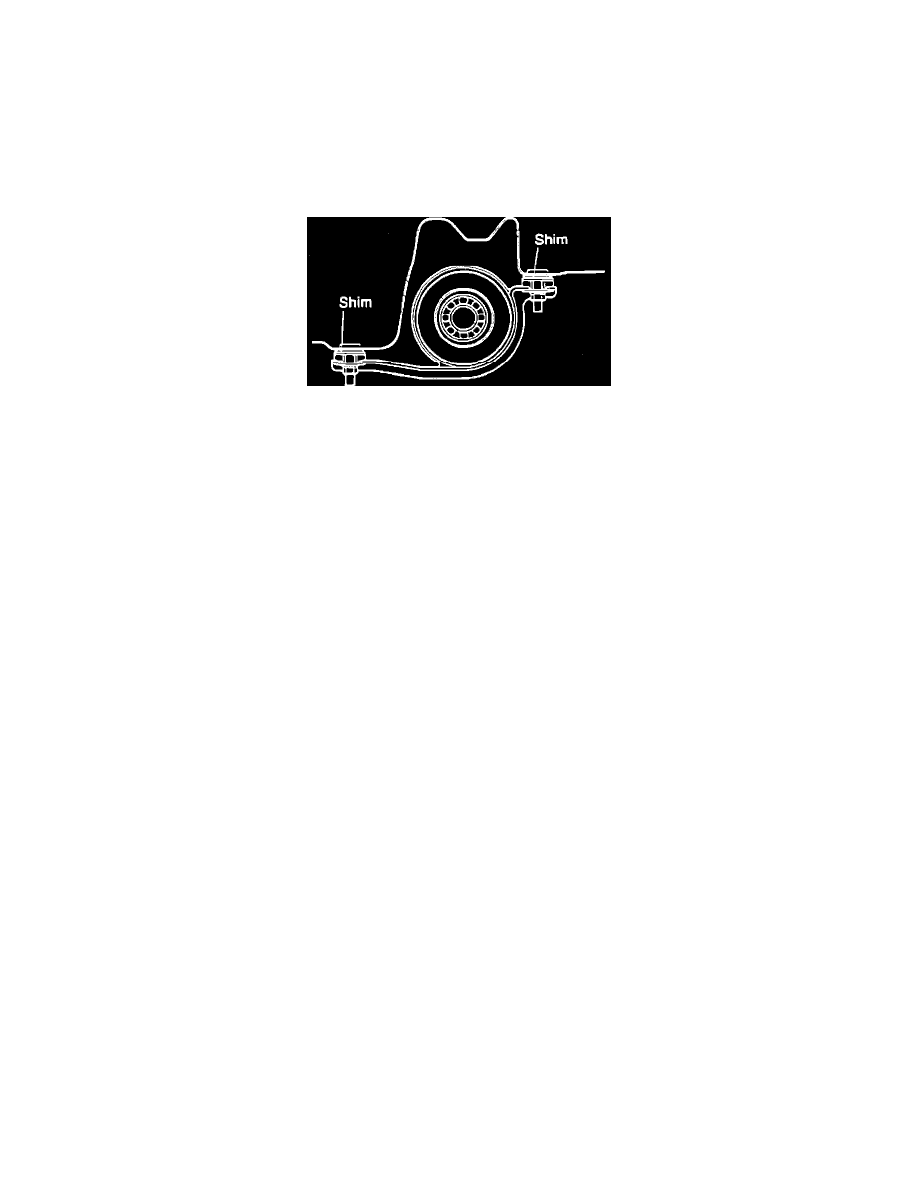
Fig. 1 Adjusting Propeller Shaft Height
REAR
1.
Raise and support vehicle.
2.
Scribe alignment marks on front and rear flanges.
3.
Remove front and rear propeller shaft attaching nuts.
4.
Remove center bearing support attaching nuts and washers.
5.
Remove center bearing support together with bushings, washers and shims, then the propeller shaft.
6.
Reverse procedure to install, noting the following:
a. Align match marks on companion flange of differential and yoke and install rear propeller shaft.
b. Install center bearing support.
c. Align match marks on companion flange of transfer unit and yoke, then install front propeller shaft.
d. Check whether front and rear propeller shafts are aligned. If not, adjust height of center bearing support with shims, Fig. 1. Both shims must
be same thickness. Shims are available in following sizes; .0630 inch (1.6mm), .126 inch (3.2mm), .1772 inch (4.5mm), .2362 inch (6mm).