
MX-5 Miata L4-1.8L DOHC (1996)
Fuel Gauge Sender: Testing and Inspection
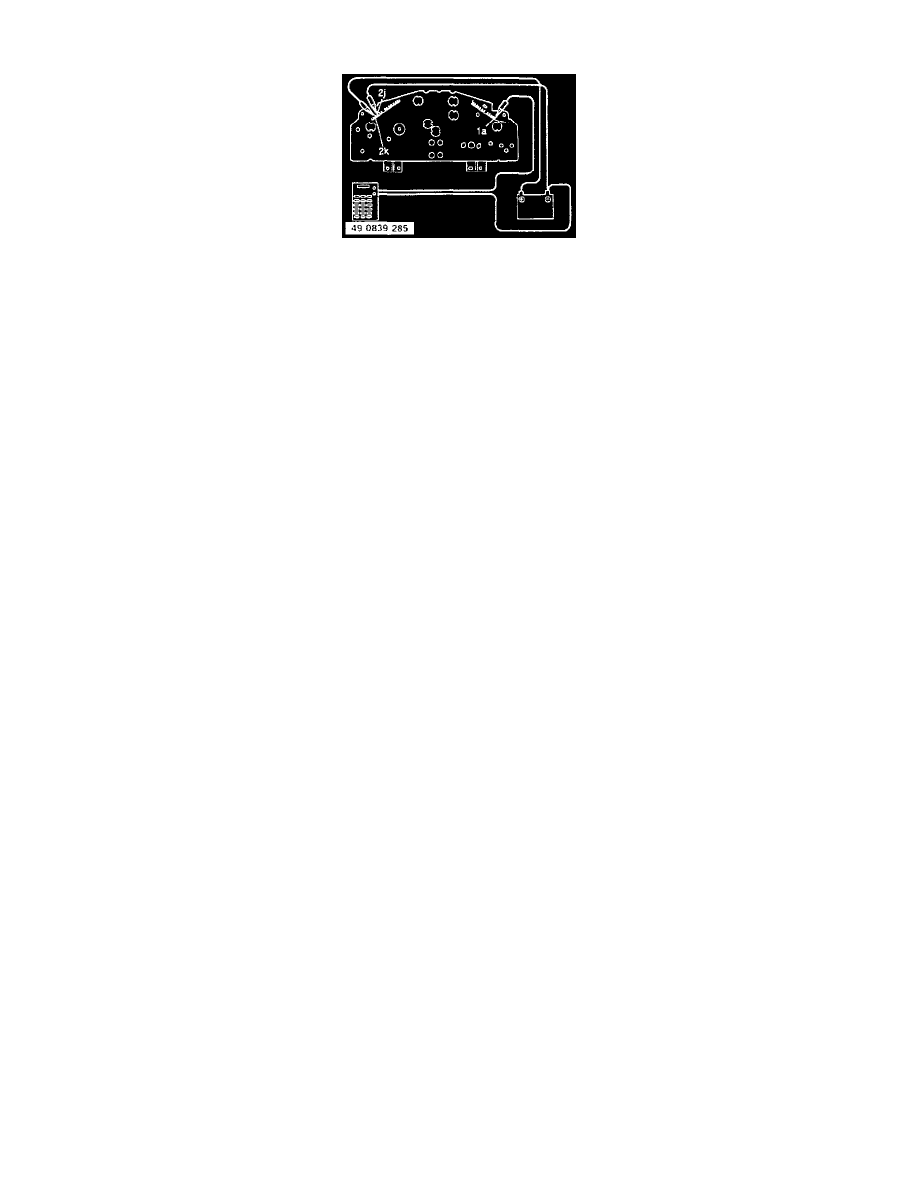
Fig. 1, Checking Fuel Gauge (Miata)
Continue checks for at least two minutes each to correctly judge condition. Allowable indication error is twice the width of the needle.
1. Disconnect electrical connector from fuel gauge sender unit and connect red lead of checker 49-0839-285 to Yellow wire in connector and black
lead to body ground.
2. Turn ignition switch to On position and proceed as follows:
a. Set the checker to 7 ohms. Gauge should indicate Full.
b. Set the checker to 33 ohms. Gauge should indicate Half Full.
c. Set the checker to 95 ohms. Gauge should indicate Empty.
3. If gauge indicates correctly, replace fuel gauge sending unit.
4. If gauge does not indicate correctly, proceed to next step.
5. Remove instrument cluster.
6. Apply battery voltage to terminal 2k and ground terminal 2j, Fig. 1, then connect red lead of checker to terminal 1a and black lead to ground.
7. Repeat steps 2a, b and c.
8. If gauge indicates correctly, repair wiring harness.
9. If gauge does not indicate correctly, replace fuel gauge.