
MX-5 Miata L4-2.0L (2008)
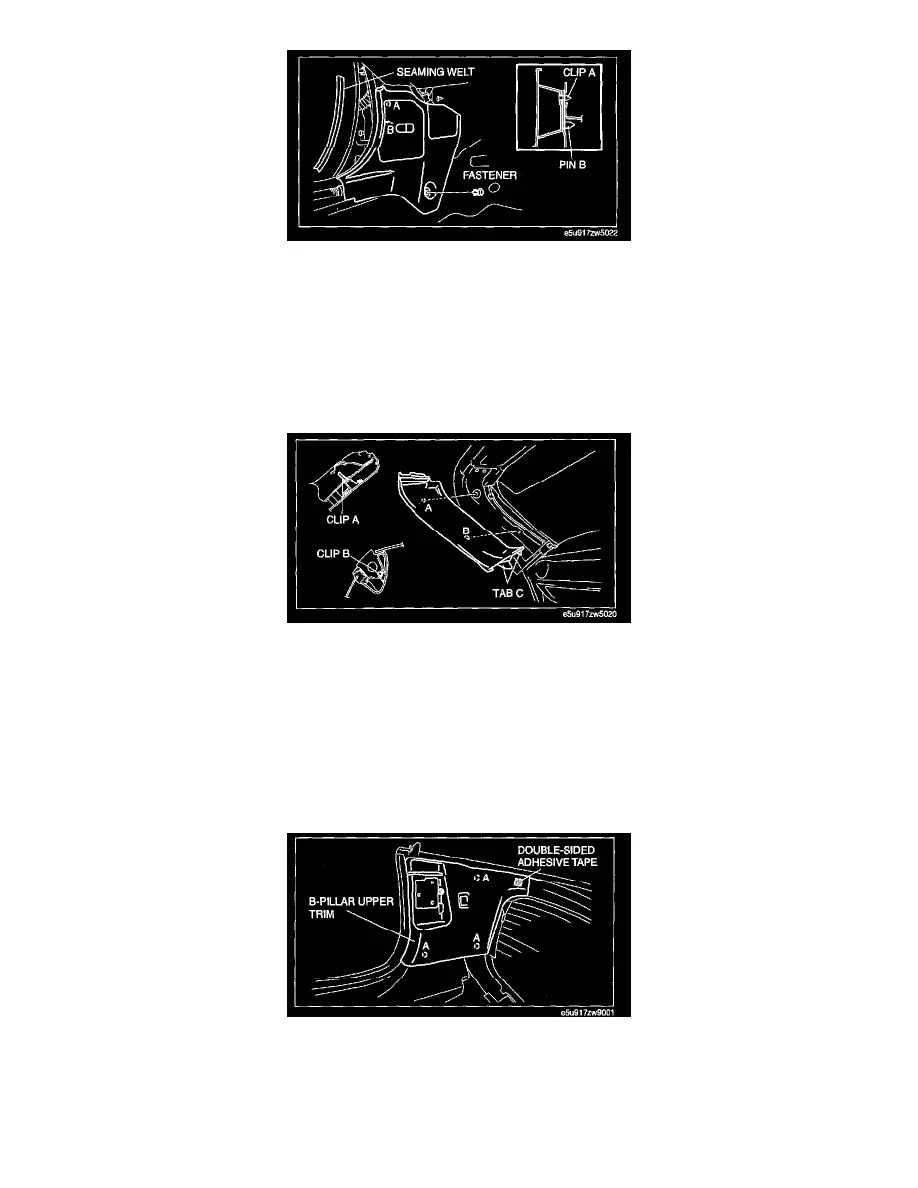
2. Remove the seaming welt.
3. Remove the fastener.
4. Pull the front side trim toward you, then disengage clip A and pin B from the body.
5. Remove the front side trim.
6. Install in the reverse order of removal.
A-Pillar Trim Removal/Installation
A-PILLAR TRIM REMOVAL/INSTALLATION
1. Remove the female wedge.
2. Pull the A-pillar trim, then disengage clips A and B.
3. Pull the A-pillar trim upward, then disengage tabs C from the body.
4. Remove the A-pillar trim.
5. Install in the reverse order of removal.
B-Pillar Upper Trim Removal and Installation [Detachable Hardtop
B-PILLAR UPPER TRIM REMOVAL [DETACHABLE HARDTOP]
1. Remove the detachable hardtop.
2. Remove the B-pillar garnish.
3. Remove the side lock.
4. Disengage the B-pillar upper trim clips A using a fastener remover.
5. While cutting the double-sided adhesive tape using a screwdriver or a razor, separate the B-pillar upper trim from the body.
WARNING: Using a razor with bare hands can cause injury. Always wear gloves when using a razor.
6. Remove the B-pillar upper trim.