
Tribute 4WD L4-2.5L Hybrid (2009)
Expansion Valve: Service and Repair
-
THERMOSTATIC EXPANSION VALVE REMOVAL/INSTALLATION - HYBRID
NOTE:Installation of a new suction accumulator is not required when repairing the air conditioning system, except when there is physical evidence of
contamination from a failed A/C compressor or damage to the suction accumulator.
NOTE:The auxiliary thermostatic expansion valve (TXV) is not interchangeable with the front (main) system TXV.
1. Remove the auxiliary climate control housing. See - See: Housing Assembly HVAC/Service and Repair/Removal and Replacement/Auxiliary
Climate Control Housing Removal/Installation.
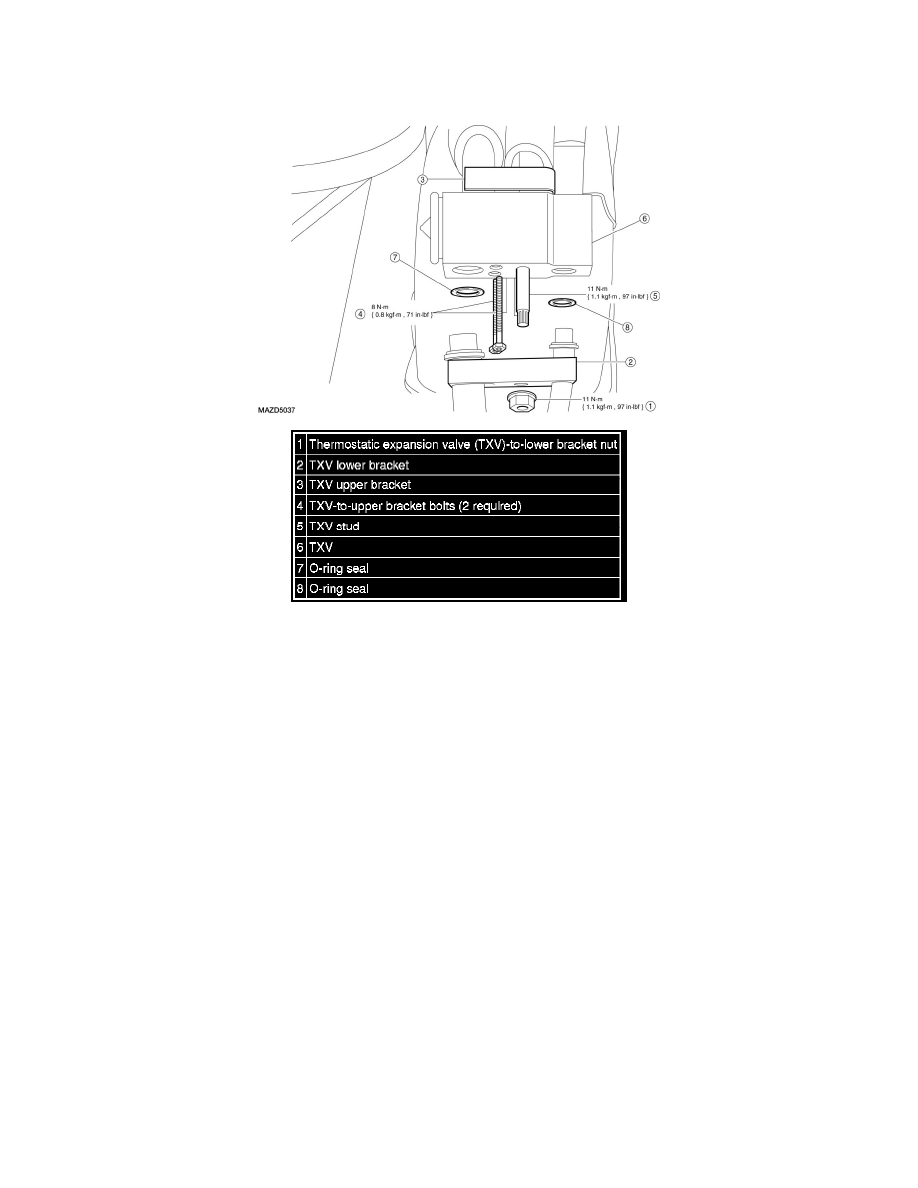
2. Remove the TXV-to-lower bracket nut and disconnect the lower TXV fittings.
-
Discard the O-ring seals.
-
To install, tighten to 11 Nm {1.1 kgf-m, 97 in-lbf}.
3. Remove the 2 TXV-to-upper bracket bolts and remove the TXV.
-
Discard the O-ring seals.
-
To install, tighten to 8 Nm {0.8 kgf-m, 71 in-lbf}.
NOTE:The upper TXV fitting is equipped with 2 O-ring seals not shown in graphic.
4. Remove the TXV.
5. Remove the TXV stud.
-
To install, tighten to 11 Nm {1.1 kgf-m, 97 in-lbf}.
6. To install, reverse the removal procedure.
-
Install new O-ring seals.